The Soaked Bean

Seeking Nourishment, Finding Traditions

  • About
  • Recipes
  • Library
  • Events

Winter Torshi

January 17, 2016 By Lauren

pickled cauliflower

The more you get into pickling, the more you realize you can pickle (or more rightly, ferment) practically anything.  Typically cucumbers are the gate-way vegetable, followed by cabbage for ‘kraut, green-beans for New England style dilly-beans, then carrots, turnips, radishes, kohlrabi, hot peppers, lemons, garlic…

At some point (perhaps after kohlrabi), the possibilities begin to seem absolutely endless.  I, personally, have pickled all of the above plant-foods and have tasted countless other ones (mangoes, the stalks from Swiss chard, mushrooms, pineapple [!!]).  Then, there’s the boundless amount of combinations–cabbage w/ algae and nettle, radishes and turnips mixed w/ thin slices of beet, carrots w/ turmeric and garlic and zucchini and turnips and cauliflower.

cauliflower

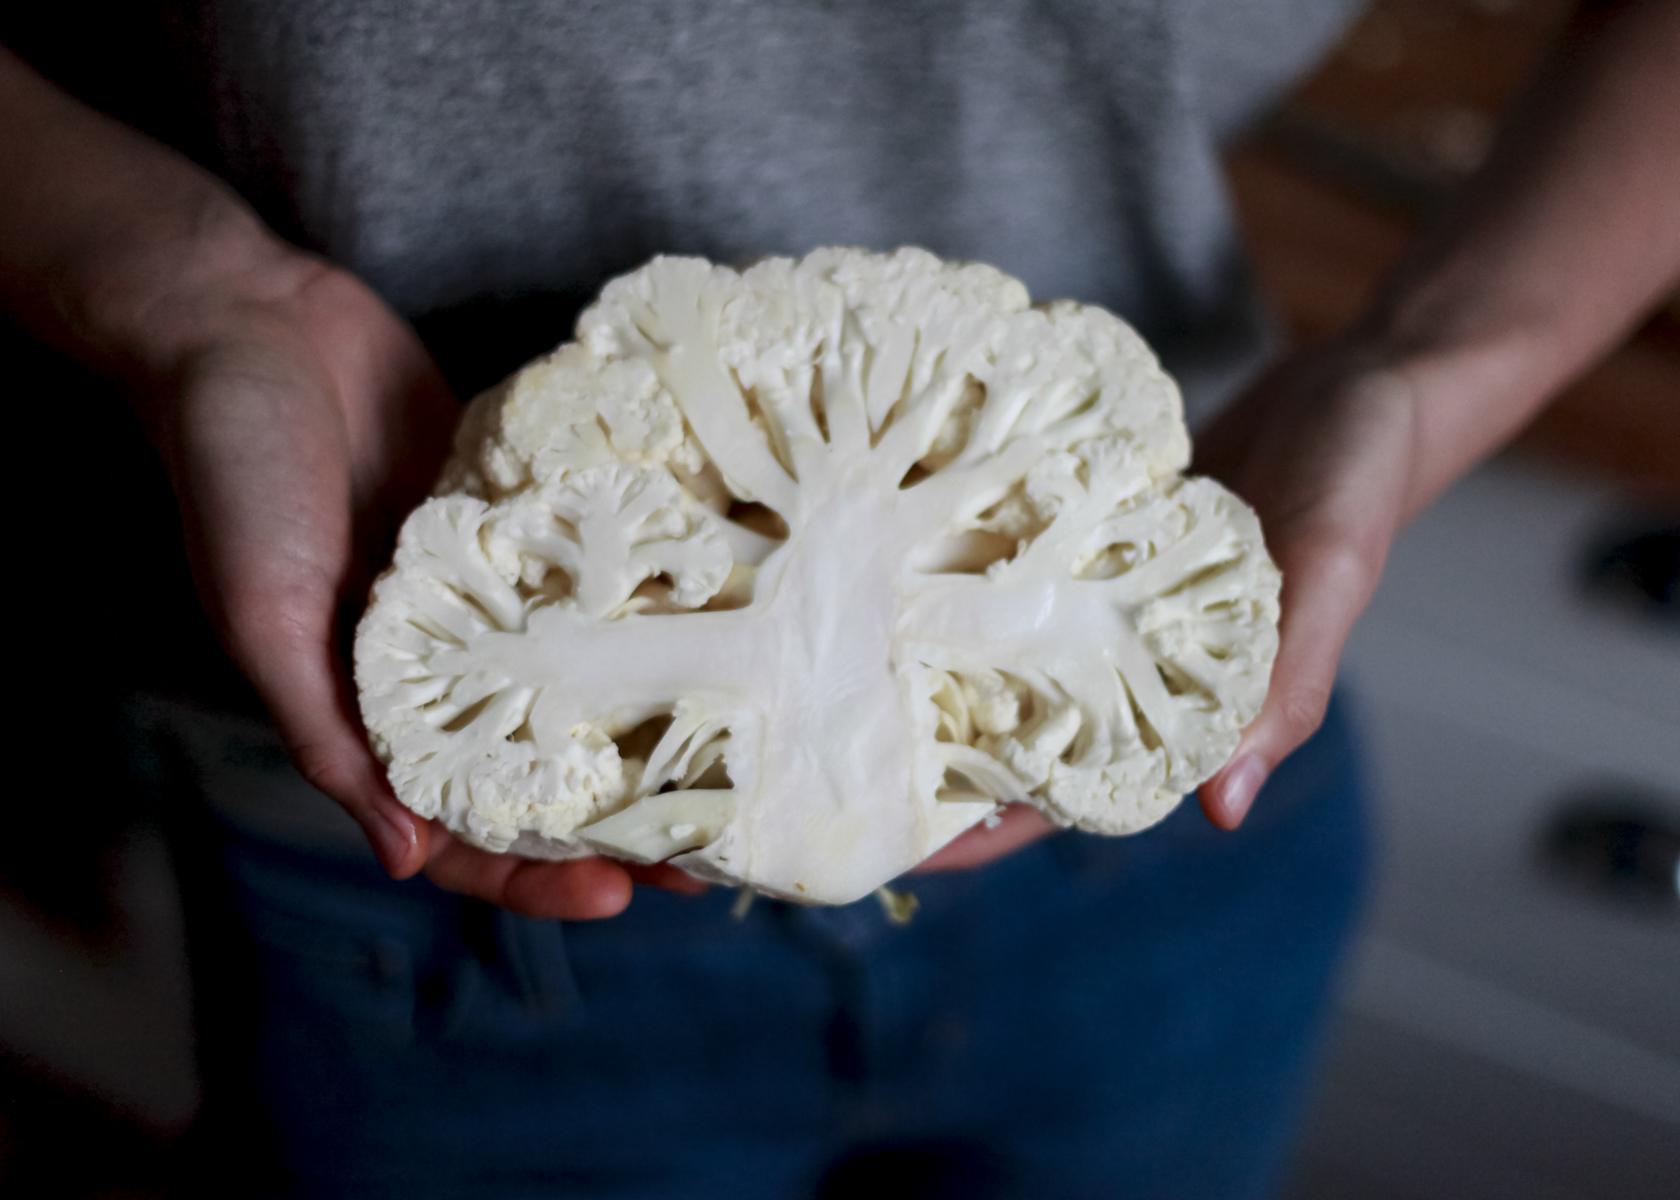
Yep, you can pickle cauliflower, too.

The above combination was my first introduction to pickles.  Iraqi torshi (the Arabic word for pickles): stained-yellow, all crunchy and salty and sour.  This was the jar that was consistently found in my Iraqi grandmother’s fridge and the fridge of, I’d wager, most Iraqi grandmothers.  This was the jar I would tuck my fork into and ply pickle after pickle out of, until my mouth would buzz from the brine.

Torshi was a year-round deal in my grandmother’s kitchen, but I’m categorizing my variation as a Winter kind-of deal because, even though there’s cauliflower a-plenty in the Summer, there just aren’t as many other Winter candidates for pickling (raise yr hand if you’re already fed-up w/ ‘kraut) and ’tis the season to celebrate variation in yr local diet when you can find it.

carrots

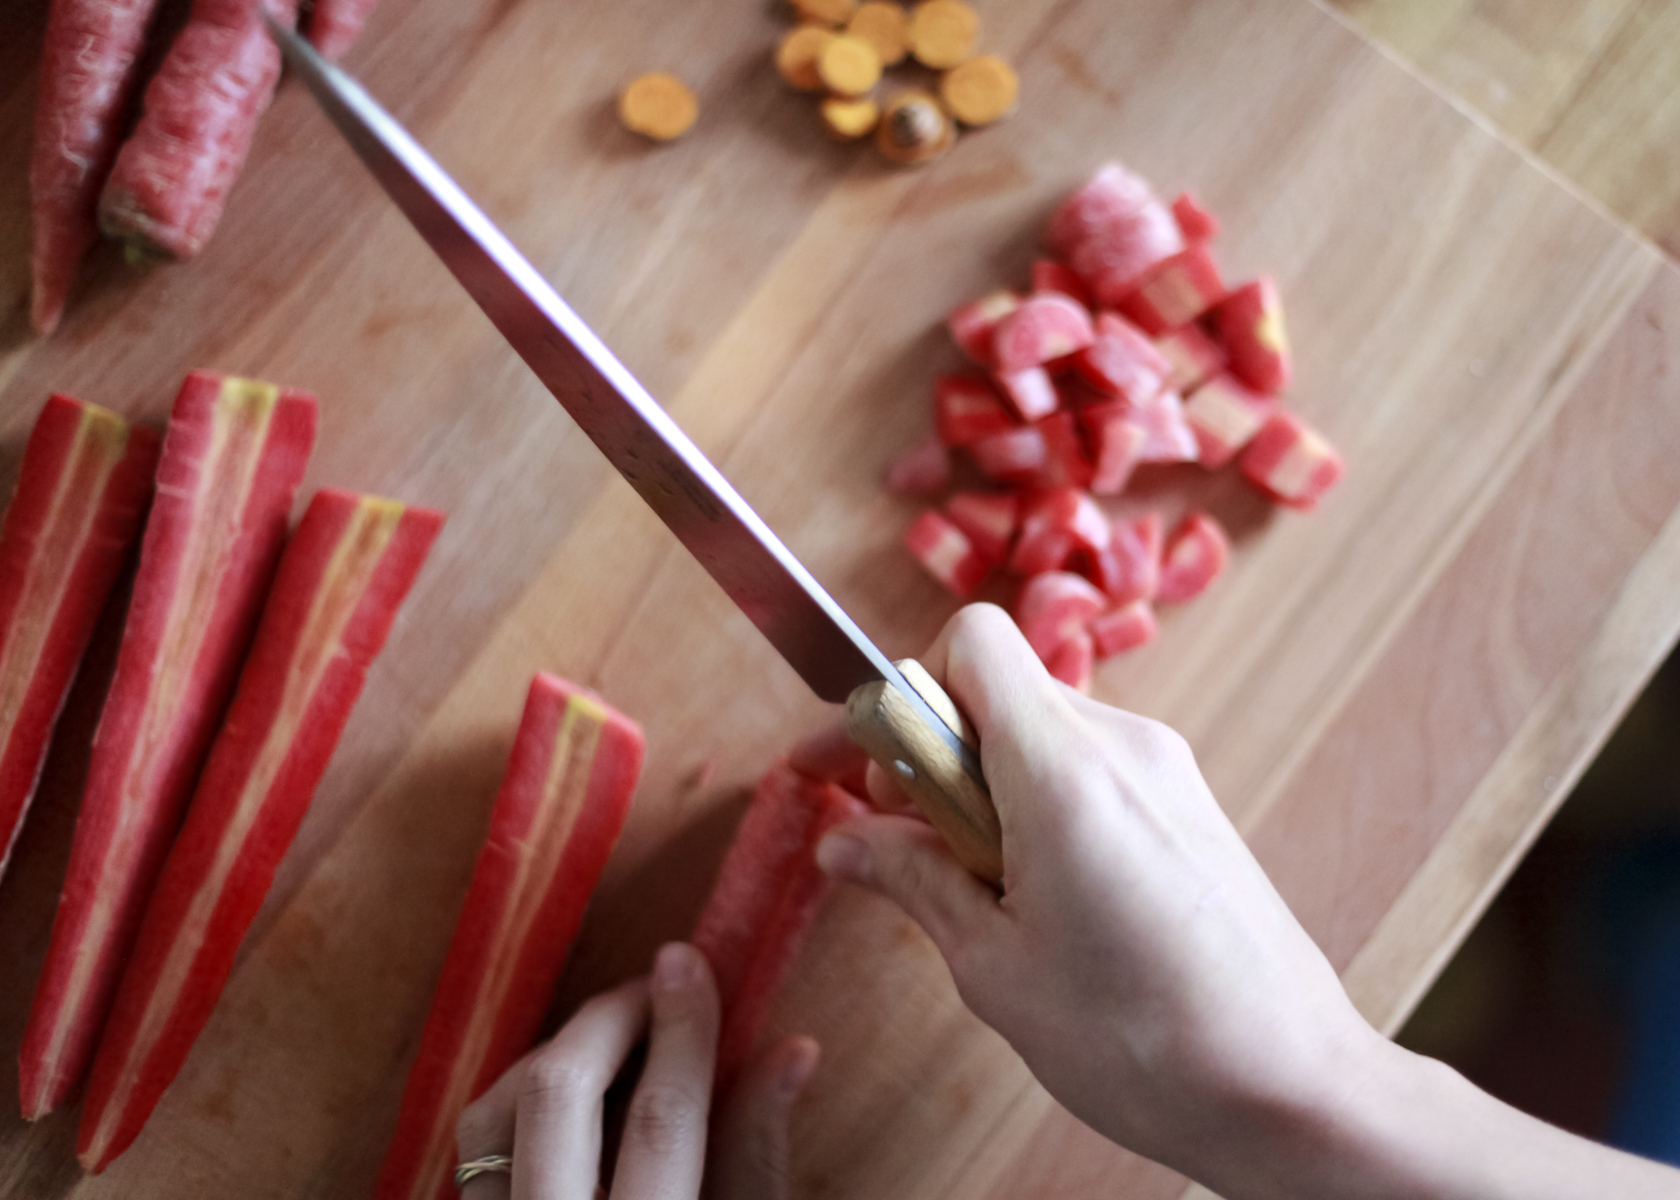
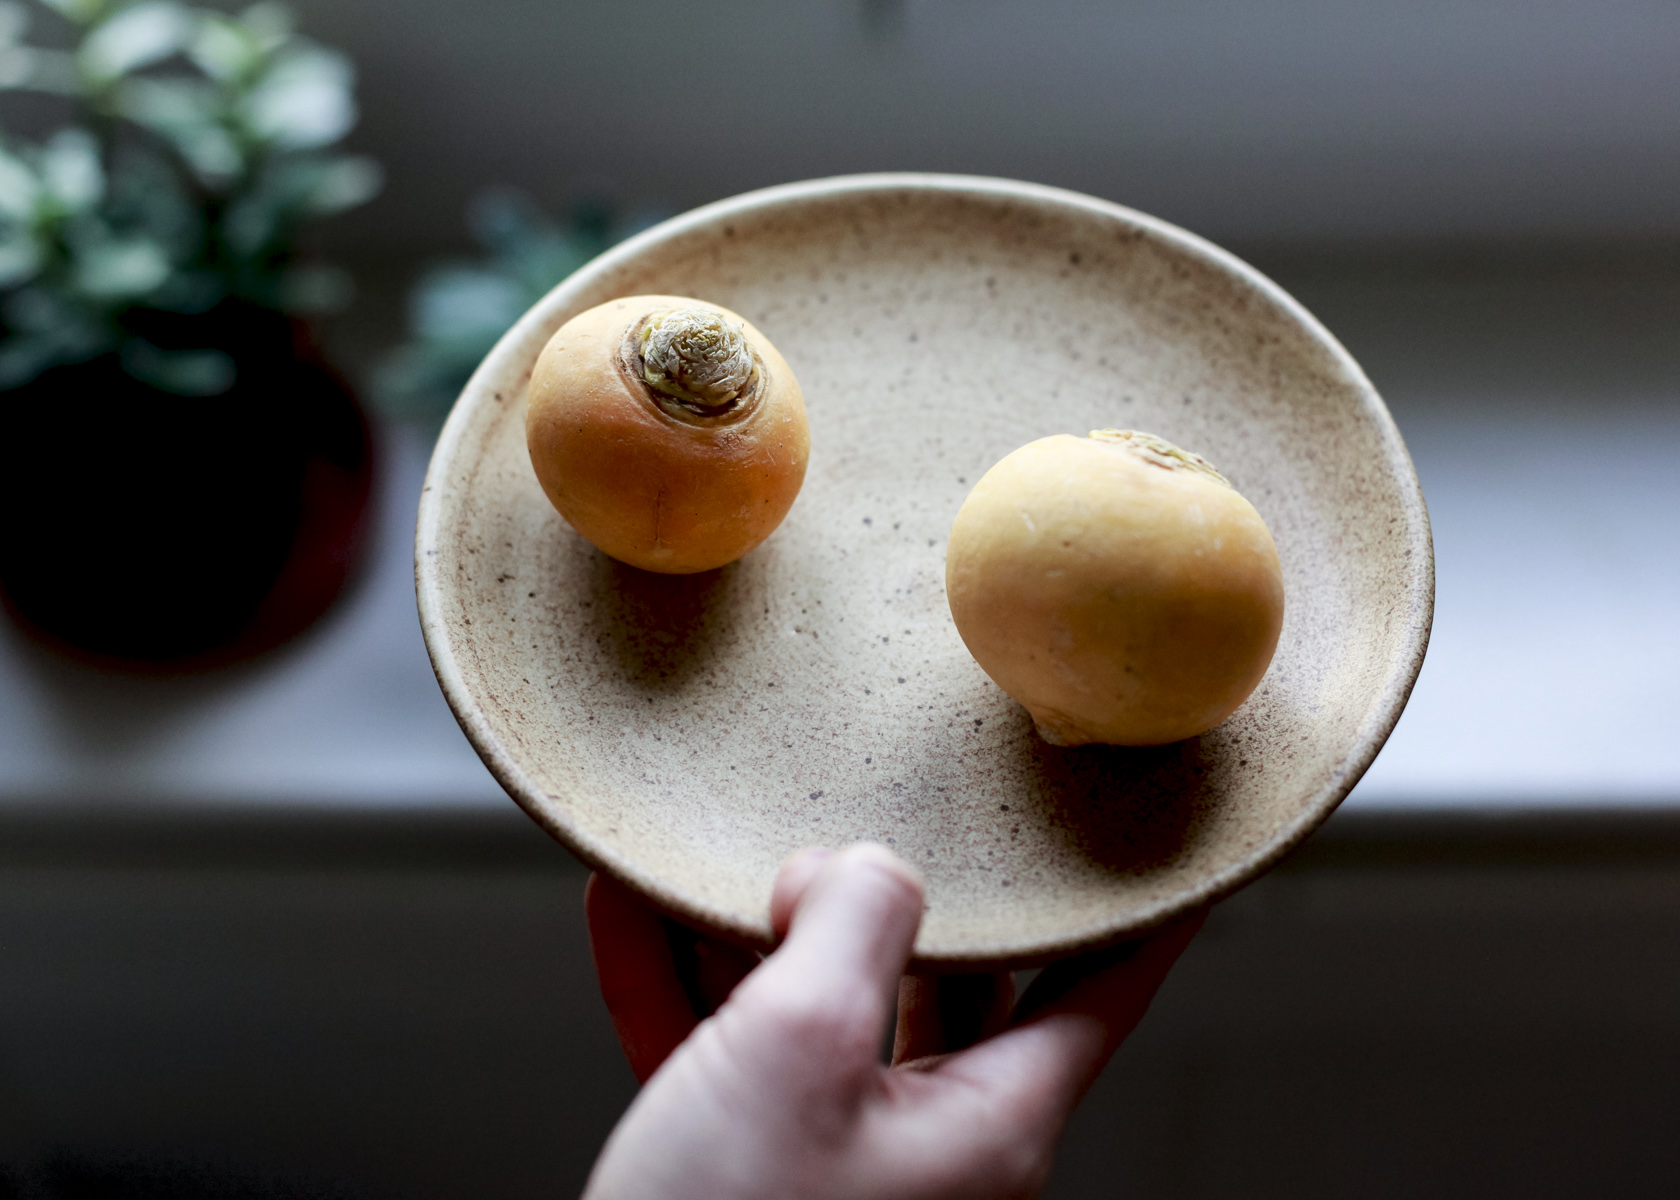
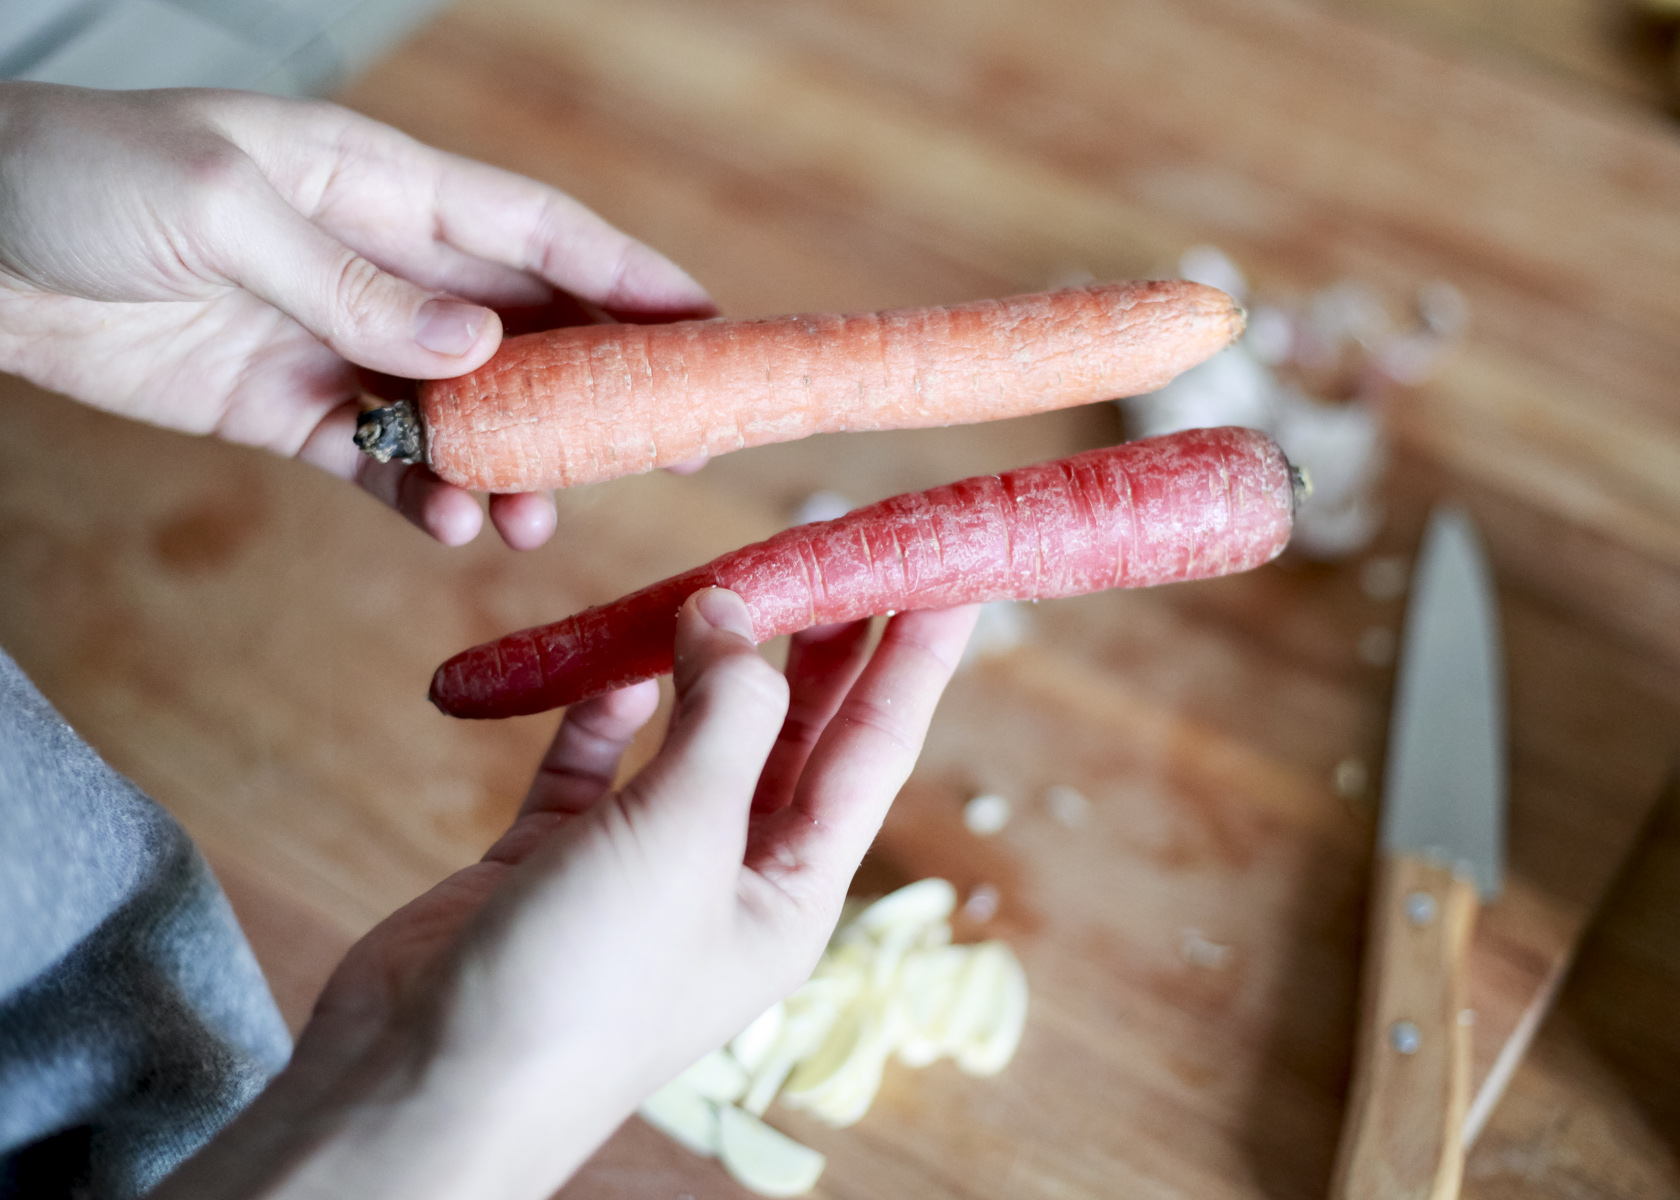
As usual, this isn’t a super-strict recipe, but more a set of guidelines for you to do w/ what you will. I use cauliflower, red carrots, turmeric root and garlic in my version, but if you live in a region where you have other options (like zucchini and summer turnips) then throw those in as well.  If you want to stain your pickles yellow, use powdered turmeric instead of the root.  The main point is to cut your vegetables into even-sized chunks to get them fermenting at a similar rate (in order for them to be similarly crunchy).

wintertorshi

Winter Torshi

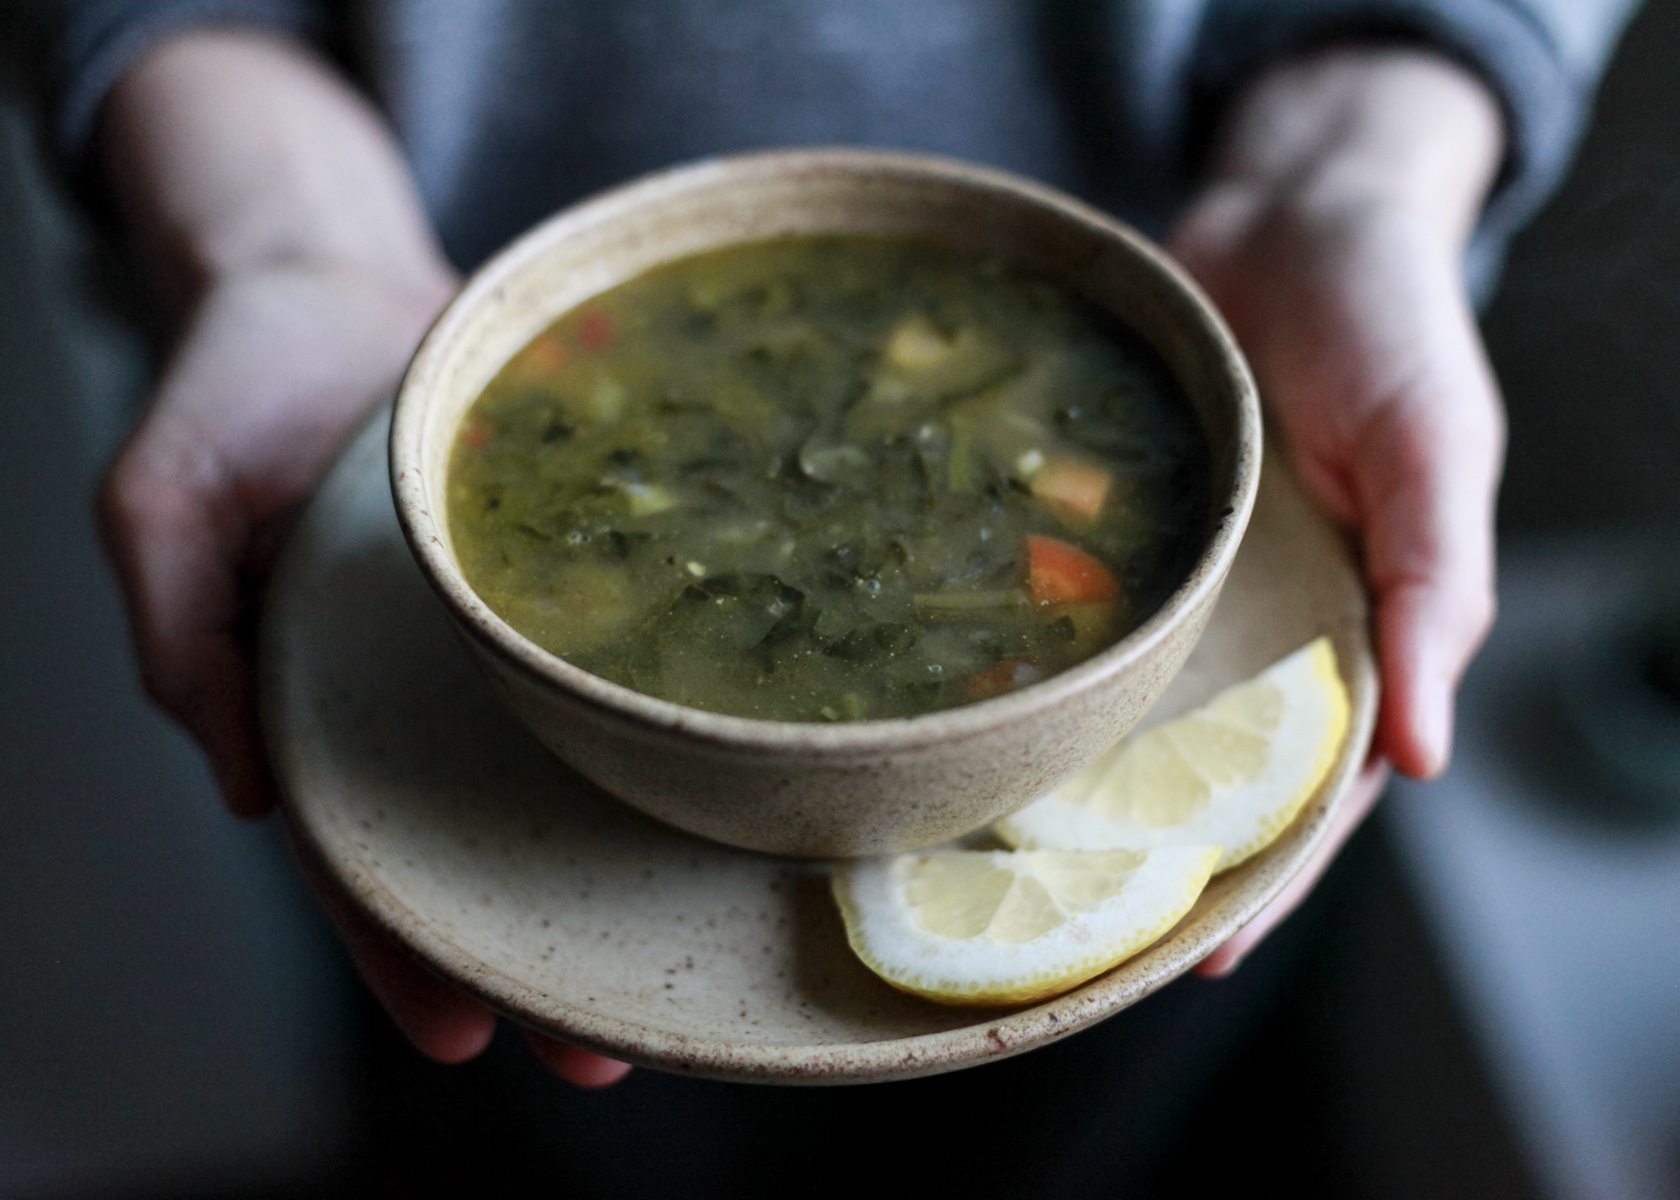
Note:  For more information on the health benefits of lacto-fermented pickles see here.

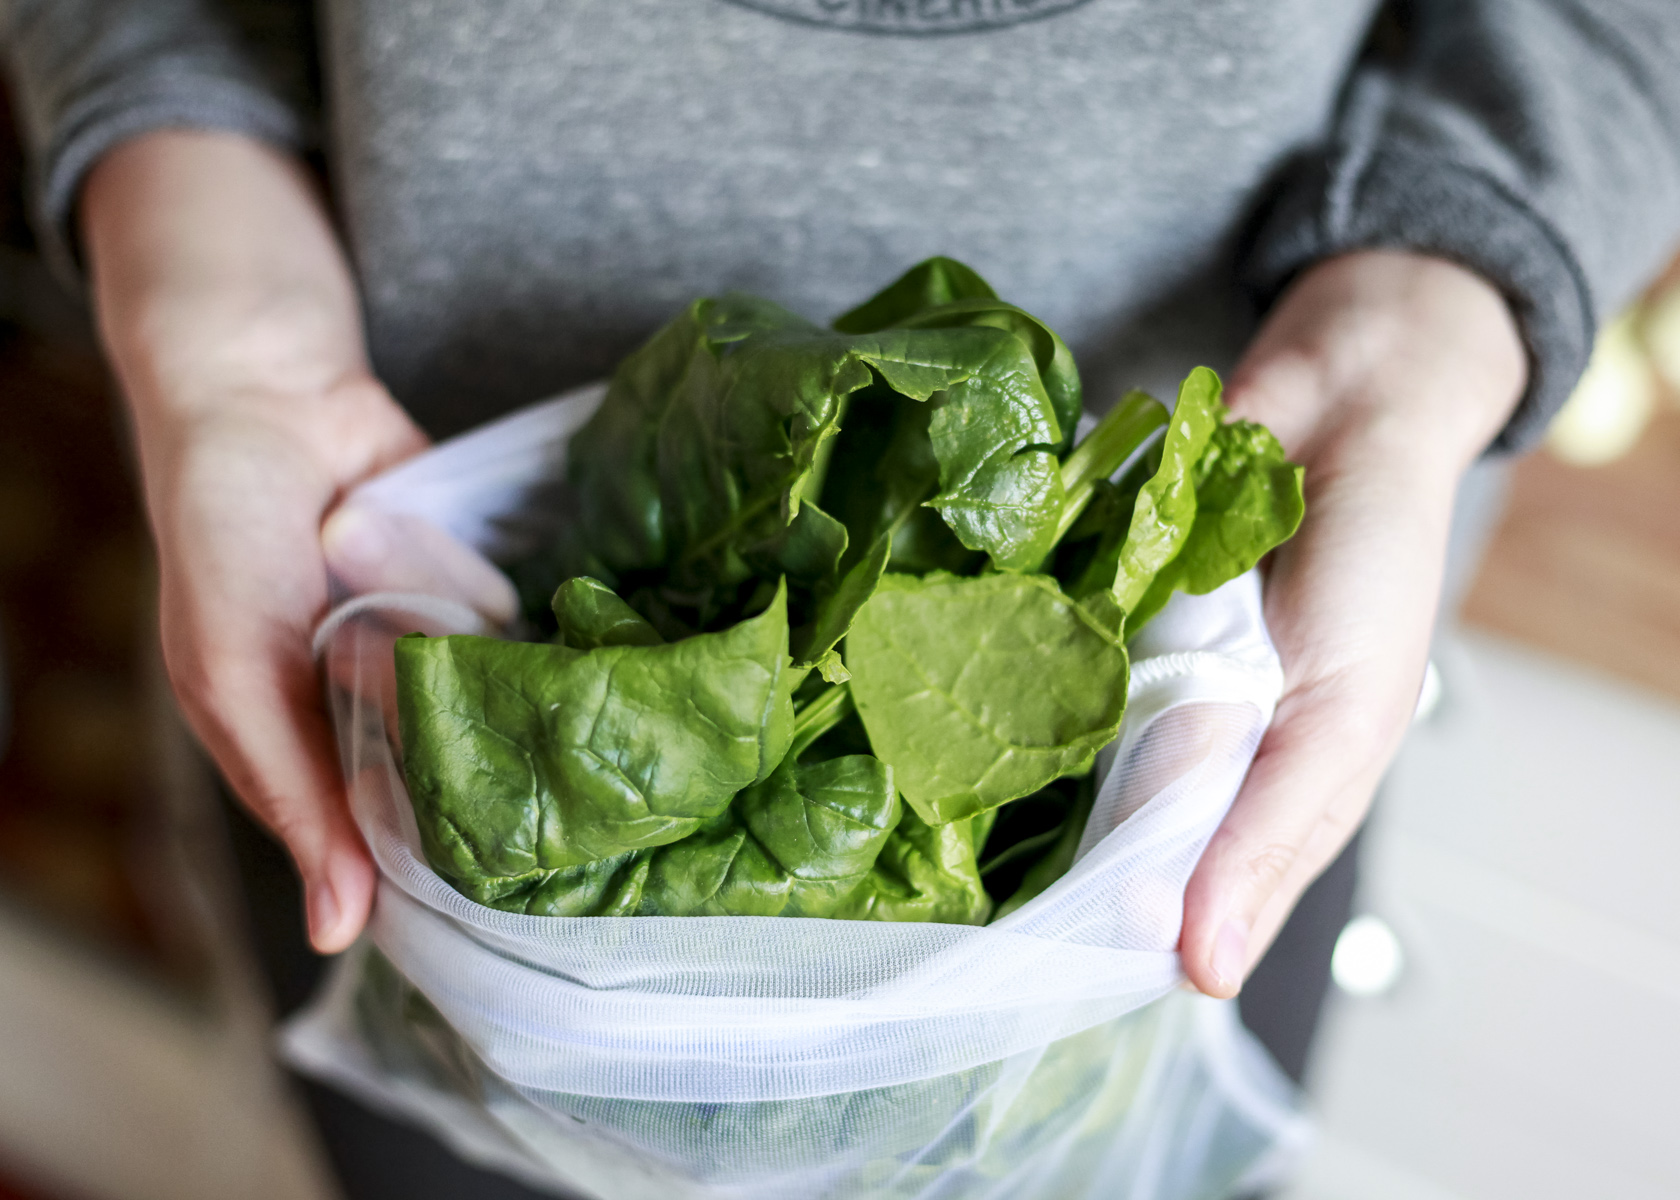
#1.  Chop cauliflower and carrots (and zucchini and summer turnips, if you have them) into even-sized chunks.  Slice turmeric into thin strips, peel garlic and leave whole.

#2.  While you’re chopping, put a kettle to boil.  Pour boiling water into seal-able glass jar.  Let sit for a few moments.  Pour water out of jar and let cool (either by pouring cold water into jar, or just leaving it for a few more moments).

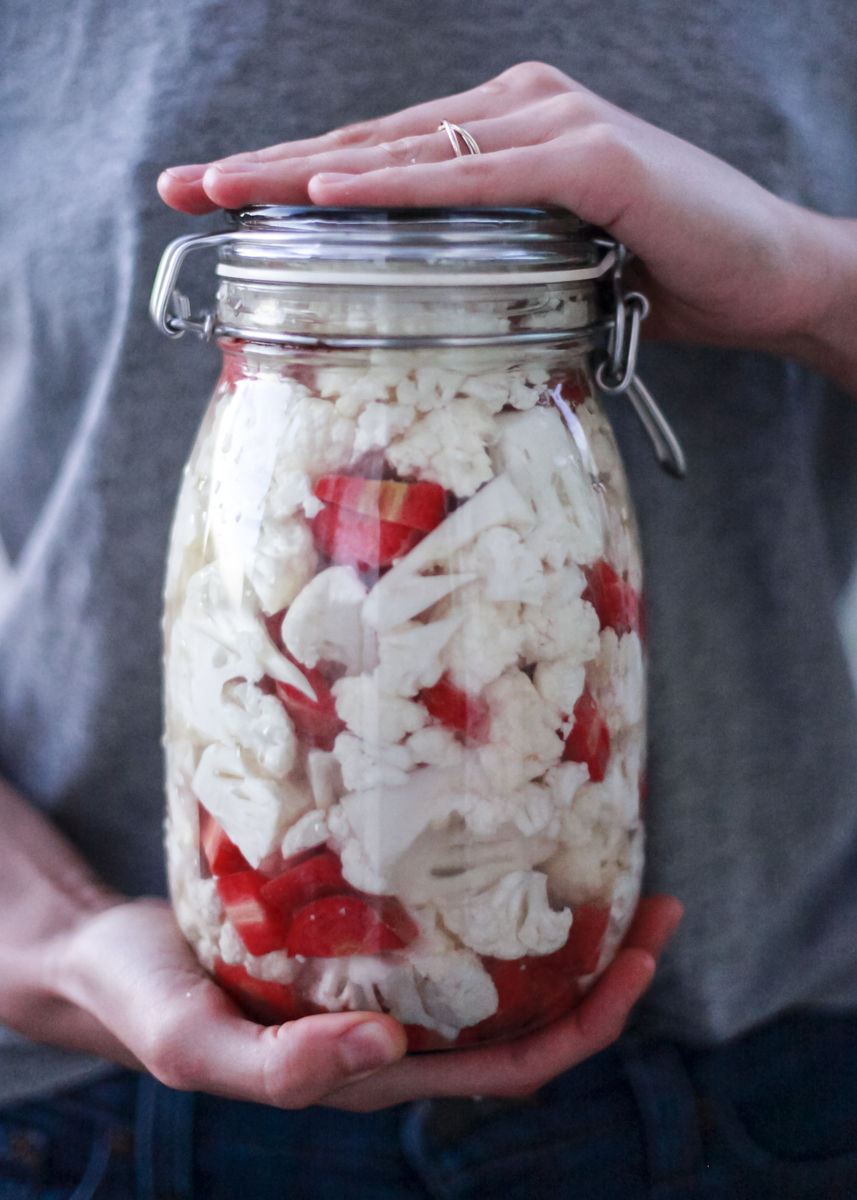
#3.  Add vegetables and herbs to jar.  Stuff until jar is full.

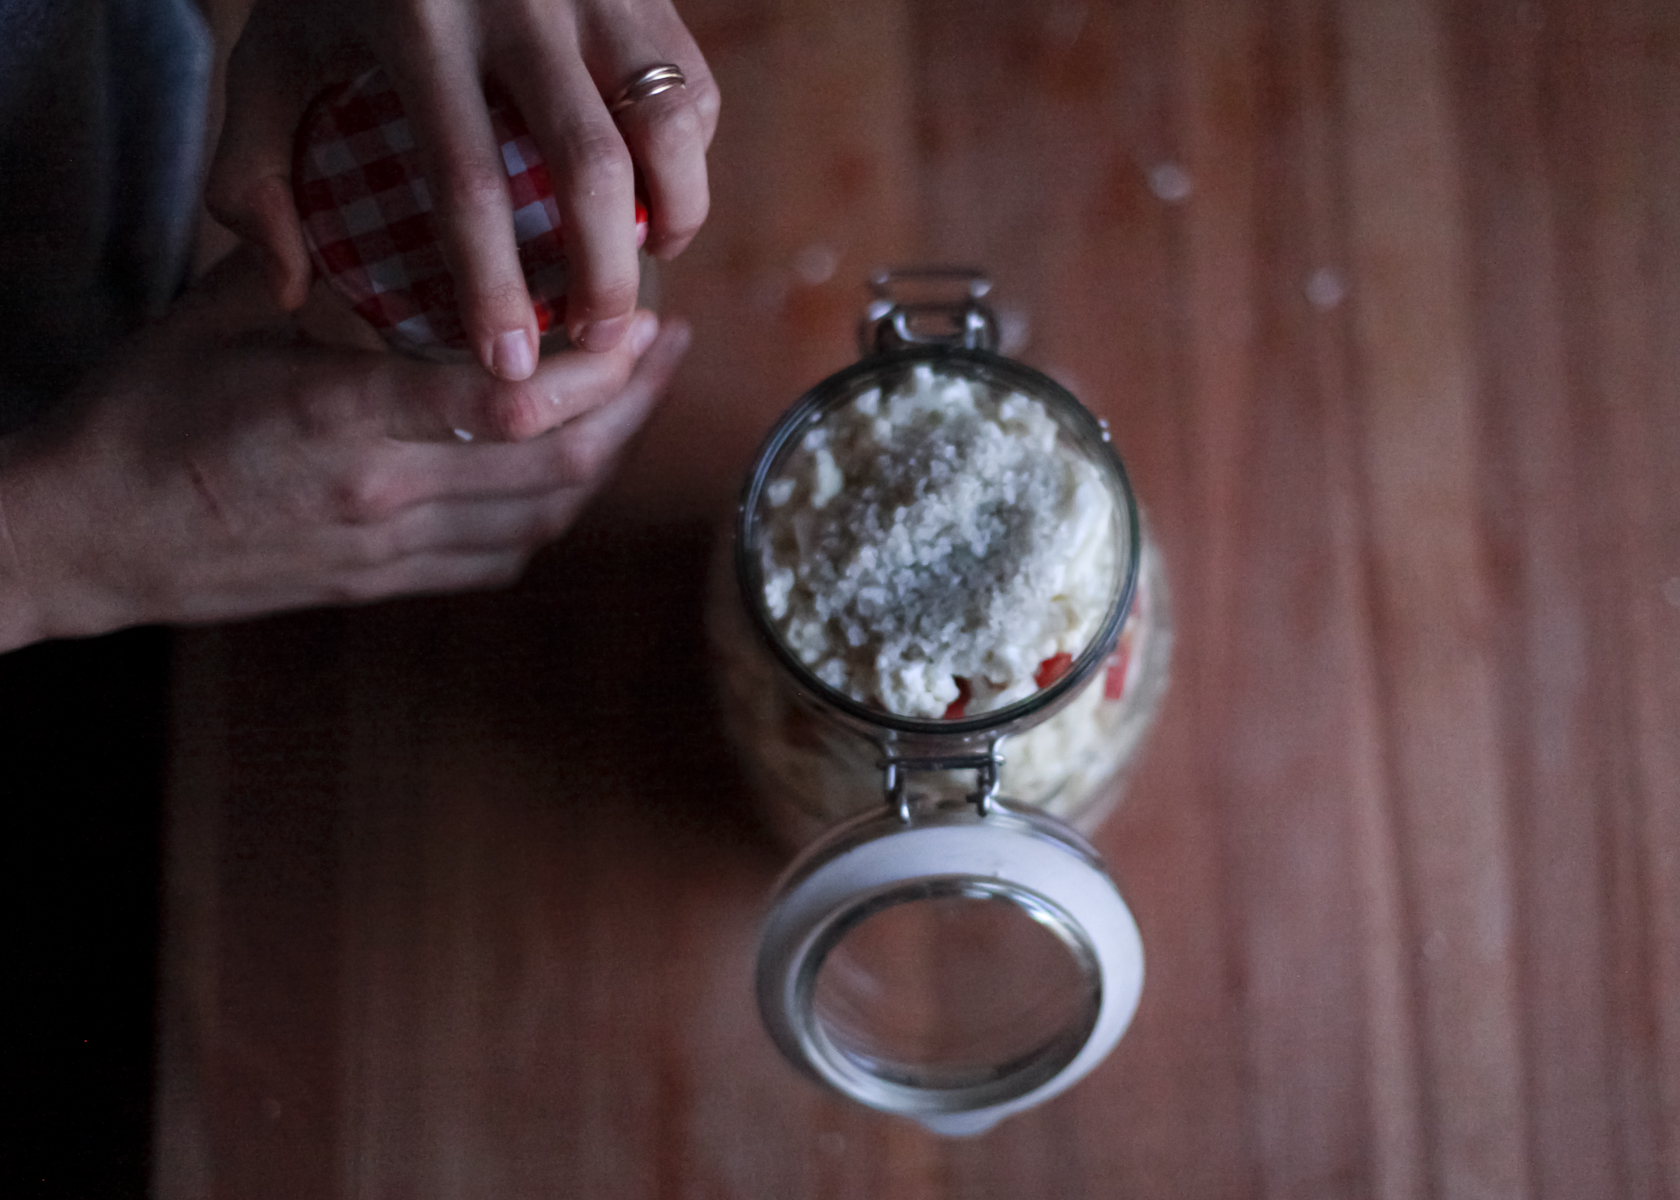
#4.  Add celtic sea-salt (or another unrefined, sun-dried sea salt).  The amount depends on the size of your jar. For example, I used a 2-litre sized jar so I added 3 tablespoons of salt.  If your jar is smaller, add less.  If it’s bigger, add more.  You need your brine (your salt + water solution) to be salty enough to promote the production of beneficial bacteria, so there’s a minimum amount necessary, but there’s no maximum. Experiment and taste your brine as you’re working.

#5.  Fill jar w/ non-chlorinated water.  (For those of you who are state-side, to de-chlorinate your water simply fill a jar w/ tap water and let stand for at least 30 minutes.  Good practice to get into even when not making pickles, methinks.)

#6.  Make sure your vegetables are submerged under your brine.  To do this, you may need to use a tool–like a sterilized (boiled) stone, or the root-end of the cauliflower–to press down on your vegetables and seal them in.  If you packed them super tightly, you won’t need this tool.  You just need to make sure none of your vegetables are exposed to air.

#7.  Seal tightly and store in a cool, dark place for at least 3 days.  I fermented my Winter torshi for 5 days because I wanted it to be crunchy.  After opening, store in the refrigerator.

Filed Under: Ferments, Recipes, Seasons, Sides, Winter Tagged With: cauliflower, condiments, DIY, ferments, lactofermented, middleeasternfood, pickles, sides, torshi, winter

Solstice Stone Soup

December 21, 2015 By Lauren

soakedriceToday is Winter Solstice, or Yule, the darkest day or longest night of the year, a major turning point in the wheel of the year for light is beginning to return, the Sun king or Sun goddess or God-like figure, depending on yr vantage, is born again, hallelujah, blessed-be, the darkest hour is here and soon will be gone, will be light.

As it turns out, the darkest hour is b4 the eggnog.

Christmas (celebrated just a mere handful of days after Solstice) is one of those holidays whose more earthly (read: pagan) roots have somehow slipped through the cracks, persisted.  The yule log, the mistletoe, the evergreen branch bespotted w/ trinkets, the orange pin-cushioned w/ cloves, the (yes, really) glass of eggnog; no matter what yr spiritual persuasion, whatever holiday you celebrate come December, you’re probably also enacting some age-old traditions and celebrating (even if unawares) not just birth of deity, but more earthly delights, things specific to this point in the season, when we stop leaning away from the light and start leaning toward it.

navets spinach carrots

What better reason to celebrate and merry-make?!  This Solstice, I’m giving you a most practical gift.  A how-to on soup.  That’s right, soup.  Stone soup.  You know, the kind of soup you can make w/ whatever you have on hand.  The kind of soup that gives new life to a bowl of soaked grains or beans, a bunch of wilting spinach, those few forgotten carrots.  Basic soup.  The kind of soup I imagine simmering in a cast-iron cauldron over an open hearth in a cabin in the mountains centuries ago.  The kind of soup I make in my kitchen almost weekly.  Improvisational soup.  The kind of soup that needs, not a strictly adhered-to recipe, but only some gentle guidance.  Self-love soup.  The kind of soup that is deeply–bone-deep, blood-deep, soul-deep–nourishing.

Winter is officially here and what better gift to give yrself and/or yr loved ones than a bowl of all that?

solsticesoup

Stone Soup How-To:

Preface:  There are two cooking habits to get into groove w/ for maximum stone-souping this Winter.  They couldn’t be easier, but they do require a bit of time and forethought.

Habit #1:  Soak some grains.  And/or beans.

There’s a reason for this blog’s name, y’all.  Getting into the habit of always having a bowl of some grain or bean soaking has made preparing nutritious meals on-ze-fly easy as can be for me.  Simply measure out a cup of whatever grain or bean you haven’t used in a while (I rotate through different varieties of rice, spelt-berries, wheat-berries, barley, polenta, black beans, flageolets, etc., etc.) into a bowl, cover w/ warm water and a splash of something acidic (apple-cider-vinegar, lemon, sauerkraut-juice) and let sit overnight or at least 7 hours.  This deactivates compounds that bind-to and prevent absorption of certain nutrients.  Having a bowl of a grain or bean soaking on yr counter everyday means that you’re eating different whole grains and beans everyday which means that your fiber intake is probably soarin’.  More fiber = better digestive health = better overall health.

Habit #2: Make bone-broth. Lots of it.

Having a freezer full of bone-broth is like having a secret spin-straw-to-gold kind of goblin in yr very own kitchen (and w/o all the weirdness regarding yr first-born).  See my how-to on broth here.

Onto the recipe! I’m detailing the last version of stone soup I made, w/ brown-rice, lots of spinach, carrots, turnips and potatoes, but don’t pay as much attention to the specific ingredients as to the method.  Feel free to make adjustments, substitutions; to improvise as you see fit.

#1.  Dice onions.  I usually use at least one large yellow onion to start my stone-soup.

#2.  Heat large, cast-iron pot on medium heat.  Add big knob of ghee.  Let melt and add onions.  Sprinkle w/ salt and stir.

#3. While onions are cooking, prepare your other vegetables:  mince garlic (I like to use 5+ cloves), dice carrots (usually 2), cube turnips and potatoes (2 of each), chop dark leafy greens (I use the whole bunch.  These will cook down a lot, so don’t be shy).

#4.  Add your vegetables to the pot as they’re ready.  Add more ghee if things are looking dry.  Add salt.  I usually follow the above order (1st garlic, then carrots, and so on).  Stir.

#5.  Drain yr grains or beans.  Add them to the pot.  Stir.

#6.  Add your bone-broth along w/ a bouquet-garni (thyme, sage, rosemary, bay laurel).  If you don’t have enough broth to cover the contents of yr pot, add some water.  Turn heat to high.

#7.  Once pot is boiling, skim away any surface impurities (the foam that rises to the top).  Turn heat to low, put lid on pot and simmer.  Simmer as long as it takes to fully cook yr grain/bean, checking tenderness of vegetables while you go.  For this brown-rice version, it took 40 minutes.  For bean versions it’s taken 1+1/2 hours.

#8.  Ladle up and enjoy w/ drizzle of olive oil, plop of sour-cream, squeeze of lemon, and/or whatever else floats yr vessel.

Yule tidings to ye, and merry stone-souping!

Filed Under: Dinner, Lunch, Plant, Recipes, Seasons, Winter Tagged With: basicsoup, bonebroth, simple, soup, stonesoup, vegetablesoup, winter, wintersoup

  • 1
  • 2
  • 3
  • Next Page »

Copyright © 2025 · The Soaked Bean