 I’ve got a bone to pick with you, bone broth. With a feature in the NY Times, a top position on many a “What’s Hot” list (yes, those still exist), and the success of a broth-centric shop in the East Village (to-go cups! of broth! for 10 US dollars!), it’s safe to say that you are having a moment. And while I couldn’t be happier that more & more folks are coming to know your nutrient-rich ways, it’s just that, I feel like, you’ve changed. The same way kale or Tibetan butter tea have changed (yep, I said it. #nutritionistproblems): not in actual, physical make-up, but in public perception, market opinion. You’ve gone from most humble foodstuff that just so happens to be nourishing, to Super Food, with a capital S and all the ensuing connotations.
Our vision of health tends to be indistinguishable from our vision of attractiveness, of success. And so, just as the kale smoothies of 2012 promised to make us healthier (skinnier) and as bulletproof coffee (a translation of butter tea) is currently promising to make us healthier (not only skinnier but smarter, too), bone broth is being marketed as panacea for all that ails, and especially those more prioritized ailments like spotty skin, thinning hair, and love handles.
Bones are being valued now, an undoubtedly positive development considering that they were once categorized as “waste” and disposed of accordingly. However, this positive development is not without its complications. Bones are, after all, a Super Food now, and, as with kale, the price of bones seems to rise according to the level of “health-consciousness” of the community. In Geneva, most bones (even ones from grass-fed, consciously-raised cows) are free. In Vancouver, a pound of bones (and not necessarily marrow or meaty ones) could cost up to 12 Canadian dollars. Thus, (in a profoundly ironic turn of events) bone broth becomes a food, not of economy, but of privilege (10 dollar to-go cups!). This is exclusionary and just not cool.
Now, don’t get me wrong. I love bone broth. I more than love it. I L-U-R-V-E it. (See this love letter detailing why). Nothing brings me more joy than converting the uninitiated to the way of the bone. I truly believe it plays an important role in a balanced, nourishing diet, as well as in a more sustainable system of animal husbandry. Coincidentally, it’s also delicious and the addition of broth to something as simple as a pot of rice is nothing short of miraculous.
I’m just wary of our tendency to position certain foods within a kind-of exalt/abase cycle (See: soy, agave nectar, wheat bran, etc.). Firstly, because it’s exhausting. Secondly, because every person’s dietary needs are different according to their lifestyle, their physical, mental and spiritual constitution, and their geographic location. And thirdly, because I believe that in order to really heal what ails us–yes, even love handles and spotty skin–we need to bring nourishment into our lives from many directions, not just from one to-go cup.
And so I leave you with my recipe for beef-broth. One based on traditions, on creating something (a food) out of nothing (a formerly inedible substance); liquid sunshine from bare bone.

This broth won’t make you skinnier, or smarter or “healthier” in our entangled sense of the word. But it will, if you let it, nourish you. And, alongside other nourishing practices like, for example, self-love, gratitude, 64oz of water every day, interpretative dance, it can, eventually, contribute toward healing in whatever form that takes for you.
Beef Bone Broth
Notes:
The steps in making beef broth are quite similar to those in making chicken broth. If you’re a broth beginner, I’d recommend reading through my post of chicken broth & broth-making essentials here.
As always, the goal here is to get your broth to gel. Attending to steps #1 & #8 will ensure that all is gel-tastic.
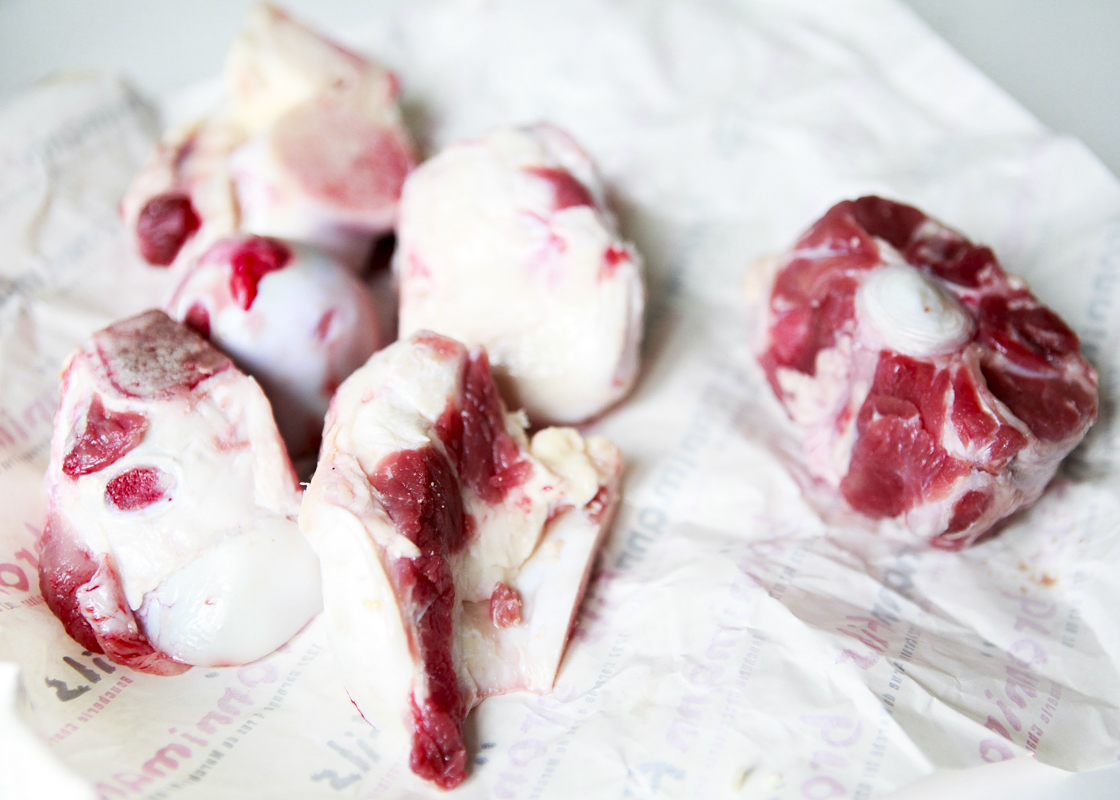
#1. Use cartilaginous bones.
Collagen, which is found in cartilaginous bones like the joints, neck, head and feet, renders gelatin. For beef broth, if I can get my paws on one, I use a portion of a calf’s foot. If not, other cartilaginous bones work (almost) just as well.
#2. Use bones with some meat on them.
This won’t affect the gelatin content of your broth, but it will increase its flavor immensely. I usually use a small portion of oxtail, as it can be quite meaty and is less pricey than ribs or the like.
#3. Use marrow bones.
This also won’t affect the gelatin content of your broth, but it will add many nutritious delights. Marrow is an excellent source of omega 3 fatty acid, which is essential for brain-health, of the amino acid glycine, which helps make and repair proteins, and is a complete form of vitamin A, which is an important catalyst for many, many biochemical processes and a powerful antioxidant.
#4. Add vegetable scraps (if you have them) or even whole vegetables.
Bone broth is a great way to make use of kitchen “waste”–onion skins, garlic skins, ends of carrots, potato peelings. If you’re making broth weekly, you can store these in the fridge. Otherwise, freeze them for later use.
Whole cloves of garlic, halved onions, halved potatoes all add flavor to your broth.
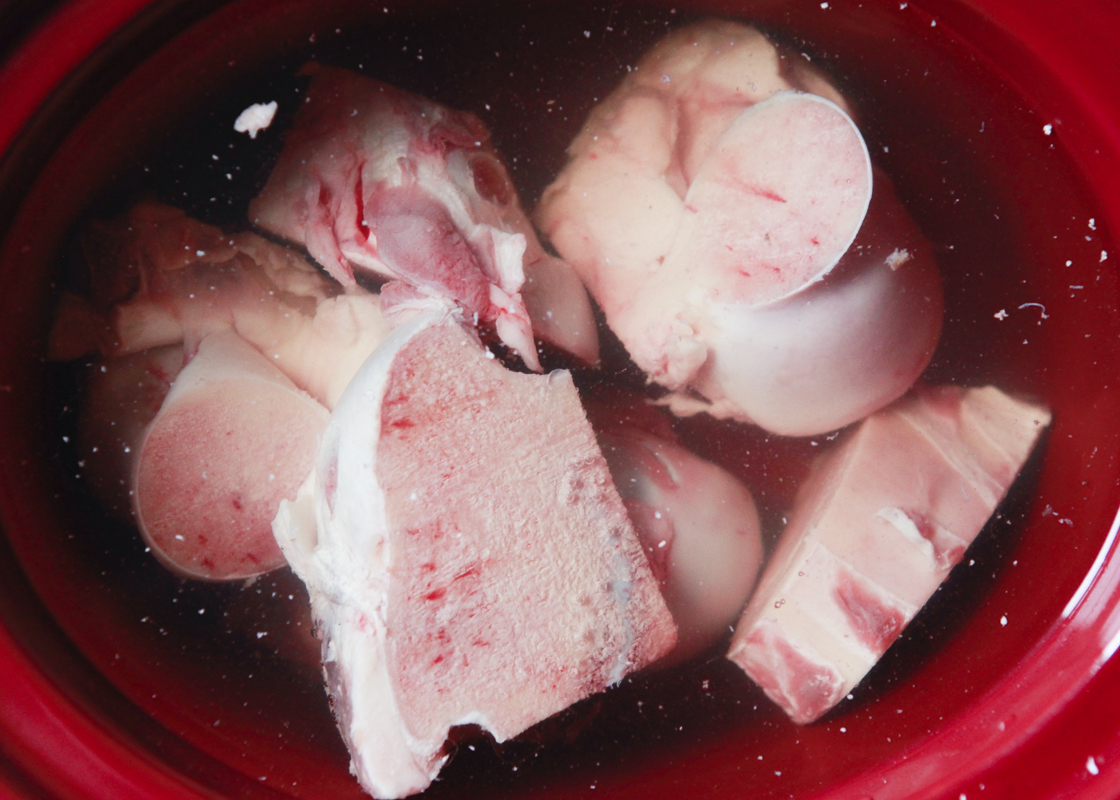
#5. Place the bones (except the meaty ones) in a large stockpot. Fill to the top with cold water and 1/4 cup of apple cider vinegar. Let sit for an hour.
The vinegar helps to draw out the minerals from the bones.
#6. While the other bones are soaking, brown your meaty oxtail bones in the oven.
This will add complexity to your broth’s flavor. I usually do this at around 400F for 15 minutes.
#7. Add meaty bones to the pot. Turn heat on medium-high. When the liquid starts to roll, turn down heat immediately to low. At this point, there will be a good amount of foam on the surface of your broth. Skim, skim, skim.
This foam contains surface impurities and will negatively affect the flavor of your broth.
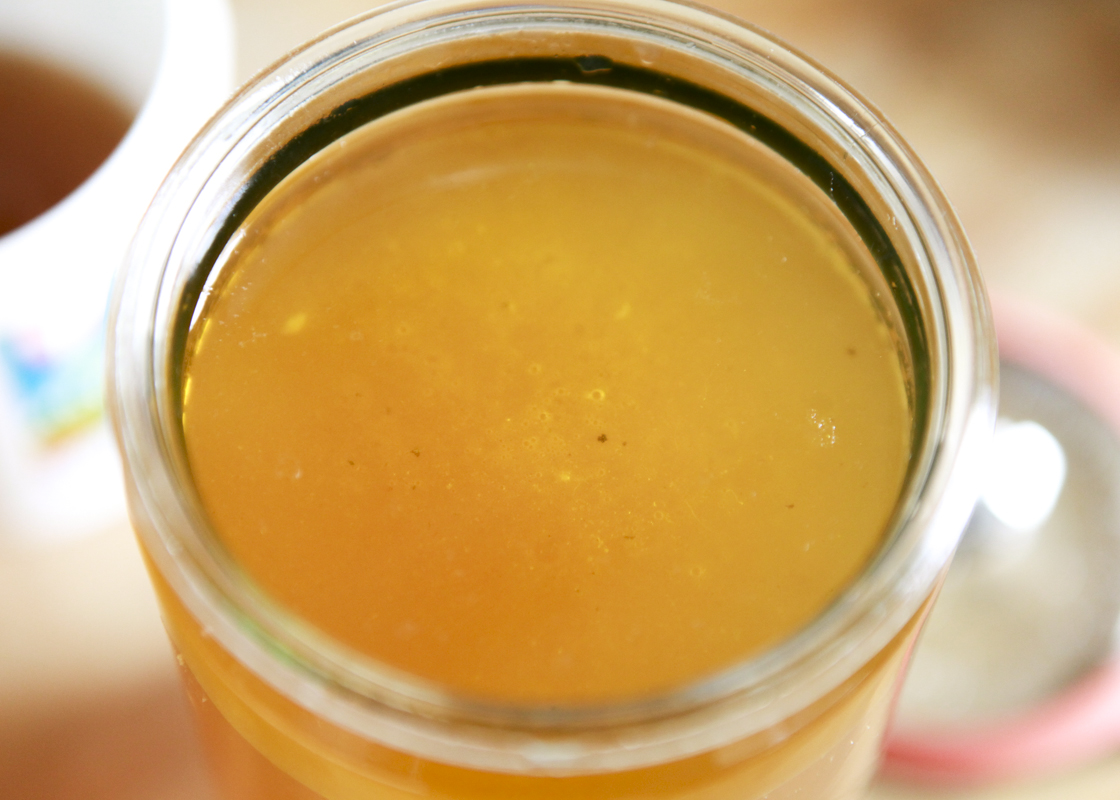
#8. Simmer, simmer, simmer.
I usually cook my beef broth for 24 hours +. You can keep it cooking for up to 72 hours, but I find that this can be tricky & my broth usually gels after a good 24.
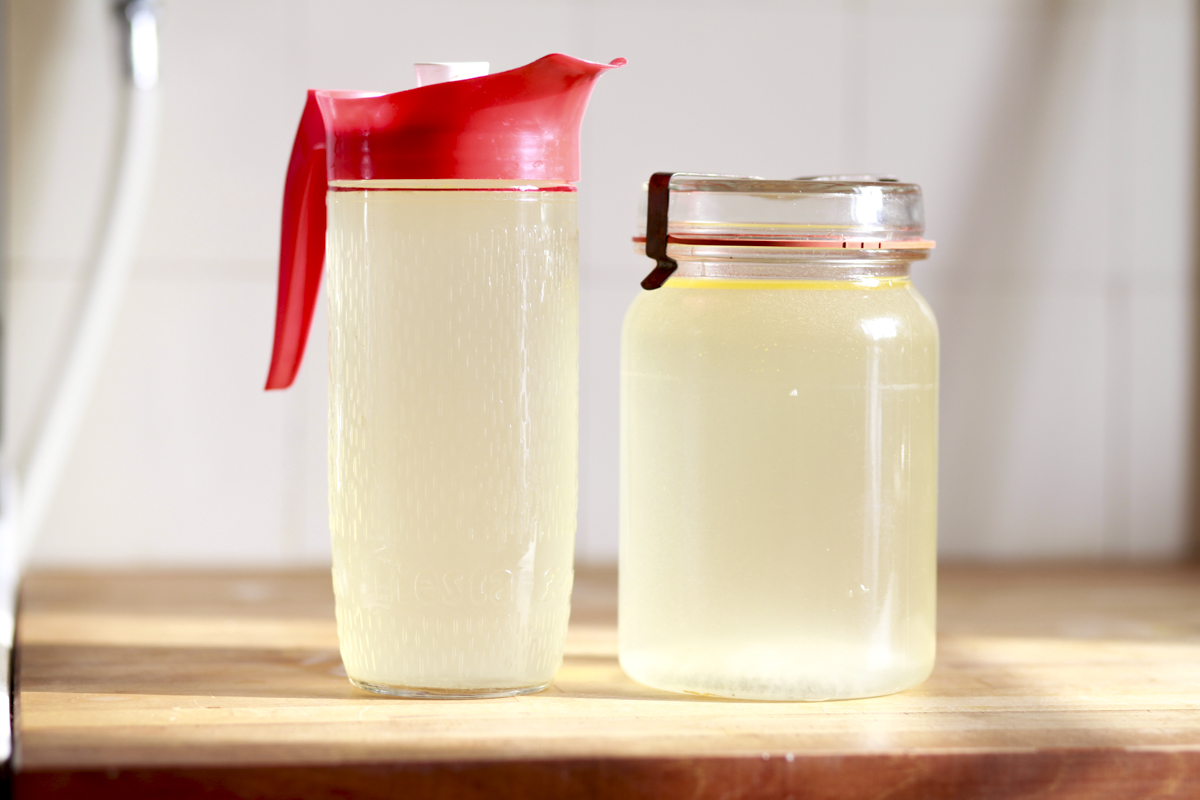
#9. Let cool in pot, then strain and pour into sterilized glass jars.
These keep in the fridge for 4-5 days. A layer of fat will form at the top of your cooled broth. This helps preserve your broth and can also be used to, say, fry an onion, or cook an egg.
You can freeze your broth for later use. Frozen broth will last indefinitely, it would seem. I’ve experimented with freezing in glass jars, but have had inconsistent results–with the glass shattering more often than not. I now use plastic bags, letting the broth cool completely before transferring it.
#10. Don’t waste the meat or marrow!
You’ve just slow-cooked oxtail for 24+ hours. Save this & use it on a sandwich, or in a taco.
Same goes for marrow. You can spread it on bread, mix it with butter, or top a baked potato with a spoonful of it.