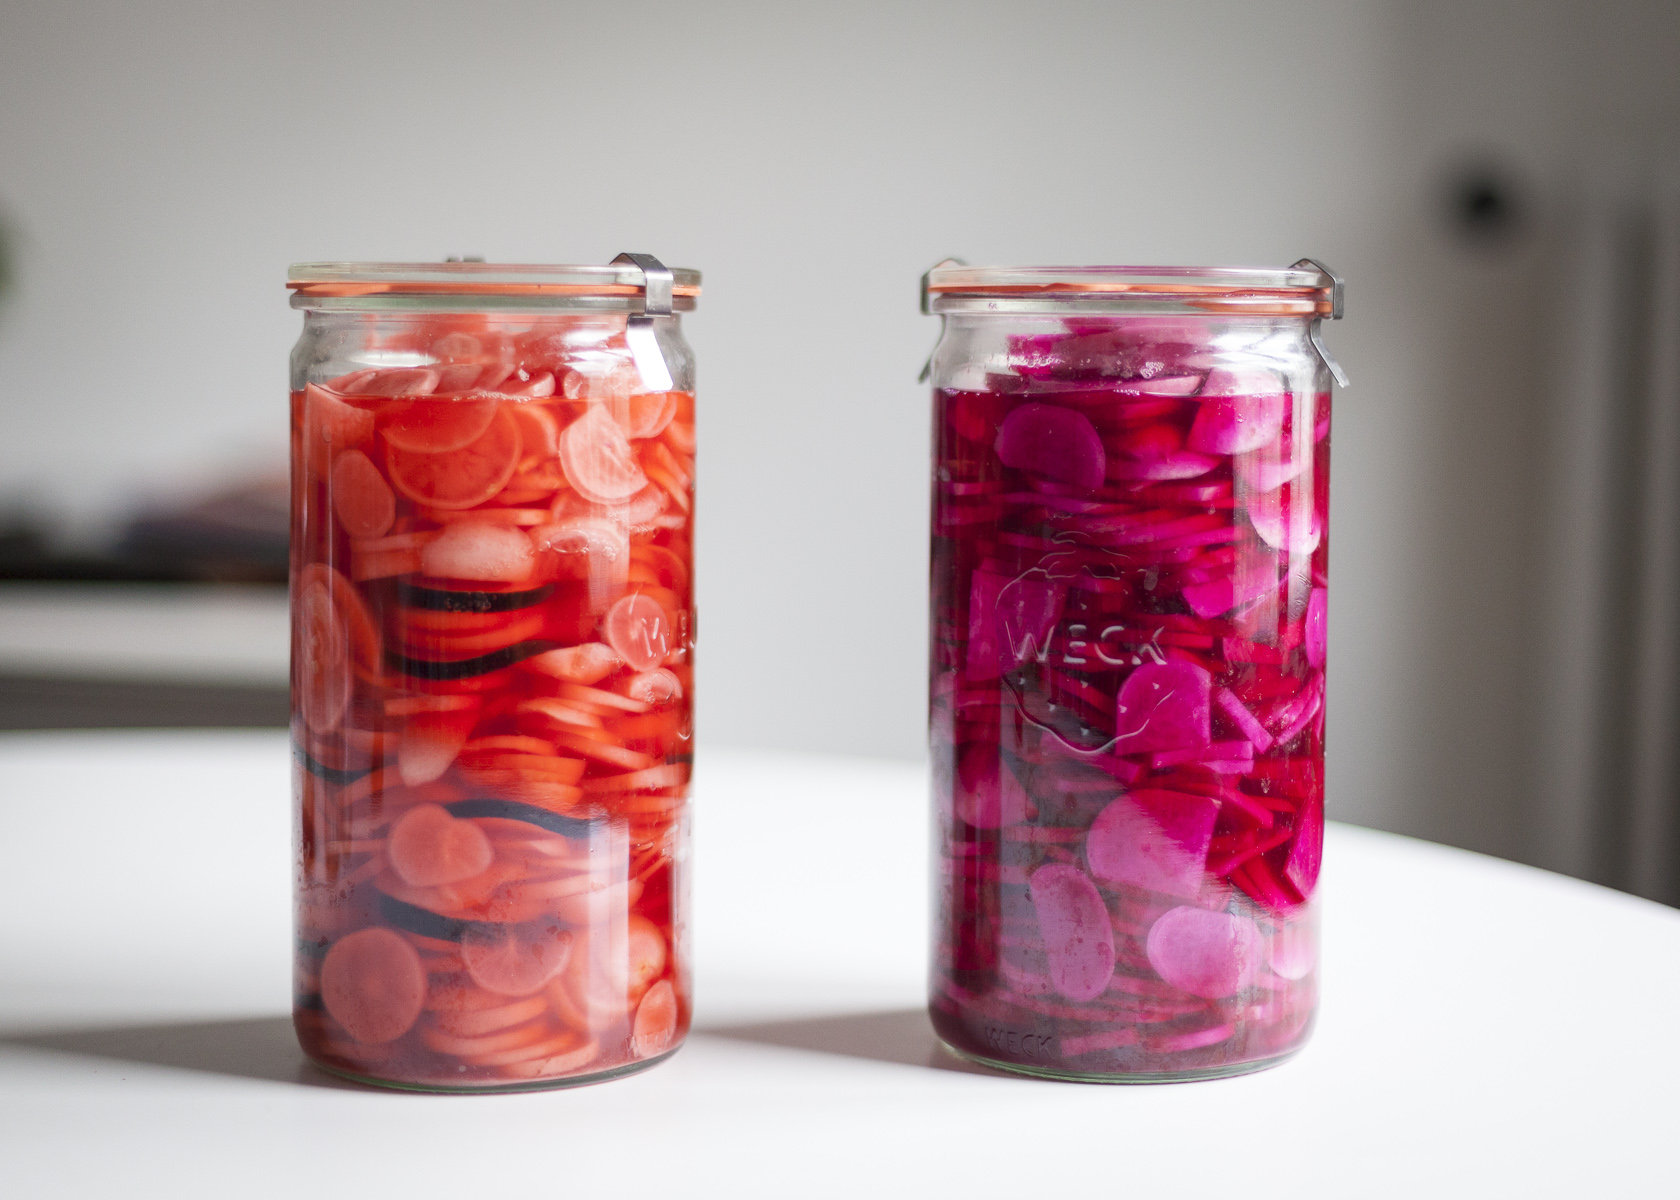
The more you get into pickling, the more you realize you can pickle (or more rightly, ferment) practically anything. Typically cucumbers are the gate-way vegetable, followed by cabbage for ‘kraut, green-beans for New England style dilly-beans, then carrots, turnips, radishes, kohlrabi, hot peppers, lemons, garlic…
At some point (perhaps after kohlrabi), the possibilities begin to seem absolutely endless. I, personally, have pickled all of the above plant-foods and have tasted countless other ones (mangoes, the stalks from Swiss chard, mushrooms, pineapple [!!]). Then, there’s the boundless amount of combinations–cabbage w/ algae and nettle, radishes and turnips mixed w/ thin slices of beet, carrots w/ turmeric and garlic and zucchini and turnips and cauliflower.
Yep, you can pickle cauliflower, too.
The above combination was my first introduction to pickles. Iraqi torshi (the Arabic word for pickles): stained-yellow, all crunchy and salty and sour. This was the jar that was consistently found in my Iraqi grandmother’s fridge and the fridge of, I’d wager, most Iraqi grandmothers. This was the jar I would tuck my fork into and ply pickle after pickle out of, until my mouth would buzz from the brine.
Torshi was a year-round deal in my grandmother’s kitchen, but I’m categorizing my variation as a Winter kind-of deal because, even though there’s cauliflower a-plenty in the Summer, there just aren’t as many other Winter candidates for pickling (raise yr hand if you’re already fed-up w/ ‘kraut) and ’tis the season to celebrate variation in yr local diet when you can find it.
As usual, this isn’t a super-strict recipe, but more a set of guidelines for you to do w/ what you will. I use cauliflower, red carrots, turmeric root and garlic in my version, but if you live in a region where you have other options (like zucchini and summer turnips) then throw those in as well. If you want to stain your pickles yellow, use powdered turmeric instead of the root. The main point is to cut your vegetables into even-sized chunks to get them fermenting at a similar rate (in order for them to be similarly crunchy).
Winter Torshi
Note: For more information on the health benefits of lacto-fermented pickles see here.
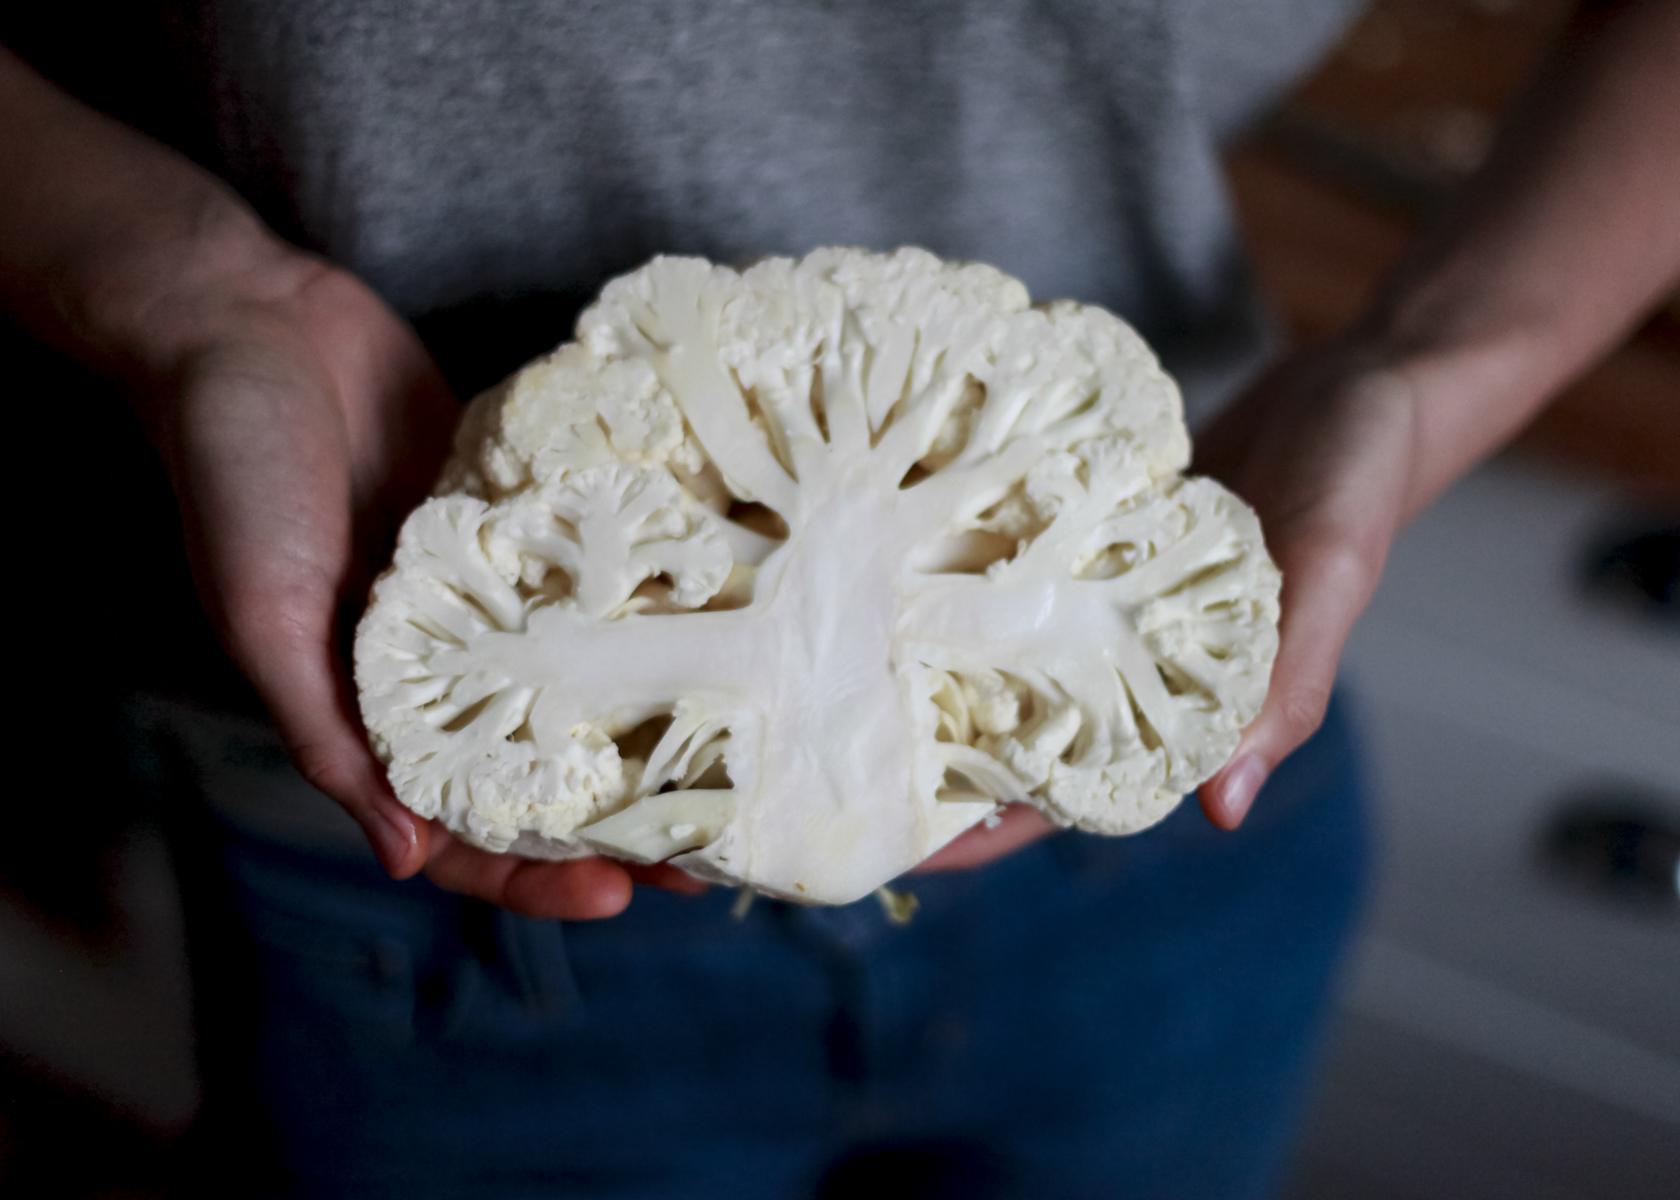
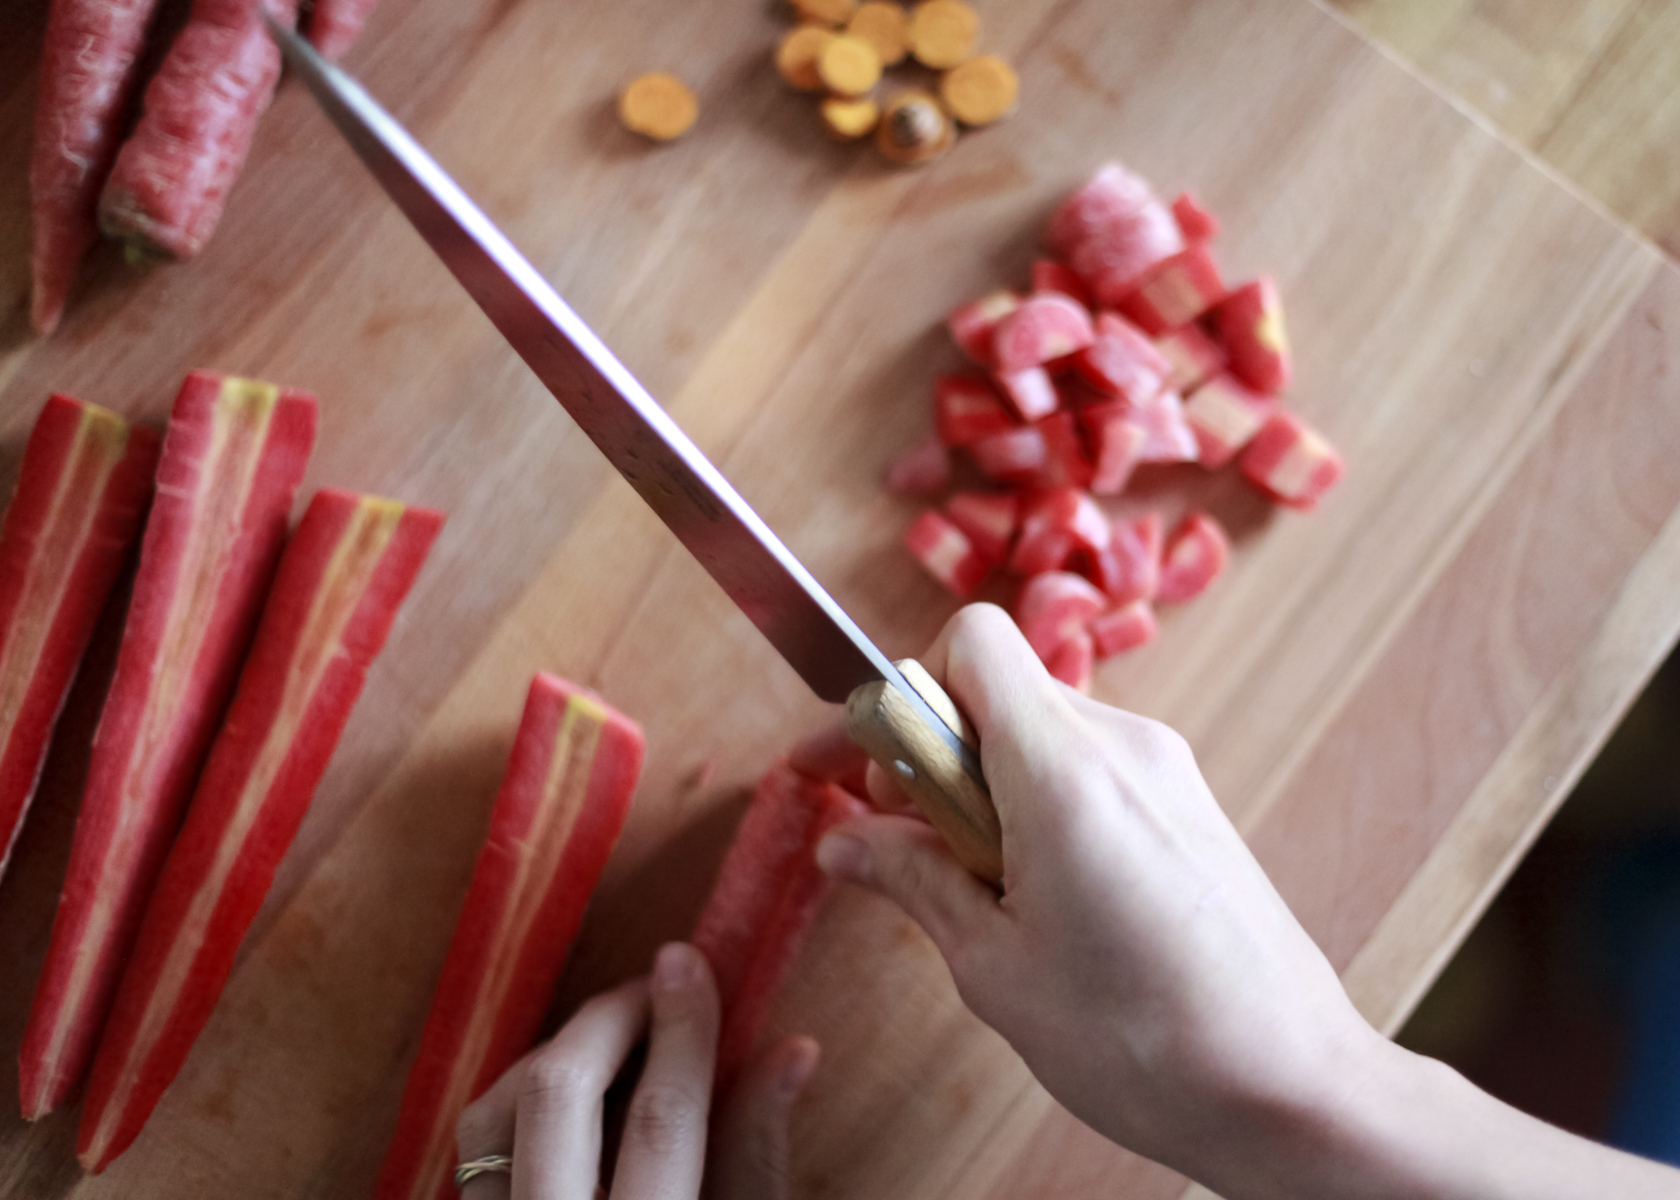
#1. Chop cauliflower and carrots (and zucchini and summer turnips, if you have them) into even-sized chunks. Slice turmeric into thin strips, peel garlic and leave whole.
#2. While you’re chopping, put a kettle to boil. Pour boiling water into seal-able glass jar. Let sit for a few moments. Pour water out of jar and let cool (either by pouring cold water into jar, or just leaving it for a few more moments).
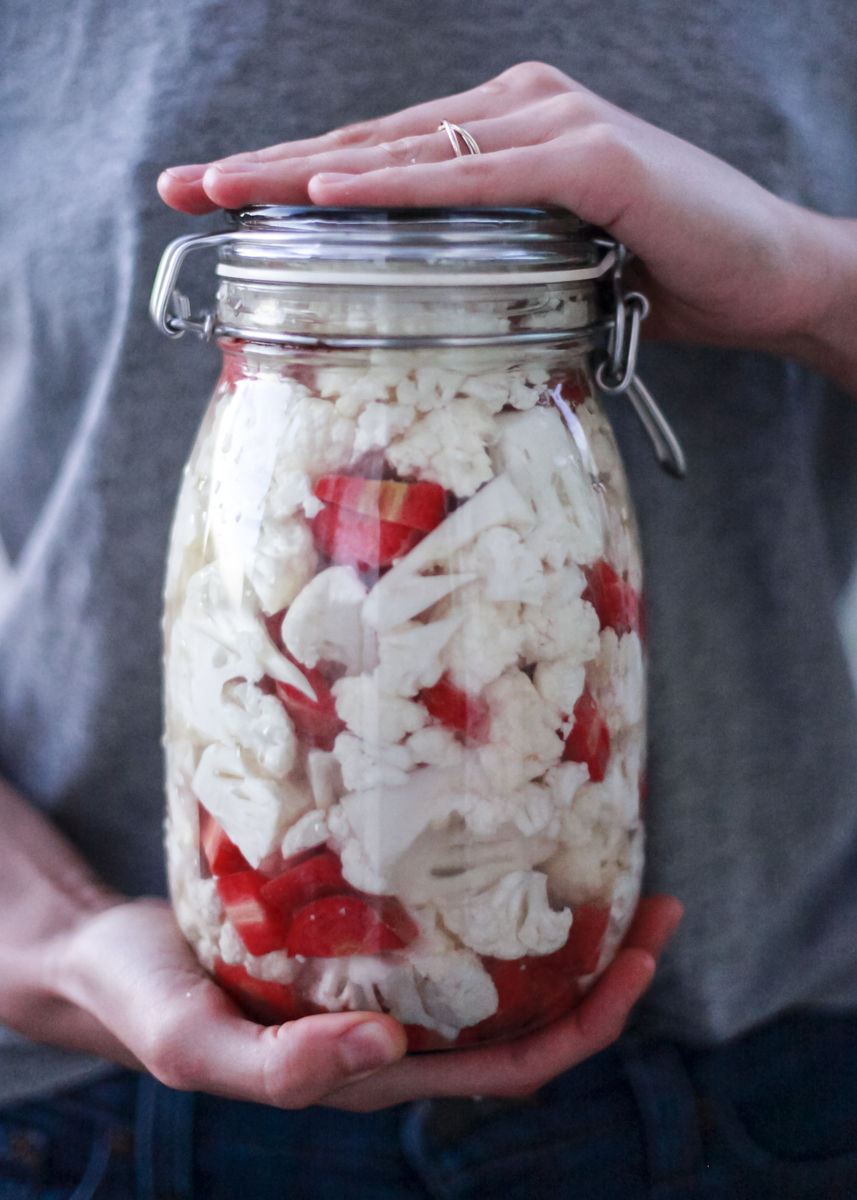
#3. Add vegetables and herbs to jar. Stuff until jar is full.
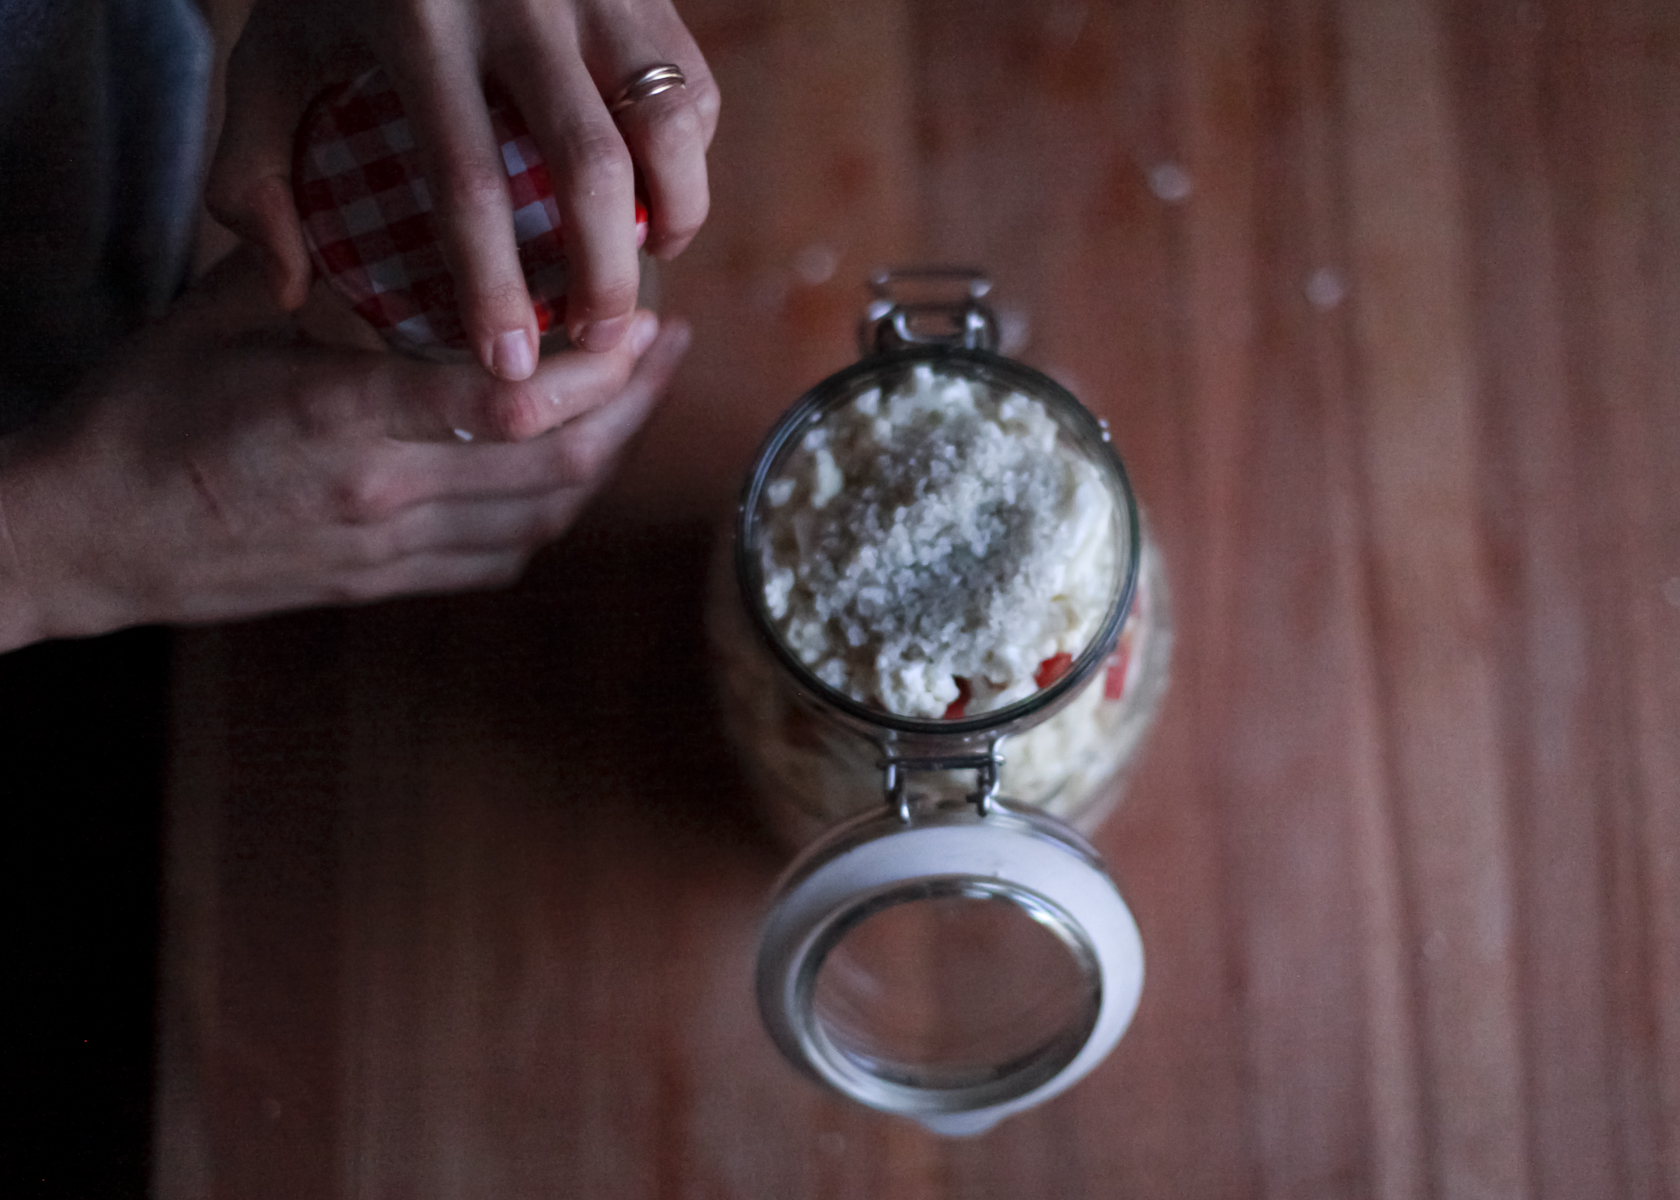
#4. Add celtic sea-salt (or another unrefined, sun-dried sea salt). The amount depends on the size of your jar. For example, I used a 2-litre sized jar so I added 3 tablespoons of salt. If your jar is smaller, add less. If it’s bigger, add more. You need your brine (your salt + water solution) to be salty enough to promote the production of beneficial bacteria, so there’s a minimum amount necessary, but there’s no maximum. Experiment and taste your brine as you’re working.
#5. Fill jar w/ non-chlorinated water. (For those of you who are state-side, to de-chlorinate your water simply fill a jar w/ tap water and let stand for at least 30 minutes. Good practice to get into even when not making pickles, methinks.)
#6. Make sure your vegetables are submerged under your brine. To do this, you may need to use a tool–like a sterilized (boiled) stone, or the root-end of the cauliflower–to press down on your vegetables and seal them in. If you packed them super tightly, you won’t need this tool. You just need to make sure none of your vegetables are exposed to air.
#7. Seal tightly and store in a cool, dark place for at least 3 days. I fermented my Winter torshi for 5 days because I wanted it to be crunchy. After opening, store in the refrigerator.
