The Soaked Bean

Seeking Nourishment, Finding Traditions

  • About
  • Recipes
  • Library
  • Events

Last-Stretch-of-Winter Lemons

February 28, 2015 By Lauren

It’s nearly March, which means (from a glass-half-full vantage) that it’s nearly Spring or (from a glass-half-empty one) that citrus season is nearing its end and that it’s nigh time for us in the Northern Hemisphere to bid farewell to (relatively) locally-grown lemons.  Sigh.

You see, as much as I try to keep my diet in harmony with my region’s seasonal rhythms, I tend to make excuses for lemon.  Sweet, sunshine-hued lemon, the only fruit that I consume daily, throughout the day in fact, starting my morning with a limonene concentrate and proceeding to sprinkle its juice on grains and greens, roast slice on top of chicken or fish, drop wedge in glass of water or cup of herbal tea.  Come Winter or, for those experiencing the isn’t-it-over-yet blues, Citrus Good Times, I fill my market bag with the finest lemons that this region has to offer.  And when the winds have shifted toward Spring, my hands can’t help but reach for those mesh-bags, y’all know the ones, brightly hued and filled with 10 not-always-so-fine-but-fine-enough looking lemons.  And in Summer, seasonal-living-be-damned, I make lemonade.

I can’t quit you, lemon.  And to speak, pardon my French, franc-ly, I don’t want to.  But this year, I’m going to try to reserve the use of the fresh version of you and make more use of the preserved one.

saltylemon

Yep, that’s right preserves, or the results of preserving the bounty of one season for the next.  Like curing ham in the fall, or making sauerkraut in the winter, or eating as many strawberries as humanly possible in June.  The lemon is no stranger to the process of preserving and, like many other plant-based lacto-ferments, all that’s needed is some salt, a vessel and time.

lemonylemon.218

Call them pickled or lacto-fermented or salt-brined or just plain ol’ preserved, these lemons will last far beyond this last stretch of Wint…, ahem, Citrus Good Times.  And while they won’t yield even remotely…remotely!… palatable results for something like, say, lemonade, the combination of salt and time mutes the bitterness of pith and peel, meaning that preserved lemons are lemons you can eat whole.

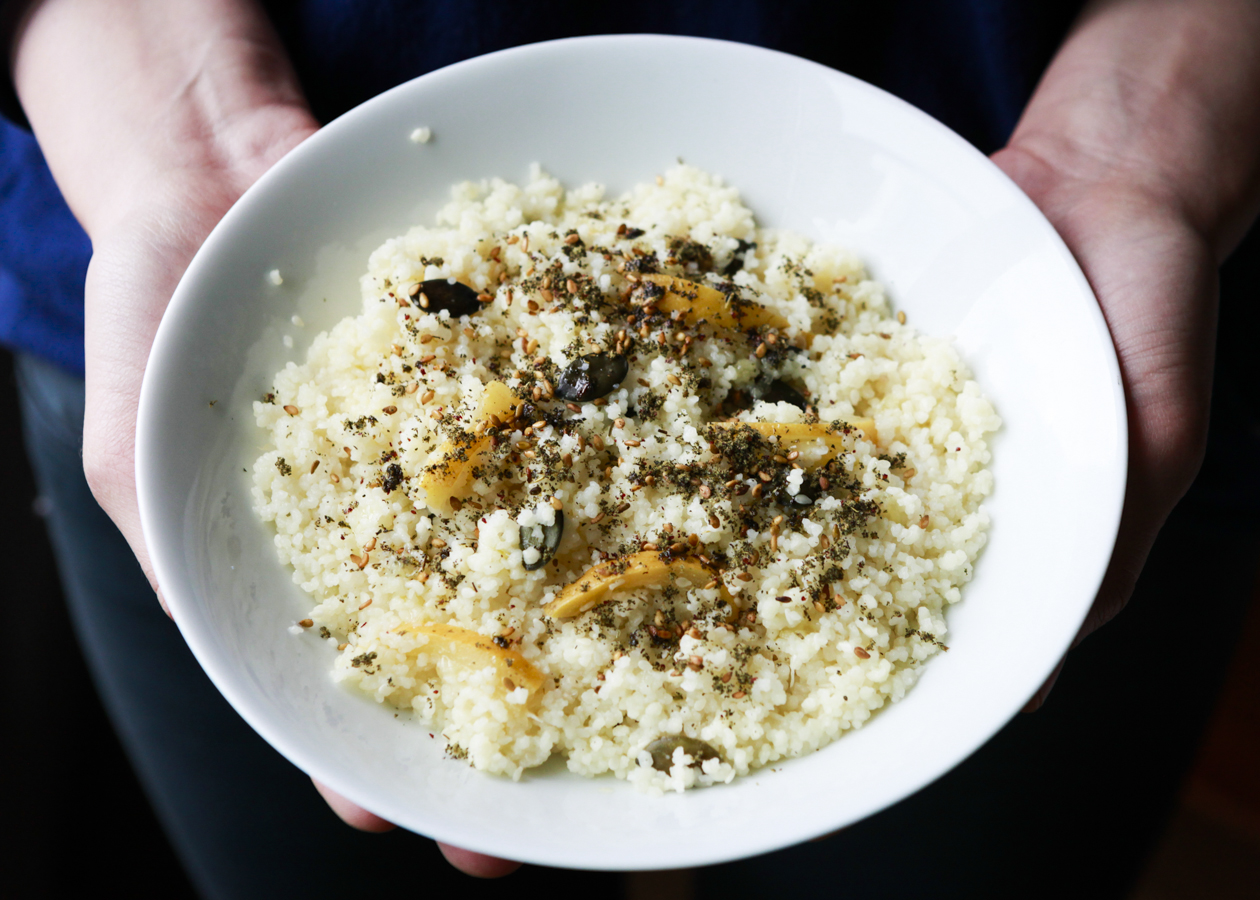
The classic use for these lemons is in chicken tagine, but I find their uniquely-umami quality lends brightness and complexity to something as simple as a plate of 10-minute couscous.  I’ve added slices to a pan of sizzling brussel sprouts, stuffed them in a roasting chicken, simmered them in a pot of spelt-berries all with equally lip-smacking results.

lemon.216

Let the Citrus Good Times roll!

Print
Preserved Lemons

Adapted from Ottolenghi's "Jerusalem"

Ingredients

  • 6 organic lemons (important! as you'll be consuming the peel); whole
  • 6 tablespoons of course Celtic sea salt
  • 6 lemons; juiced
  • 1 sprig rosemary
  • 1 sprig thyme
  • few dried hot peppers (optional, but delicious for us spice-lovers)

Directions

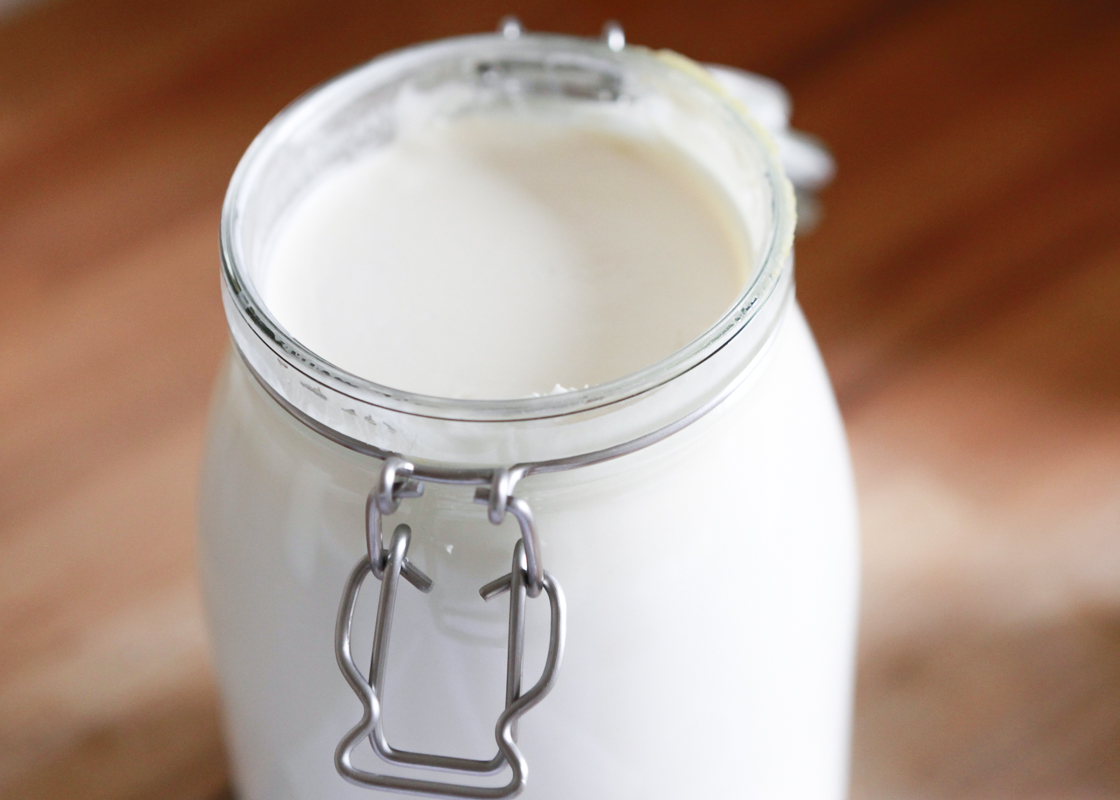
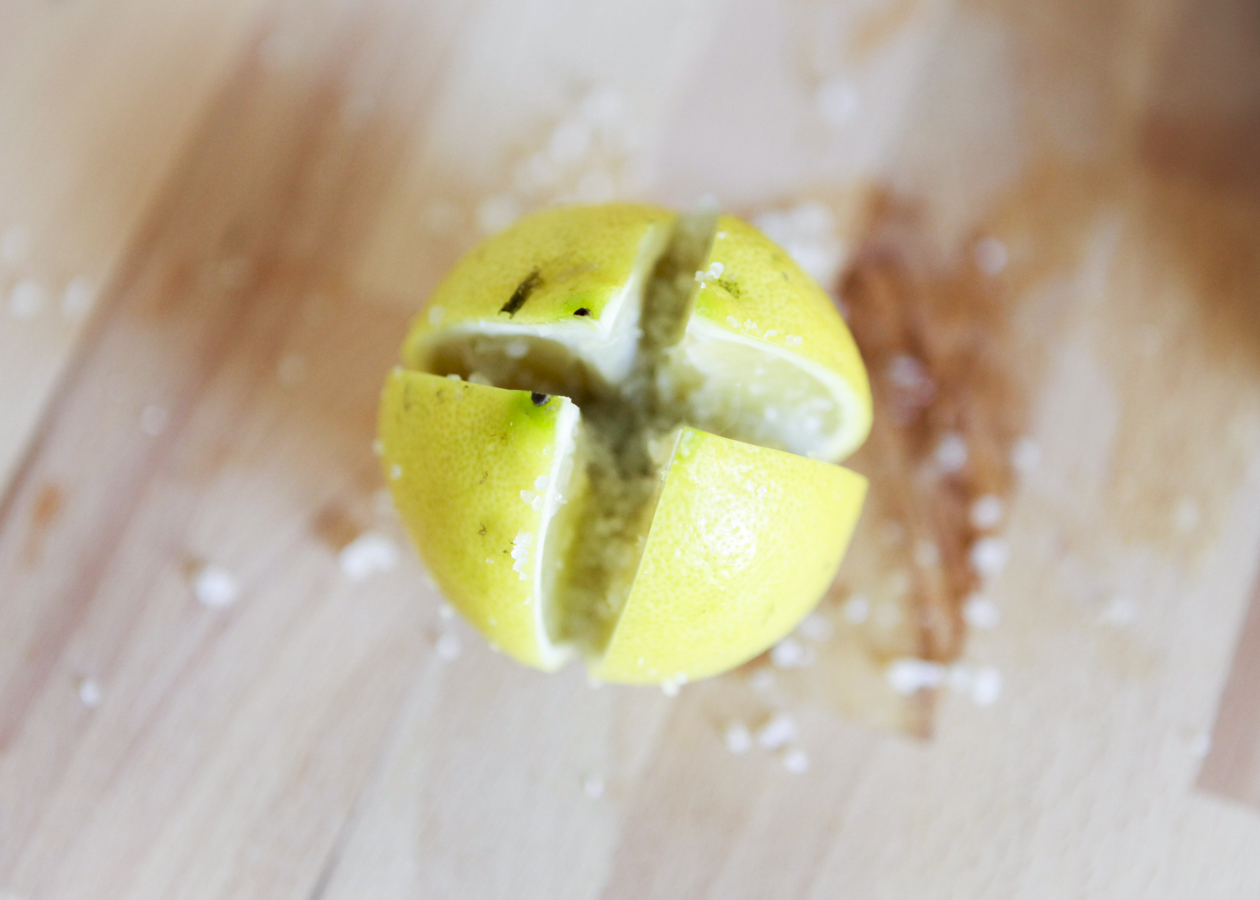
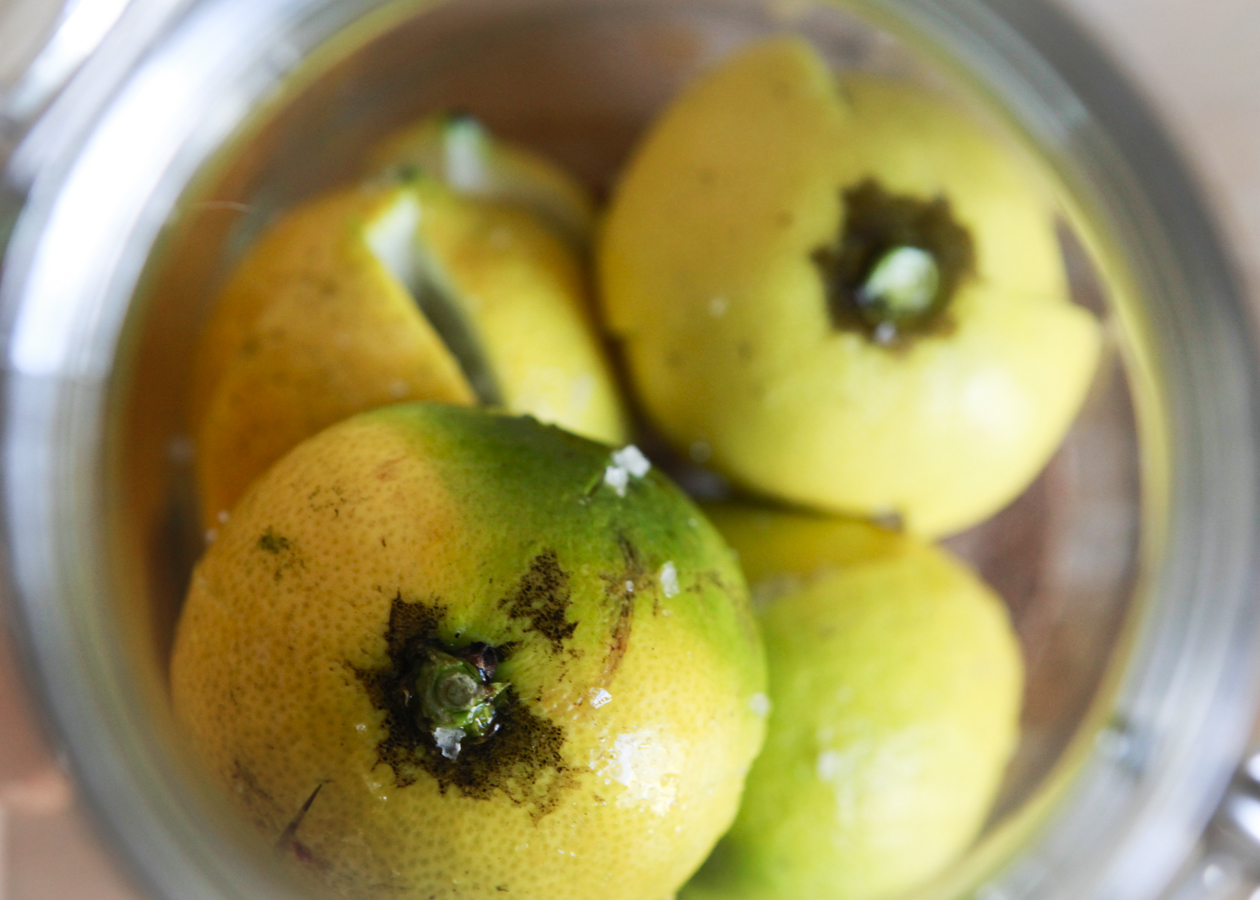
  1. Cut an "X" in each lemon, cutting deeply enough so that it folds open, but lightly enough so that it remains whole. Rub 1 tablespoon of salt into the inside of each lemon. Place lemons into a sealable glass vessel, pressing down on them as you go. The lemons should fill the jar (if your jar is too big or too small, add/subtract lemons accordingly). Seal well and wait 1 week, storing someplace cool and dry.
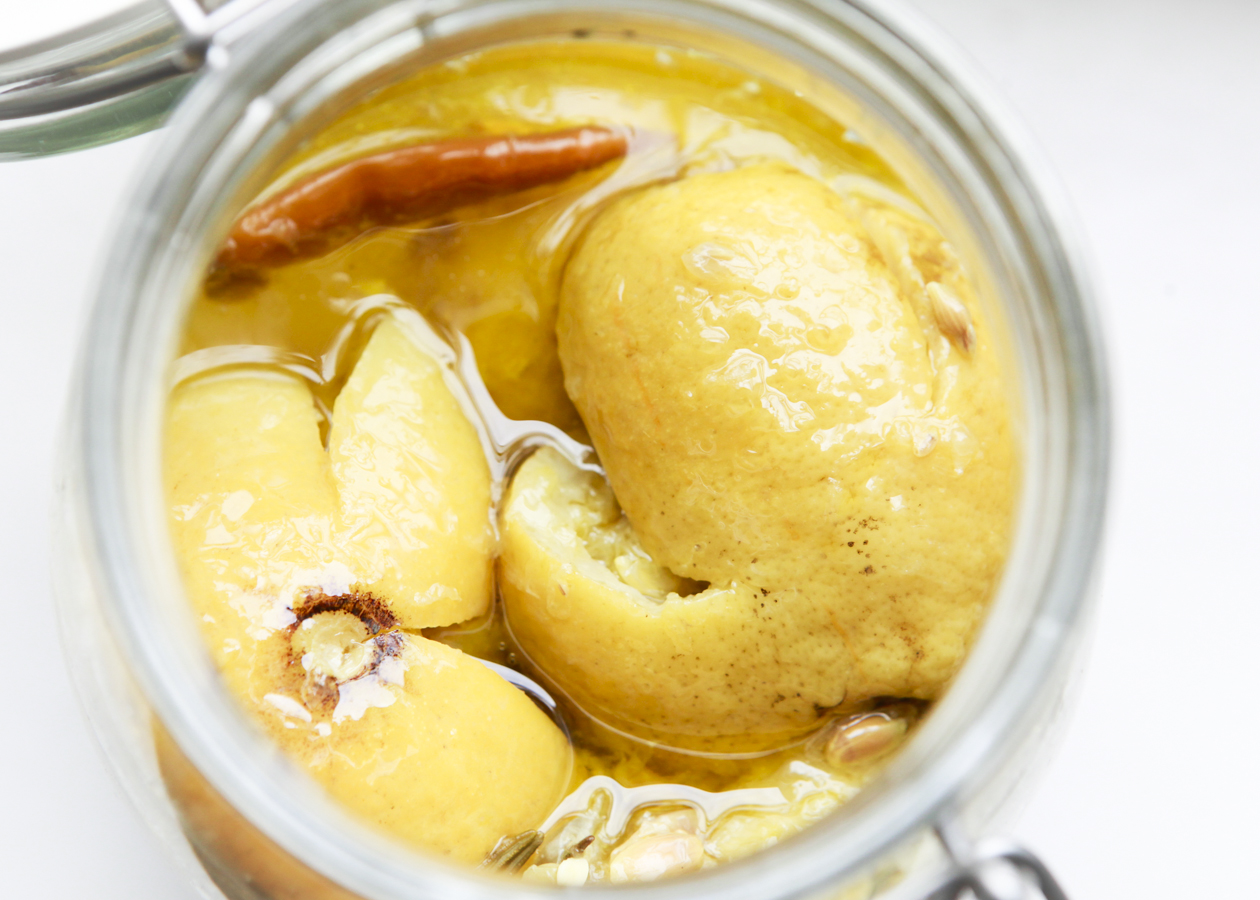
  2. Your lemons will have shrunk a bit by now and there will be some space at the top of your jar. No big deal! Add the juice of 6 lemons (or more, depending -- the goal is to cover the lemons with juice) and herbs and peppers. Add a pour of olive oil on top of the lemon juice. This layer of fat will protect your lemons from developing molds. Seal well and wait 3 weeks, storing in that cool and dry place.

After you've opened your jar, store in the refrigerator.

3.1

Filed Under: Ferments, Recipes, Seasons, Sides, Winter Tagged With: ferments, lactoferments, nutrition, preservedlemons, recipe

Raw-Milk Yogurt

November 24, 2014 By Lauren

yoghurt

I love milk and I’m not ashamed to admit it.

While some health-minded folk may beg to differ, I still believe that milk, and I mean Milk with a capital “m”: full-fat, unpasteurized (raw, alive), and brimming with all its inherent beneficial bacteria and enzymes, is a super-food. (For full milky manifesto, see here).

As raw milk is not only hard to find, but downright criminalized in most of the U.S., you can imagine my excitement when life swept me across the Atlantic to Switzerland – land of the pasture-grazing, mountain-side-roaming, behorned and, sometimes, beflowered cow. And you can imagine my disappointment when I found that, unless you’re living in a dairying village, the most widely accessible dairy foods—including butter and yogurt–have been pasteurized.

And while raw milk isn’t anywhere near illegal here, procuring it does require a bit of inventiveness.

The kind of inventiveness that found Lu & me, three buses and one long walk later, in the possession of a 10-liter plastic bucket filled to its brim with lait cru.  You’re probably wondering what would possess two people to purchase such a large quantity of such a perishable foodstuff all at once.  Well, quite simply, it was the smallest amount available. So what’s a couple to do when they want the benefits of raw milk in their lives but only have access to an impossible amount?  Make raw-milk yogurt, of course!

incubationyoghurts

Without pasteurization, the shelf life of a glass of milk is short—3-4 days, tops. This explains why, traditionally, dairy consumption revolved, not around fresh glass with cookies, but ferments: cultured butters, moldy cheeses, effervescent kefir, creamy yogurt, to name a few.

My first experience with homemade yogurt was, incidentally, in Greece. The process is simple: heat milk, add bacterial culture (or spoonful of bacteria-rich yogurt or starter) and let ferment in an incubator (or wrapped in sweaters or towels as pictured) for four-eight hours. Our notion of yogurt is much thicker, much firmer than, for example, than the dahi of India because we heat our milk past the point of pasteurization in the process.  While this produces a denser, creamier product, it also destroys all the raw-some qualities of the milk.

It’s possible to make yogurt with milk that is still, technically, raw.  Raw-milk yogurt’s consistency is somewhere between drinkable and eatable. We’ve been spreading ours on pancakes, making bircher muesli (overnight oats), and pouring it in mugs over a spoonful of turmeric and honey. It will keep in your fridge for weeks if well-sealed.

strain

Raw-Milk Yogurt

#1. Heat milk to 110-115F.   If you don’t have a kitchen thermometer, this is roughly halfway to boiling. (The milk should be warm, not at all hot).

Make sure to constantly stir, as any scorching at the bottom will affect the consistency of your yogurt.

#2. While milk is heating, sterilize glass jars by pouring boiling water into them.

Let water sit in the jars until milk is ready for transfer, as you want them to be warm for best fermentation results.

#3.   Pour milk into warmed jars, leaving a bit of room at the top. Add spoonful of yogurt from either a yogurt starter or a commercially produced yogurt with live-bacteria cultures and stir.

If you’re using bacteria from a commercially produced yogurt, you will have to continue to do so every time you make yogurt (meaning, you can’t just use a spoonful from your last batch). If you’re able to find a starter, you’ll be able to use last batch spoons every time.

#4. Seal and wrap in sweaters or towels or use an incubator, if you have one (fancy!). Place near a heater.

#5. Ferment from 4-8 hours. Experiment with the time! Some recipes call for ferments as long as 24-hours. I usually let it ferment overnight.

#6. You just made yogurt! Enjoy! Or:

  1. If you’d like your yogurt to be a bit thicker, and if you’d like some whey (for, perhaps, some lacto-fermented veggies) you can strain your yogurt.
  2. Line a bowl with some cheesecloth and pour your yogurt into the cloth. Fasten cloth and let hang over an empty bowl for two or so hours. Voila: thicker yogurt!
  3. The contents in your bowl are whey—you can store this in your fridge for up to a week and in the freezer for three months.

squeezing

hanging

Filed Under: Ferments, Kitchen Essentials, Recipes, Sides Tagged With: dairy, probiotics, rawmilk, wapf, yogurt

  • « Previous Page
  • 1
  • …
  • 4
  • 5
  • 6
  • 7
  • Next Page »

Copyright © 2025 · The Soaked Bean