The Soaked Bean

Seeking Nourishment, Finding Traditions

  • About
  • Recipes
  • Library
  • Events

Oven-Baked-Overnight Oats

February 21, 2016 By Lauren

soakedoats

If I knew how to needlepoint, I’d probably stitch this on the nearest pillow: The best breakfasts in life are simple. And if it was a particularly large pillow: And are enjoyed for far longer than they’re prepared.

Don’t get me wrong, I love a good pancake breakfast.  Home-made eggs benedict?  Heck oui!  It’s just that I don’t love spending a good portion of my morning making those things.  I want to do other things like water my plants, leaf through On Food and Cooking, or think about what to make for dinner.  It’s for these reasons that I understand why the bowl of cereal has became such a venerable American tradition.  One bowl, one spoon, a few gestures et voila!  You’ve broken the fast and you’re ready to start your day.

However, the bowl of cereal just isn’t cutting it, nutritionally speaking. Even whole-grain, minimally processed cereals go through a process called extrusion–where a high temperature and a high amount of pressure combine to create flakes and orbs and alphabet-letters while simultaneously creating chemical changes in the grains making, for example, certain protein chains toxic.

Well, heck. What about granola?

Even granola has its issues, as most of the store-bought varieties haven’t been traditionally processed, or soaked to release anti-nutritive compounds found in grains like oats, overnight making it harder to absorb valuable minerals like iron, zinc and manganese. (If you’re new to this space, read more about the importance of soaking your grains here).

Enter the bowl of overnight, or “soaked”, oats which are simply, a bowl of oats covered in a liquid (like raw milk or water or even runny yogurt) and left to soak overnight. One of the easiest, healthiest breakfasts, ever.

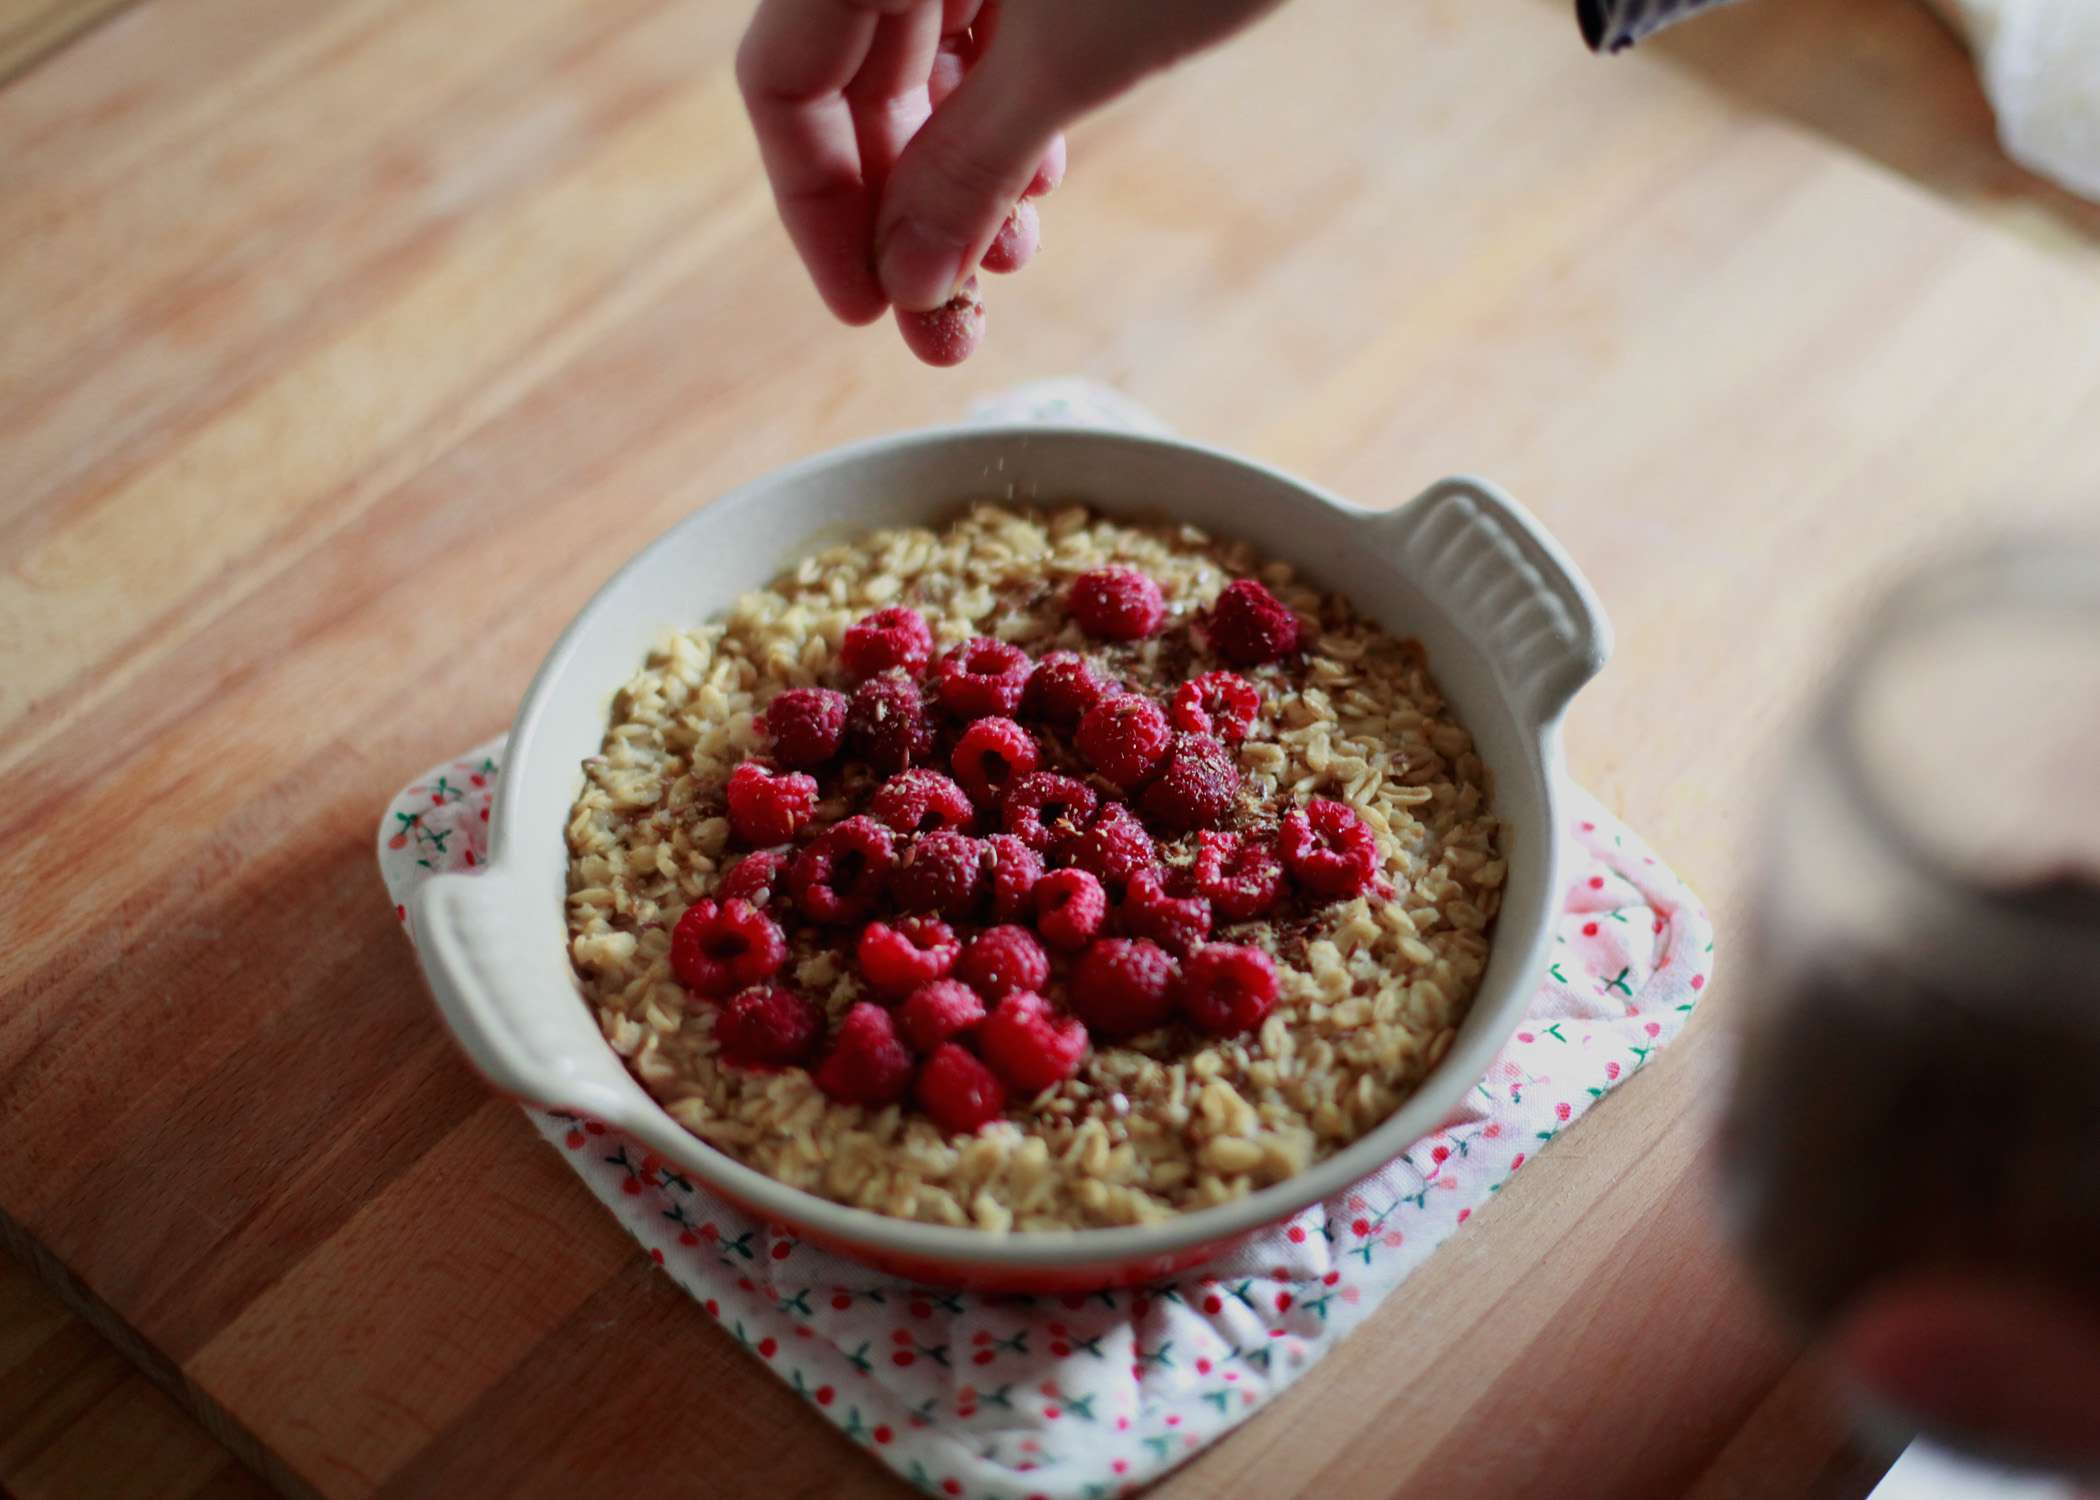
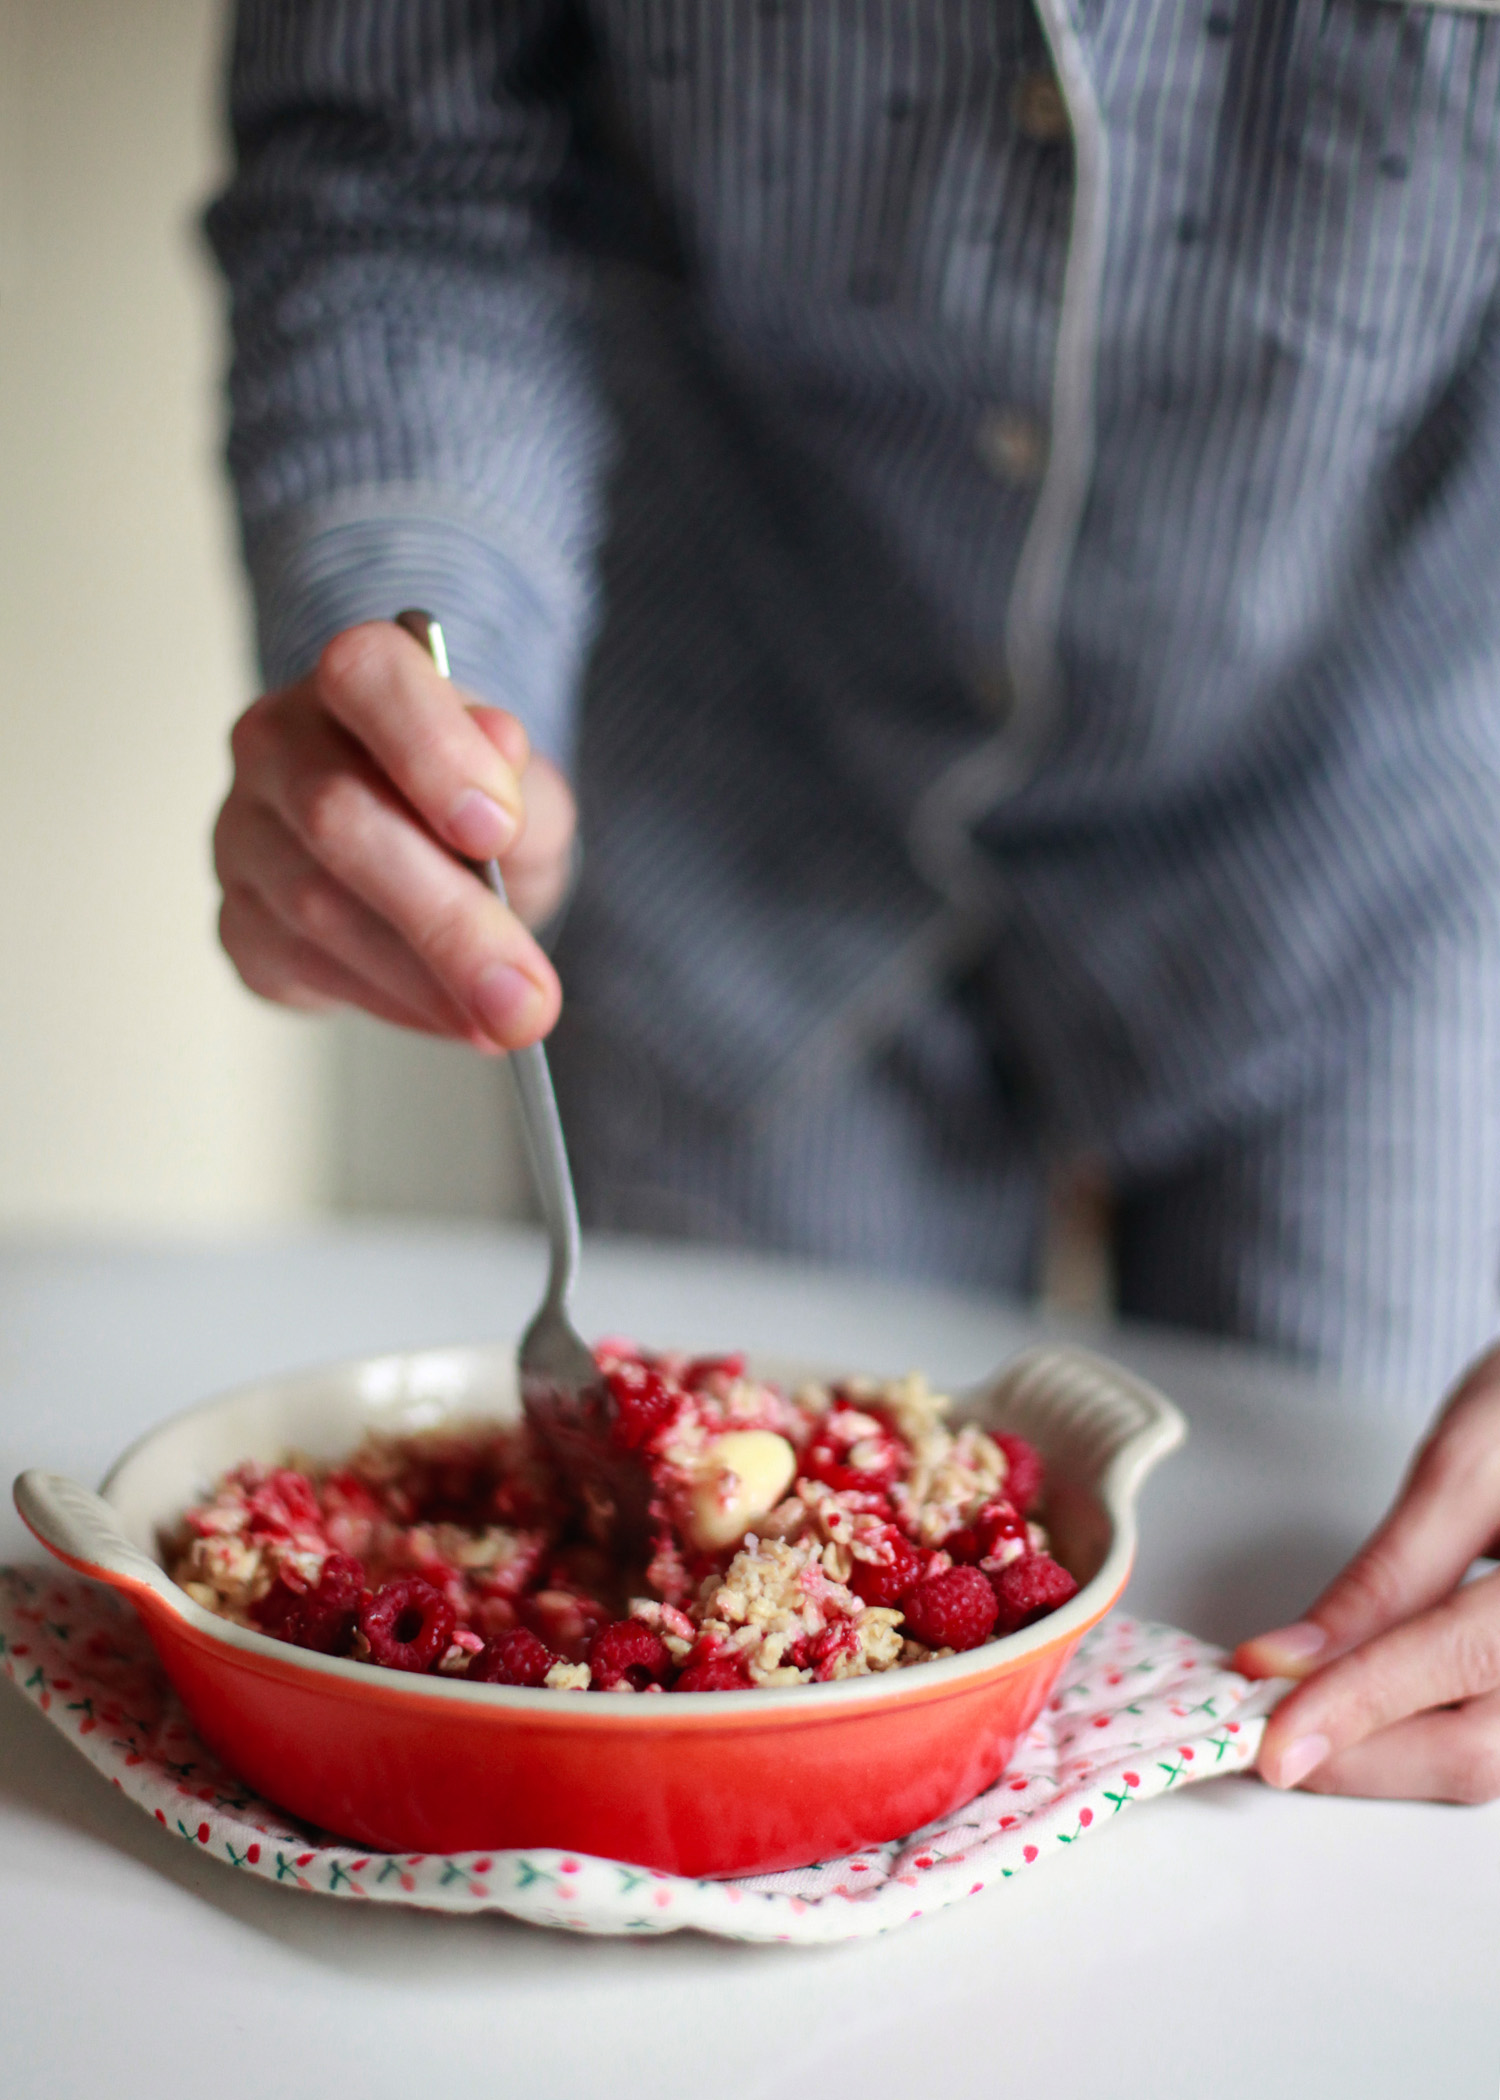
In Winter, I add another step.  I put my oats in the oven.  Not all night, mind you, just for 15 minutes, as soon as I wake up.  This was the breakfast that saw me through the wet Vancouver Winter during my nutrition studies when time in the morning was precious. A housemate of mine had come into kilos and kilos of frozen blueberries through work (no, he wasn’t a farmer #Canada.) and I started incorporating those into my recipe, too. When my oats and berries were ready, I’d add a huge knob of butter, a good glug of maple syrup and a handful of hemp seeds et voila!  A nutrition-packed breakfast to be enjoyed for far longer than it was prepared.  The real breakfast of champions, if you ask me.

Oven-baked-overnight-oats.  Get on board, y’all.

soakedoatsmixed

Oven-Baked-Overnight-Oats

  • Oats
  • Water
  • Frozen berries (optional)
  • Raw butter
  • Honey or maple syrup
  • Nuts and seeds (optional)
  1. In the evening before bed, pour oats in oven-proof bowl.
  2. Cover oats with water.  I like to use a bit less water to cover my oats because I like them thick.  If you like them runnier use more water.
  3. Go to sleep.
  4. Wake up, pre-heat oven to 250C
  5. Give oats a good stir.  If you have frozen berries, add them now.  Place oats in oven for 15 minutes or until nice and toasty.
  6. Take oats out of oven. Add knob of butter and/or raw cream, knob of honey or glug of maple syrup, and other delights of your choosing (flax seeds, toasted almonds, tahini).
  7. Stir and enjoy.


Filed Under: Breakfast, Grain, Plant, Recipes, Seasons, Winter Tagged With: breakfast, oats, overnight oats, soaked oats

Winter Torshi

January 17, 2016 By Lauren

pickled cauliflower

The more you get into pickling, the more you realize you can pickle (or more rightly, ferment) practically anything.  Typically cucumbers are the gate-way vegetable, followed by cabbage for ‘kraut, green-beans for New England style dilly-beans, then carrots, turnips, radishes, kohlrabi, hot peppers, lemons, garlic…

At some point (perhaps after kohlrabi), the possibilities begin to seem absolutely endless.  I, personally, have pickled all of the above plant-foods and have tasted countless other ones (mangoes, the stalks from Swiss chard, mushrooms, pineapple [!!]).  Then, there’s the boundless amount of combinations–cabbage w/ algae and nettle, radishes and turnips mixed w/ thin slices of beet, carrots w/ turmeric and garlic and zucchini and turnips and cauliflower.

cauliflower

Yep, you can pickle cauliflower, too.

The above combination was my first introduction to pickles.  Iraqi torshi (the Arabic word for pickles): stained-yellow, all crunchy and salty and sour.  This was the jar that was consistently found in my Iraqi grandmother’s fridge and the fridge of, I’d wager, most Iraqi grandmothers.  This was the jar I would tuck my fork into and ply pickle after pickle out of, until my mouth would buzz from the brine.

Torshi was a year-round deal in my grandmother’s kitchen, but I’m categorizing my variation as a Winter kind-of deal because, even though there’s cauliflower a-plenty in the Summer, there just aren’t as many other Winter candidates for pickling (raise yr hand if you’re already fed-up w/ ‘kraut) and ’tis the season to celebrate variation in yr local diet when you can find it.

carrots

As usual, this isn’t a super-strict recipe, but more a set of guidelines for you to do w/ what you will. I use cauliflower, red carrots, turmeric root and garlic in my version, but if you live in a region where you have other options (like zucchini and summer turnips) then throw those in as well.  If you want to stain your pickles yellow, use powdered turmeric instead of the root.  The main point is to cut your vegetables into even-sized chunks to get them fermenting at a similar rate (in order for them to be similarly crunchy).

wintertorshi

Winter Torshi

Note:  For more information on the health benefits of lacto-fermented pickles see here.

#1.  Chop cauliflower and carrots (and zucchini and summer turnips, if you have them) into even-sized chunks.  Slice turmeric into thin strips, peel garlic and leave whole.

#2.  While you’re chopping, put a kettle to boil.  Pour boiling water into seal-able glass jar.  Let sit for a few moments.  Pour water out of jar and let cool (either by pouring cold water into jar, or just leaving it for a few more moments).

#3.  Add vegetables and herbs to jar.  Stuff until jar is full.

#4.  Add celtic sea-salt (or another unrefined, sun-dried sea salt).  The amount depends on the size of your jar. For example, I used a 2-litre sized jar so I added 3 tablespoons of salt.  If your jar is smaller, add less.  If it’s bigger, add more.  You need your brine (your salt + water solution) to be salty enough to promote the production of beneficial bacteria, so there’s a minimum amount necessary, but there’s no maximum. Experiment and taste your brine as you’re working.

#5.  Fill jar w/ non-chlorinated water.  (For those of you who are state-side, to de-chlorinate your water simply fill a jar w/ tap water and let stand for at least 30 minutes.  Good practice to get into even when not making pickles, methinks.)

#6.  Make sure your vegetables are submerged under your brine.  To do this, you may need to use a tool–like a sterilized (boiled) stone, or the root-end of the cauliflower–to press down on your vegetables and seal them in.  If you packed them super tightly, you won’t need this tool.  You just need to make sure none of your vegetables are exposed to air.

#7.  Seal tightly and store in a cool, dark place for at least 3 days.  I fermented my Winter torshi for 5 days because I wanted it to be crunchy.  After opening, store in the refrigerator.

Filed Under: Ferments, Recipes, Seasons, Sides, Winter Tagged With: cauliflower, condiments, DIY, ferments, lactofermented, middleeasternfood, pickles, sides, torshi, winter

  • « Previous Page
  • 1
  • …
  • 3
  • 4
  • 5
  • 6
  • 7
  • …
  • 19
  • Next Page »

Copyright © 2025 · The Soaked Bean