The Soaked Bean

Seeking Nourishment, Finding Traditions

  • About
  • Recipes
  • Library
  • Events

Raw-Milk Yogurt

November 24, 2014 By Lauren

yoghurt

I love milk and I’m not ashamed to admit it.

While some health-minded folk may beg to differ, I still believe that milk, and I mean Milk with a capital “m”: full-fat, unpasteurized (raw, alive), and brimming with all its inherent beneficial bacteria and enzymes, is a super-food. (For full milky manifesto, see here).

As raw milk is not only hard to find, but downright criminalized in most of the U.S., you can imagine my excitement when life swept me across the Atlantic to Switzerland – land of the pasture-grazing, mountain-side-roaming, behorned and, sometimes, beflowered cow. And you can imagine my disappointment when I found that, unless you’re living in a dairying village, the most widely accessible dairy foods—including butter and yogurt–have been pasteurized.

And while raw milk isn’t anywhere near illegal here, procuring it does require a bit of inventiveness.

The kind of inventiveness that found Lu & me, three buses and one long walk later, in the possession of a 10-liter plastic bucket filled to its brim with lait cru.  You’re probably wondering what would possess two people to purchase such a large quantity of such a perishable foodstuff all at once.  Well, quite simply, it was the smallest amount available. So what’s a couple to do when they want the benefits of raw milk in their lives but only have access to an impossible amount?  Make raw-milk yogurt, of course!

incubationyoghurts

Without pasteurization, the shelf life of a glass of milk is short—3-4 days, tops. This explains why, traditionally, dairy consumption revolved, not around fresh glass with cookies, but ferments: cultured butters, moldy cheeses, effervescent kefir, creamy yogurt, to name a few.

My first experience with homemade yogurt was, incidentally, in Greece. The process is simple: heat milk, add bacterial culture (or spoonful of bacteria-rich yogurt or starter) and let ferment in an incubator (or wrapped in sweaters or towels as pictured) for four-eight hours. Our notion of yogurt is much thicker, much firmer than, for example, than the dahi of India because we heat our milk past the point of pasteurization in the process.  While this produces a denser, creamier product, it also destroys all the raw-some qualities of the milk.

It’s possible to make yogurt with milk that is still, technically, raw.  Raw-milk yogurt’s consistency is somewhere between drinkable and eatable. We’ve been spreading ours on pancakes, making bircher muesli (overnight oats), and pouring it in mugs over a spoonful of turmeric and honey. It will keep in your fridge for weeks if well-sealed.

strain

Raw-Milk Yogurt

#1. Heat milk to 110-115F.   If you don’t have a kitchen thermometer, this is roughly halfway to boiling. (The milk should be warm, not at all hot).

Make sure to constantly stir, as any scorching at the bottom will affect the consistency of your yogurt.

#2. While milk is heating, sterilize glass jars by pouring boiling water into them.

Let water sit in the jars until milk is ready for transfer, as you want them to be warm for best fermentation results.

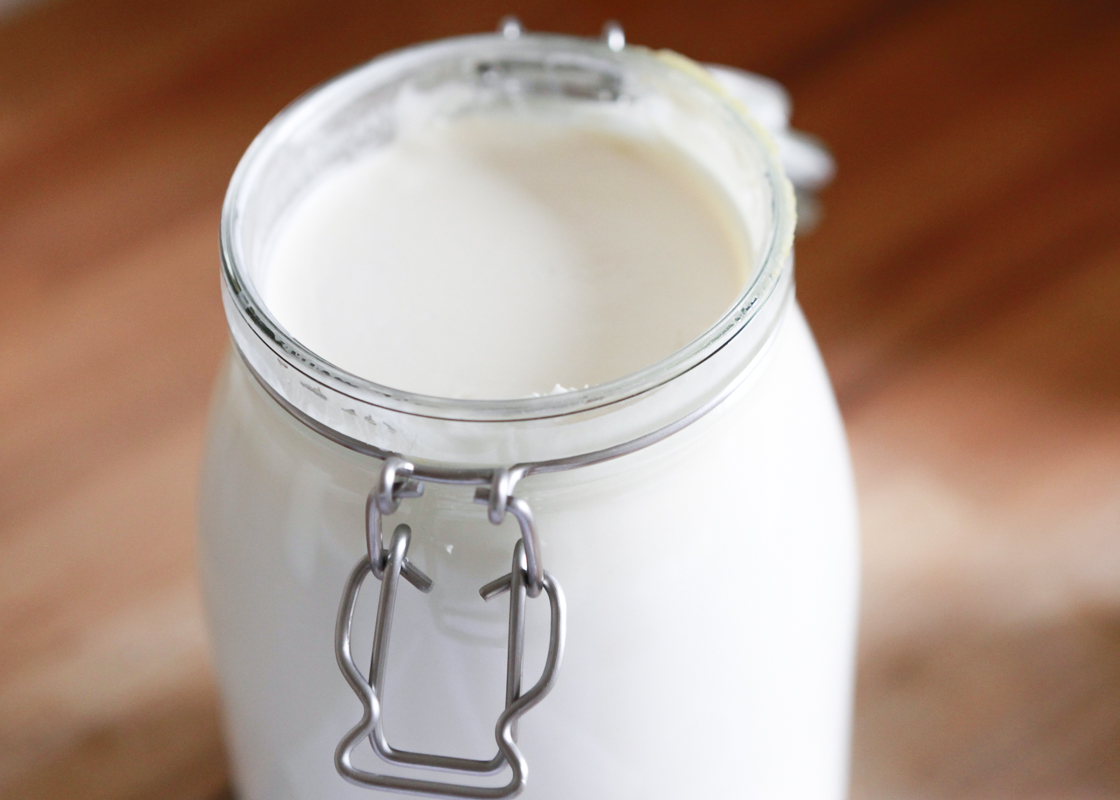
#3.   Pour milk into warmed jars, leaving a bit of room at the top. Add spoonful of yogurt from either a yogurt starter or a commercially produced yogurt with live-bacteria cultures and stir.

If you’re using bacteria from a commercially produced yogurt, you will have to continue to do so every time you make yogurt (meaning, you can’t just use a spoonful from your last batch). If you’re able to find a starter, you’ll be able to use last batch spoons every time.

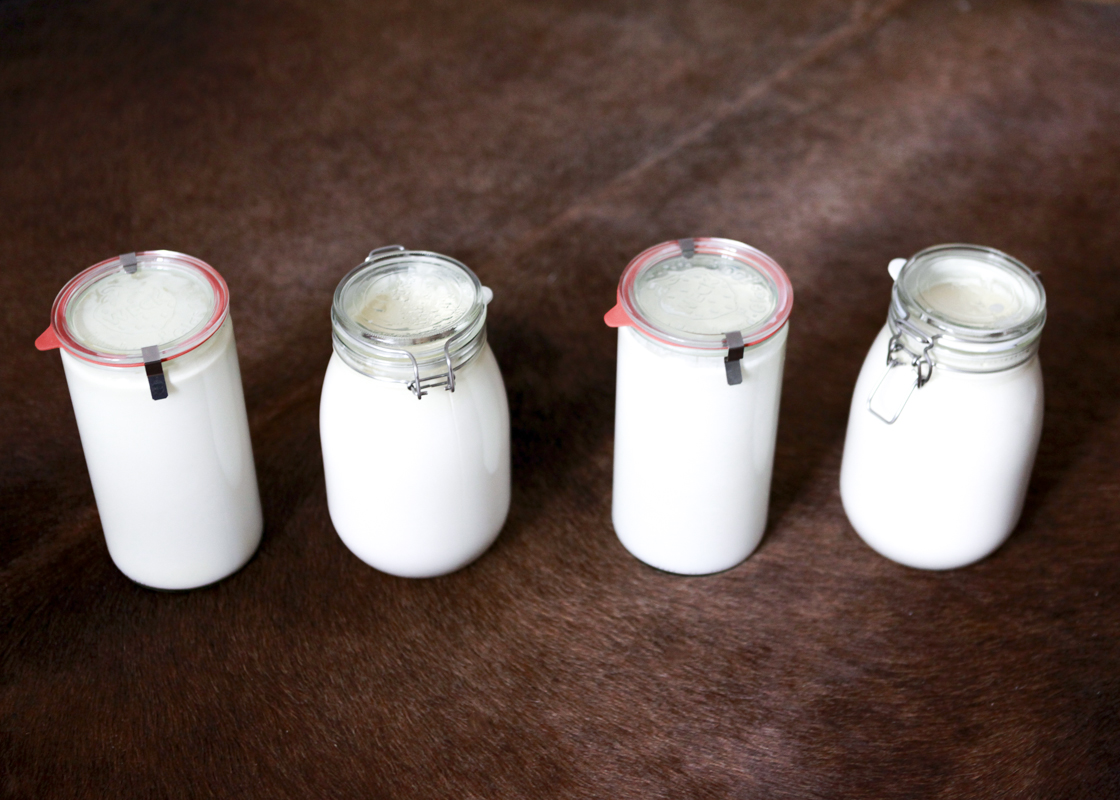
#4. Seal and wrap in sweaters or towels or use an incubator, if you have one (fancy!). Place near a heater.

#5. Ferment from 4-8 hours. Experiment with the time! Some recipes call for ferments as long as 24-hours. I usually let it ferment overnight.

#6. You just made yogurt! Enjoy! Or:

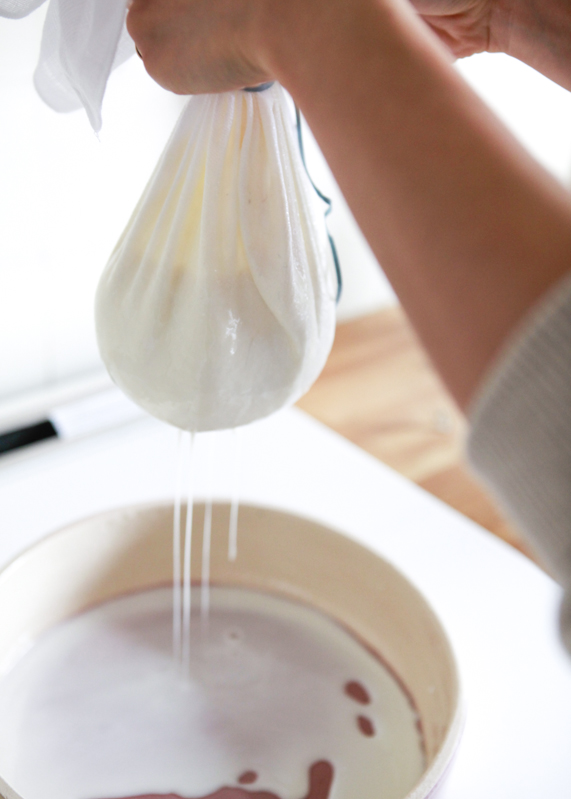
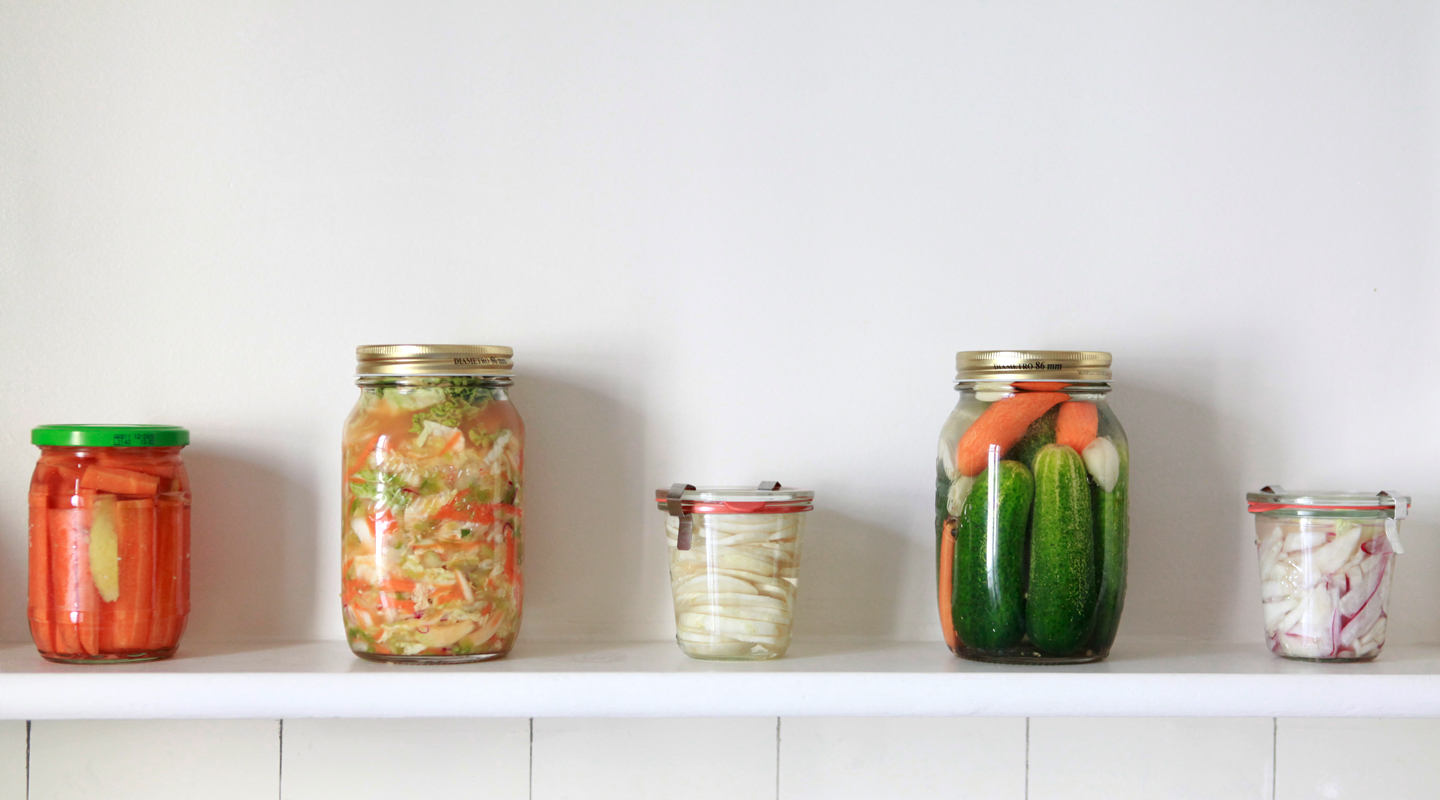
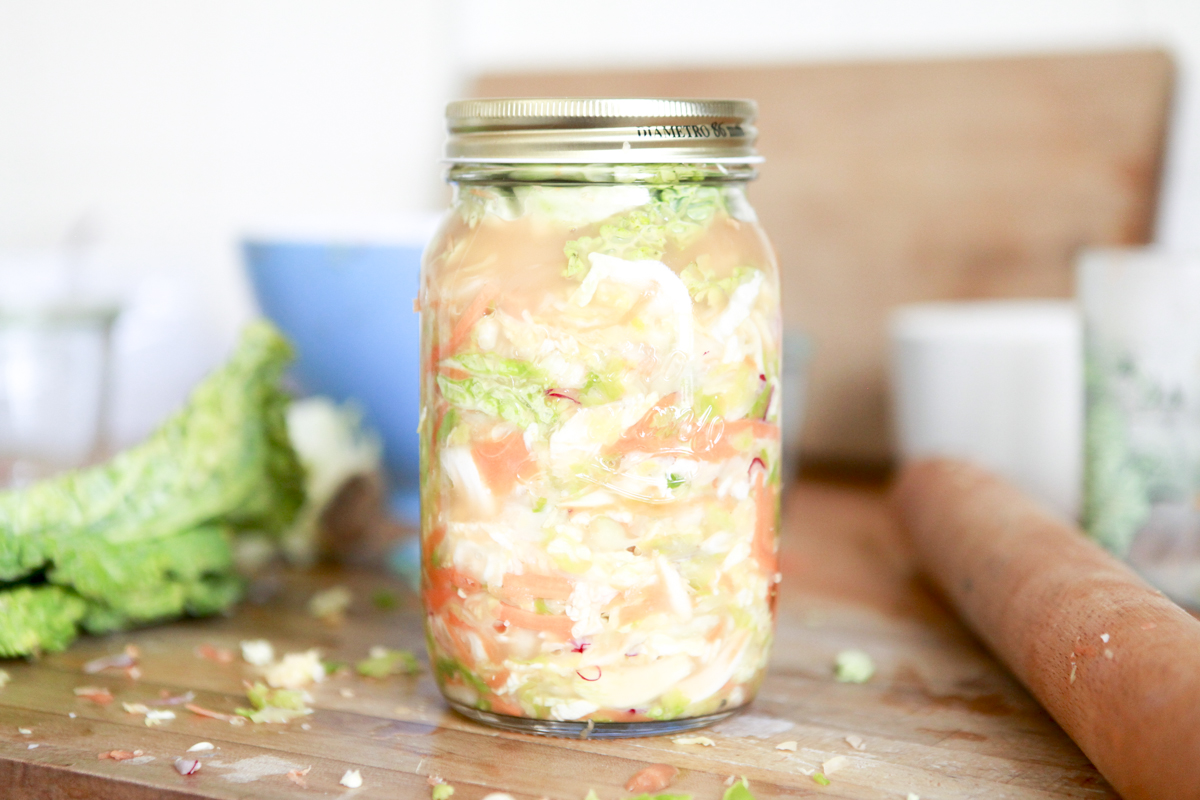
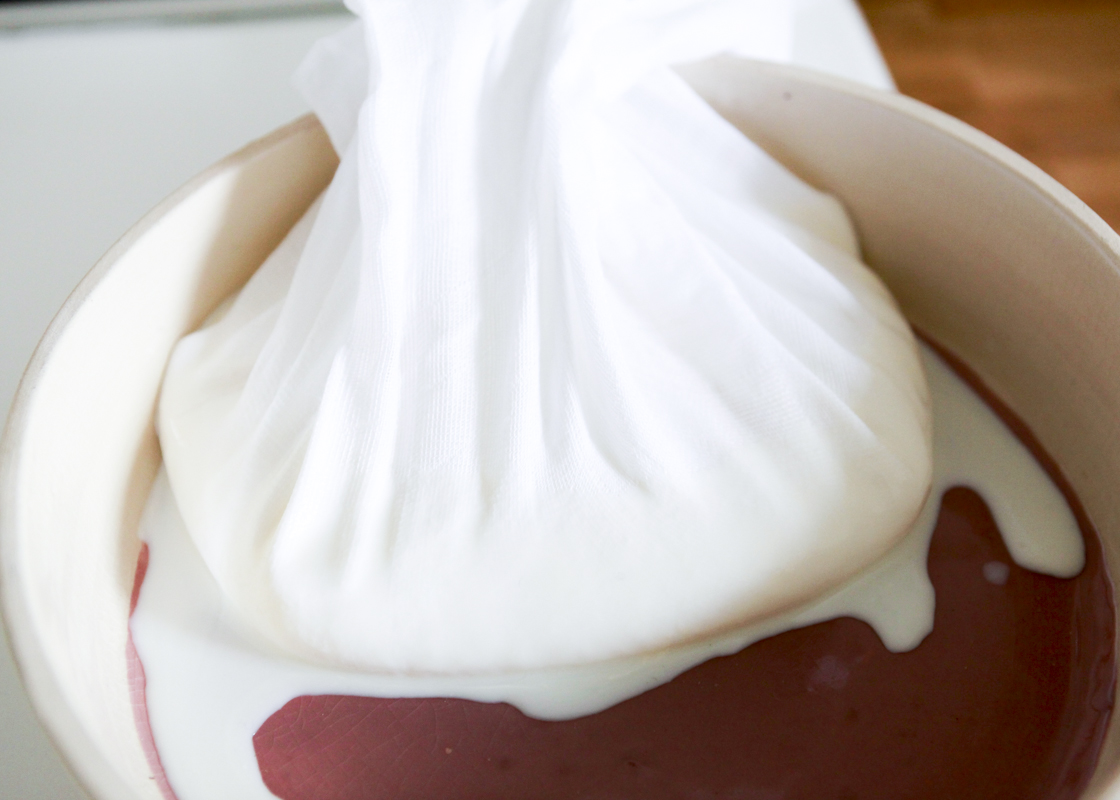
  1. If you’d like your yogurt to be a bit thicker, and if you’d like some whey (for, perhaps, some lacto-fermented veggies) you can strain your yogurt.
  2. Line a bowl with some cheesecloth and pour your yogurt into the cloth. Fasten cloth and let hang over an empty bowl for two or so hours. Voila: thicker yogurt!
  3. The contents in your bowl are whey—you can store this in your fridge for up to a week and in the freezer for three months.

squeezing

hanging

Filed Under: Ferments, Kitchen Essentials, Recipes, Sides Tagged With: dairy, probiotics, rawmilk, wapf, yogurt

Free-Form Ferments

September 22, 2014 By Lauren

ferments!

Eight years ago, I moved away from home, the first move in what was to become a long series of geographic fluidity: four-years in New York, a summer in Eastern Maine, a semester in Prague, some months in Sweden and more in Greece, an internship in Tuscany, one season in New Hampshire and one in California, a school-year in Vancouver, BC, and, now, most recently, a one-way-ticket to Geneva.  I’ve lived in a log cabin on a blueberry field, a dorm room opposite Washington Square Park, the bed of a pick-up truck, the loft of a garage; always in furnished rooms or places belonging to other people, sublets for six months, six weeks; always in transition, a temporary stay.

My affection for food, particularly the simmering pot, the wilting onion, the soaking bean, the home-cooked, has grown during these years even during stays in places without proper kitchens.  It’s true that I’ve more often been blessed with plenty—Laura’s kitchen in Oakland with shelves of Le Creuset, a spacious kitchen all to myself on Kitchener Street, my mom’s incredibly well-equipped and appointed kitchen—and for this I am forever grateful, however I feel especially indebted to the make-shift kitchens for teaching me that plenty can be achieved with, say, an induction plate and six-inches of counter-space or a camp-stove.

Making pickles the traditional way—without vinegar, using lactic-fermentation—is one of my favorite home-cooked, or more rightly home-rendered food traditions because it requires so little to produce something so stellar.  No stove?  No oven?  No fridge?  No problem!   In fact, you don’t even really need a kitchen.  All it takes to turn the season’s vegetables from perishable foodstuffs to (beneficial) bacteria-brimming, good-for-your-gut-health preserves is a sealable vessel and some salt.

veg bird'seyetorshi

In his definitive text on the subject, The Art of Fermentation, lactic-fermentation guru Sandor Katz advocates for the free-form ferment: unbound by the restrictions of a “traditional” recipe, promoting experimentation and creativity while utilizing the resources at hand.  The simplicity and safety of lactic-fermentation has been obscured by, what Katz terms as, our “War on Bacteria”.   In fact, this War—the chlorinated water, the pasteurized dairy, the antibiotic—has created conditions where the dietary incorporation of living lactic bacteria is of tantamount importance to our health.

With nearly 80% of our immune function based in our gut, the maintenance of a healthy microbiome–the collective genomes of the microbes, including bacteria, that live inside of us and especially in our guts–is directly correlated to a general sense of wellbeing.  This is why there has been such a major push for probiotics within the naturopathic community.  The theory is that probiotics, which have been selected and cultured in a lab, are better able to populate our intestines than the lactic acid bacteria native to traditional foods (Katz, 26).   As cultures have been preserving foods through lactic-fermentation for centuries, and as the probiotic is relatively new in comparison (albeit with a multi-million dollar nutriceutical industry funding its research), I prefer to receive my bacterial benefits from these home-rendered traditions.

For the first time in a long time, I’m settling in a place, staying permanently, dreaming of a (flea-market-found) Le Creuset-stacked shelf of my own.   With our kitchen out-of-commission due to a fresh coat of paint, L & I celebrated this last weekend of the summer season by making pickles—a hark to transitional times and a reminder of the plenty present, ever-present in even the most make-shift conditions.

krautmaker

 Free-Form Ferments

There are two ways to ferment your vegetables.  You can either chop/grate them or ferment them whole.  I usually grate cabbage, carrots, and radishes for a kind of sauerkraut.  Otherwise, I ferment vegetables like cucumbers, cauliflower, turnips and also carrots and radishes whole, or chopped into big chunks.

#1.  Sterilize your jars with boiling water.

#2.

  1. If you are grating your vegetables, lightly salt them as you grate, pounding and squeezing them until moist. You should use about a tablespoon of salt for a 16-ounce jar.  If your veggies are too salty, simply add more veggies to the mix.
  2. Otherwise, chop into big chunks, or leave whole.

#3.

  1. Pack grated veggies into jar; do so tightly so that they’re forced below their liquid—you can add water if necessary
  2. Pack whole or chunks of veggies into jar, add whole spices (black peppercorns, cumin, coriander), whole cloves of garlic, slices of ginger, or herbs (dill, rosemary) if desired, add one tablespoon of salt to jar, fill jar with de-chlorinated* water making sure to cover vegetables completely.

* If you live in a region where your water is chlorinated, you can de-chlorinate it by letting your water sit in a jar on your counter-top for at least 30 minutes.  The chlorine evaporates and voila: de-chlorinated water.

#4.

  1. I like to use cabbage hearts or rolled cabbage leaves as a kind of seal at the top of my jars to make sure that molds and other oxygen dependent organisms can’t grow in my ferments.
  2. It can be important to seal water-brined ferments, especially since whole vegetables have a tendency to float.

cabbageseal

#5.   Seal with airtight lid and let ferment for 3-5 days. Before transferring to cooler temperature.  I let my veggies ferment on the kitchen counter, where they receive some sunlight/UV rays (which helps inhibit the growth of surface molds).  After 3-5 days, I transfer them to cool storage or the refrigerator.

#6.  You can enjoy your ferments after 3 days, or after 3 months, it depends on what fermentation flavor—new and green or old and sour (and everything in between) you enjoy most.

kraut

Notes:

  • I like to use unrefined sea salt—like Celtic sea salt—in my ferments, but kosher salt will work as well.
  • Beets are a particularly difficult vegetable to ferment.  I’ve had some success using raw beets (sliced thin with a mandolin and placed in a water-brine), but typically it’s better to cook beets before fermenting as their sugar content promotes a yeasty fermentation that produces a thick, syrupy brine.
  • Katz writes, the amount of lactic acid bacteria in a vegetable ferment follows a bell-curve: populations grow after vegetables are submerged, build to a peak, then decline at high levels of acidity (Katz, 102-103).  He suggests enjoying your ferments at various intervals to diversify your bacterial exposure.

References:
Katz, Sandor, 2012.  The Art of Fermentation. White River Junction, Vermont, Chelsea Green Publishing.

Filed Under: Ferments, Kitchen Essentials, Recipes, Sides Tagged With: condiments, howto, lactoferments, nutrition, probitics, sides, traditionalfoods, vegetables, wapf

  • « Previous Page
  • 1
  • 2
  • 3

Copyright © 2025 · The Soaked Bean