 From the ages of 9 through 14, every time my family and I went out to eat, I’d order the same exact thing: a coke and a chicken Caesar salad. And while I’d like to think that there was some prescient nutritional know-how occurring there (outside of the coke, of course), the truth of those chicken Caesar days-of-yore is that I just really loved grilled chicken and creamy dressing and the combination of those two things was my young idea of perfection.
Now, if this were any other nutritionally-orientated food-blog, this would probably be a cautionary tale. Raw egg + anchovies + an ordinary (i.e. not kale) lettuce + toasted bread + a mountain (if prepared properly) of grated cheese? Those ingredients certainly don’t fit within the restrictions of many dietary labels, and especially not all at once, all on one plate, or bowl, as it were.
Up until this past Winter, I, too, had nearly forgotten this childhood obsession classic. It wasn’t until I was preparing dinner with an exceptionally empty fridge–a couple eggs, half a head of frisée, a jar of anchovies for adding to take-away pizzas–that I remembered ye olde Caesar salad. Naturalmente! And it wasn’t until I was on wikipedia researching the origins of this salad that I learned it’s not the ancient Roman tradition I’d always thought it to be–my vision being limited to togas, doric columns, orgies, gladiator sandals and chicken Caesar salads–but, in a shocking turn of events, a Tijuana one!
Caesar Cardini was no emperor, but an Italian-American restaurant-owner who opened a restaurant in Mexico to avoid the restrictions of prohibition. As in the case of my rediscovery of Caesar’s namesake salad, the original was created out of an empty fridge and an industrious spirit. Some even say it all happened on the fourth of July.
The Caesar salad is my kind of tradition: one that combines many cultural influences, that improvises, that creates plenty from what is seemingly empty. Sadly, the majority of the Caesar salads of today, and my days-of-yore, rely on bottled dressing, imported lettuce, battery-raised chicken and processed cheese. This salad is a prime example of the importance of using quality ingredients to create a meal that is both satisfying and nourishing.

 Chicken Caesar salad can be an incredibly nourishing mealtime choice, if prepared without the use of a bottled dressing. I’ve spoken before about the enzymatic benefits of a condiment like the Caesar’s raw egg-and-olive-oil based dressing. Prepared with oily anchovies, Springtime’s wild garlic, and a fermented apple-cider vinegar this dressing also contains anti-inflammatory omega-3 fatty-acids, the anti-viral properties of garlic and the pro-digestive properties of fermented vinegar.
 Use some locally-grown Romaine lettuce, some Spring onions or a stored Winter one, a chunk of raw-milk Parmigiano Reggiano (plain ol’ grocery-store parmesan is highly processed and made from pasturized milk), and some roasted chicken from a pasture-raised hen and you’ve got one heck of a nourishing and satisfying Spring-time meal. Hail Caesar!
Ingredients
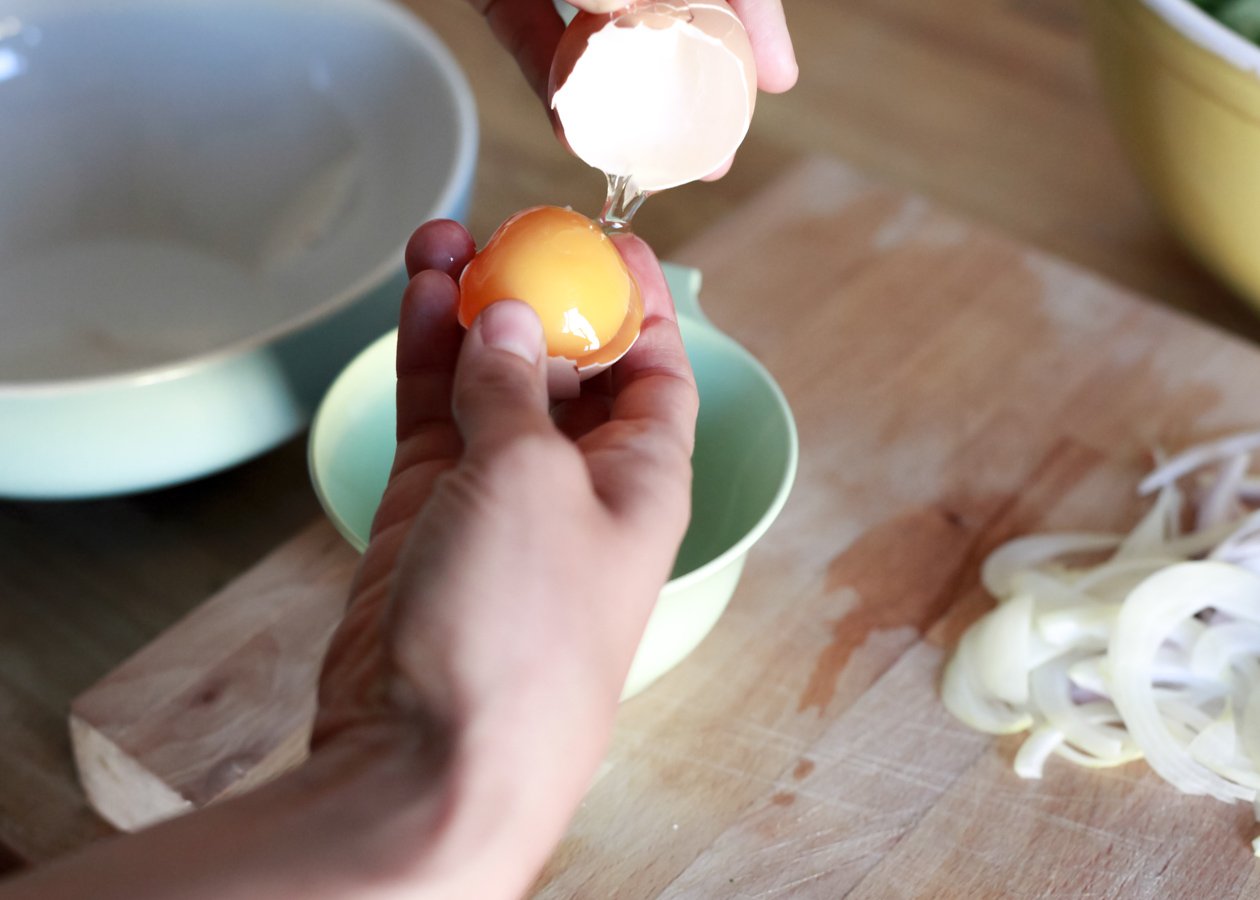
- 1 egg yolk, from a pasture-raised hen
- 1 teaspoon mustard
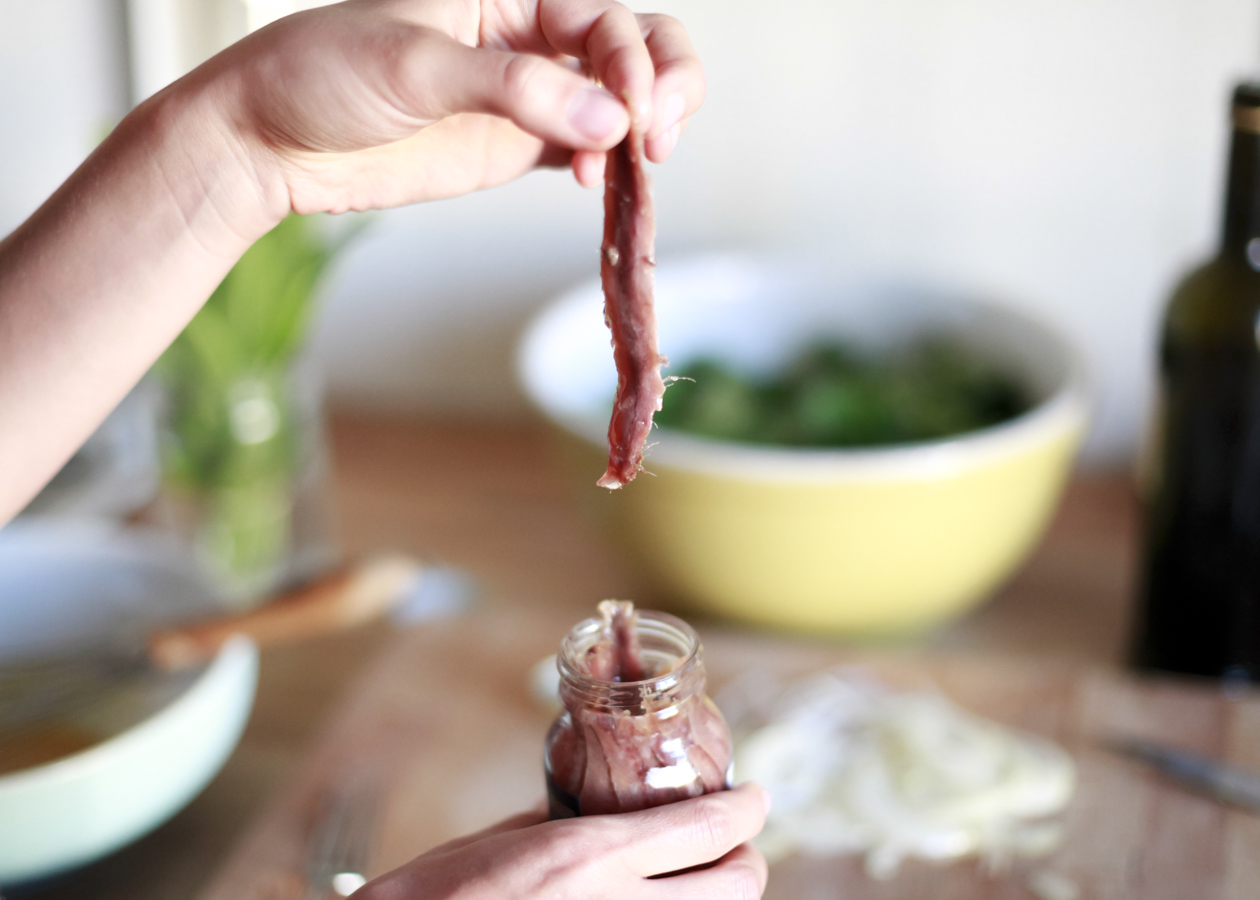
- 4 anchovies, minced
- 1/4 cup of extra-virgin olive oil
- 4 tablespoons apple-cider vinegar
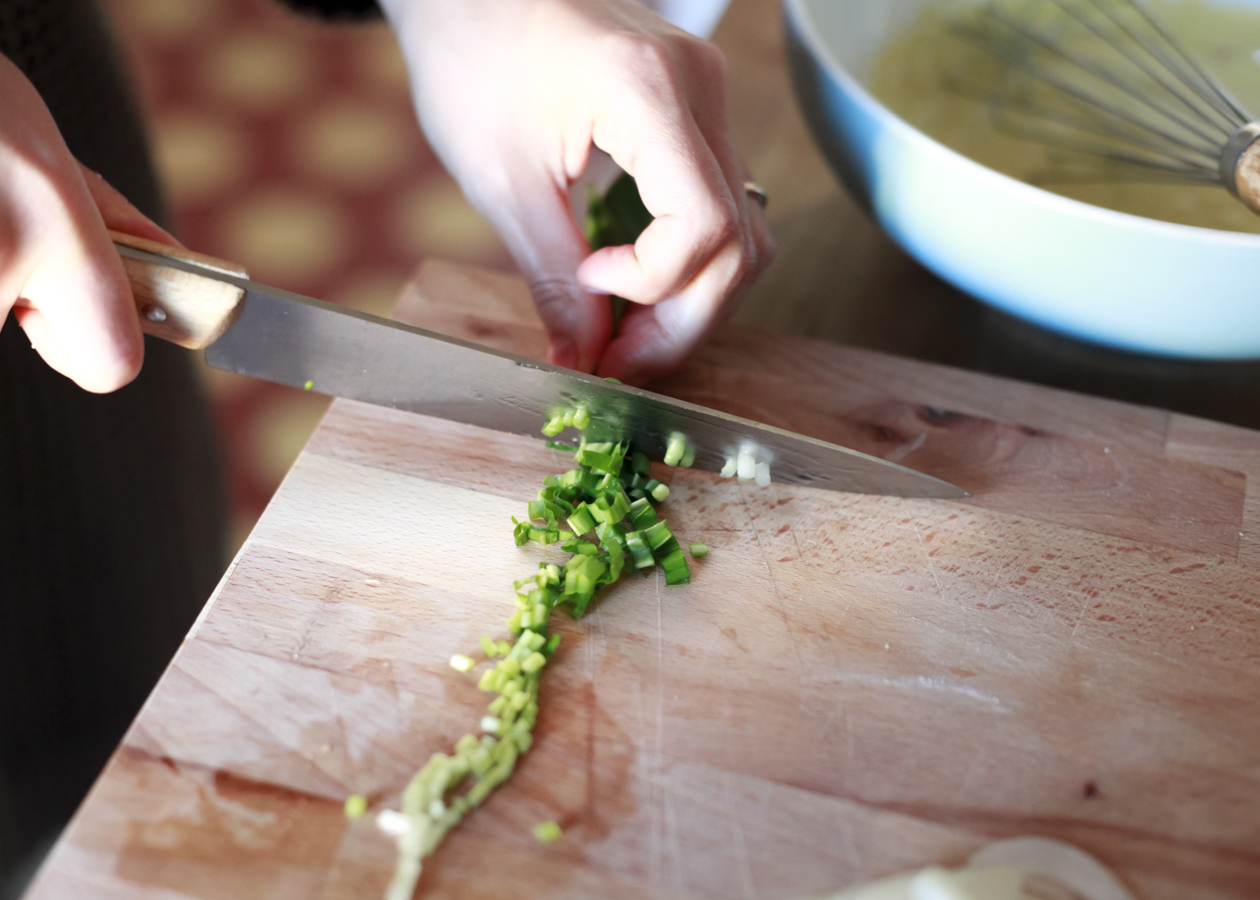
- 1/4 cup wild garlic, minced
- pinch salt & pepper, to taste
- Chunk of rye, sourdough bread, sliced into bite-sized chunks
- 1 teaspoon ghee
- salt & pepper, to taste
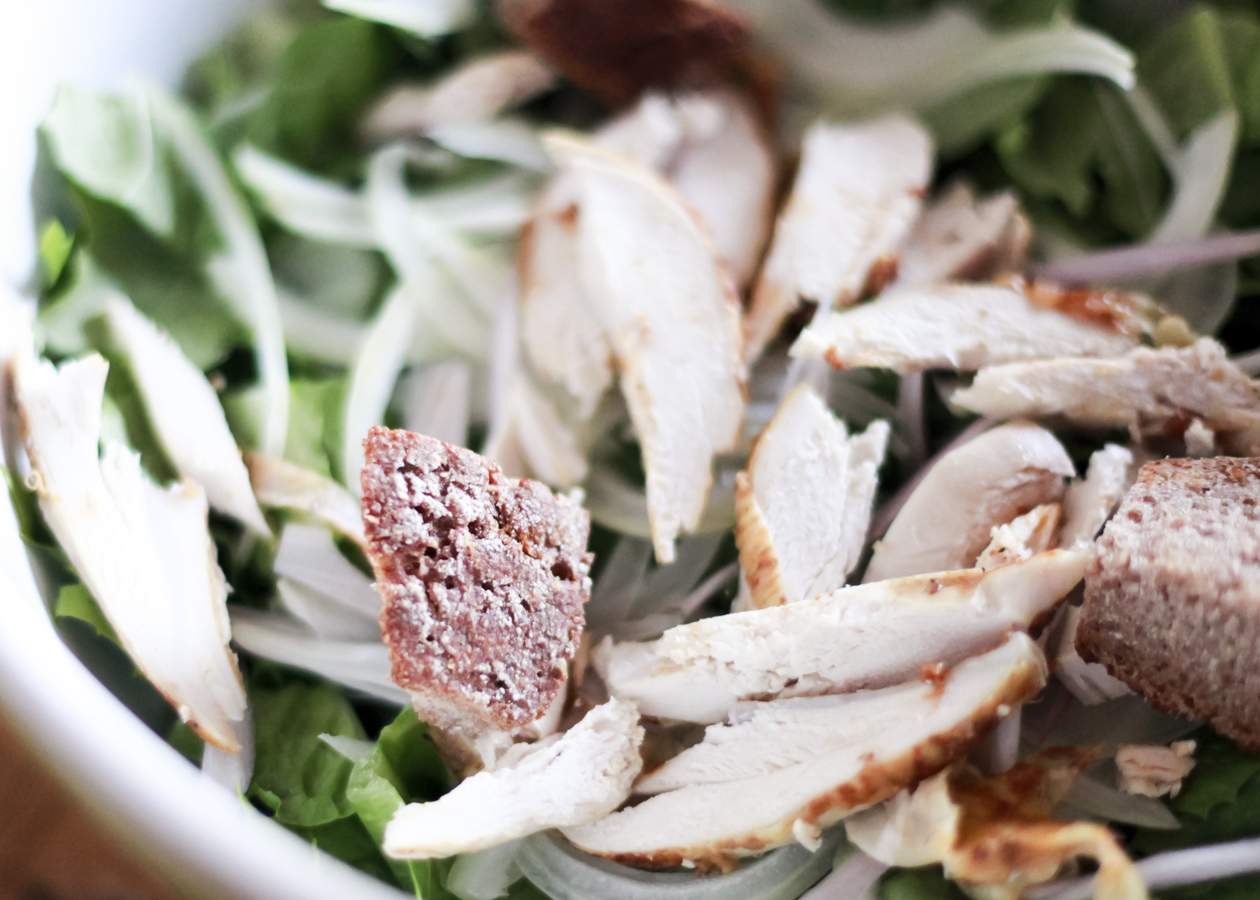
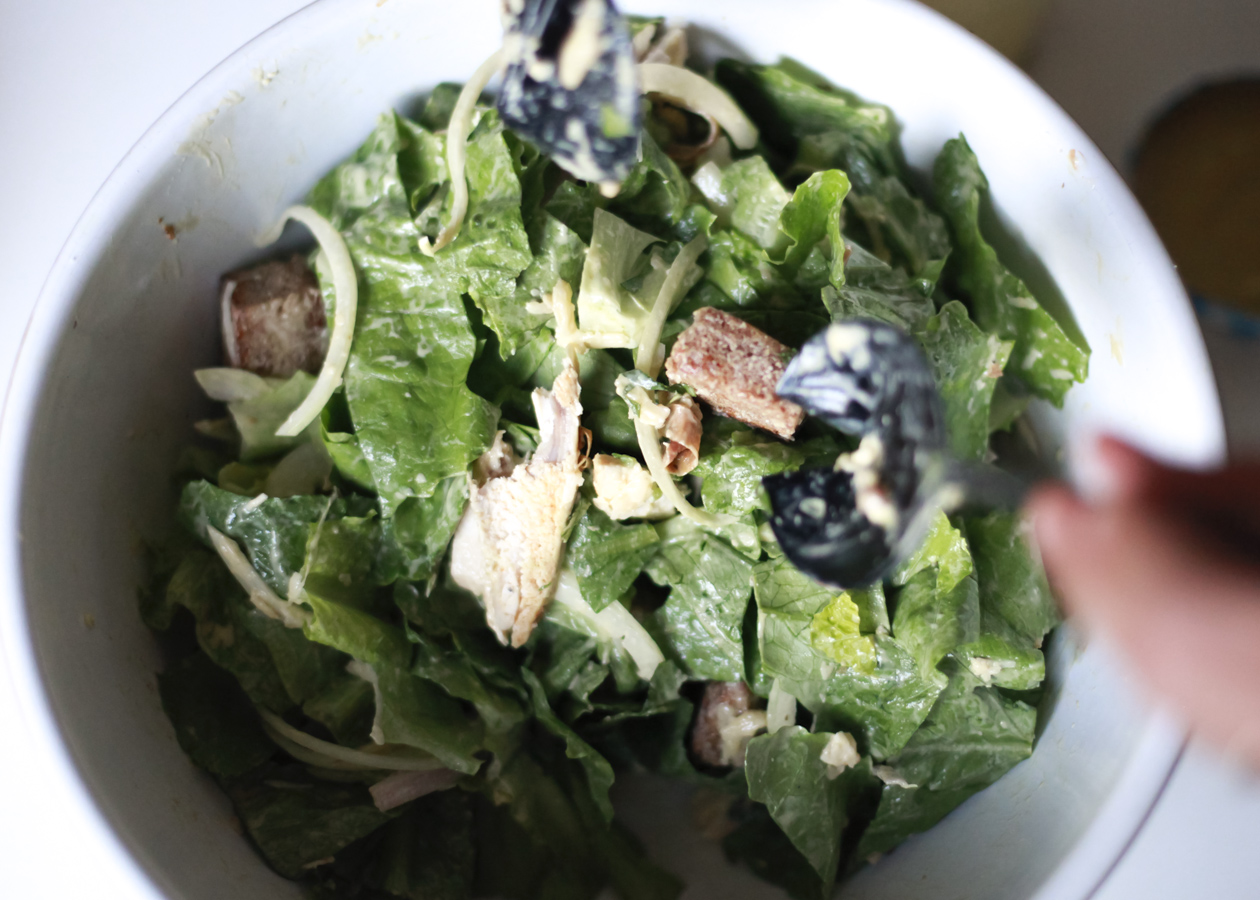
- 1 head of Romaine lettuce, chopped
- 1 spring onion or 1/2 yellow onion, sliced thinly
- 1 roasted chicken breast, sliced into strips
- chunk of Parmigiano Reggiano, grated
Directions
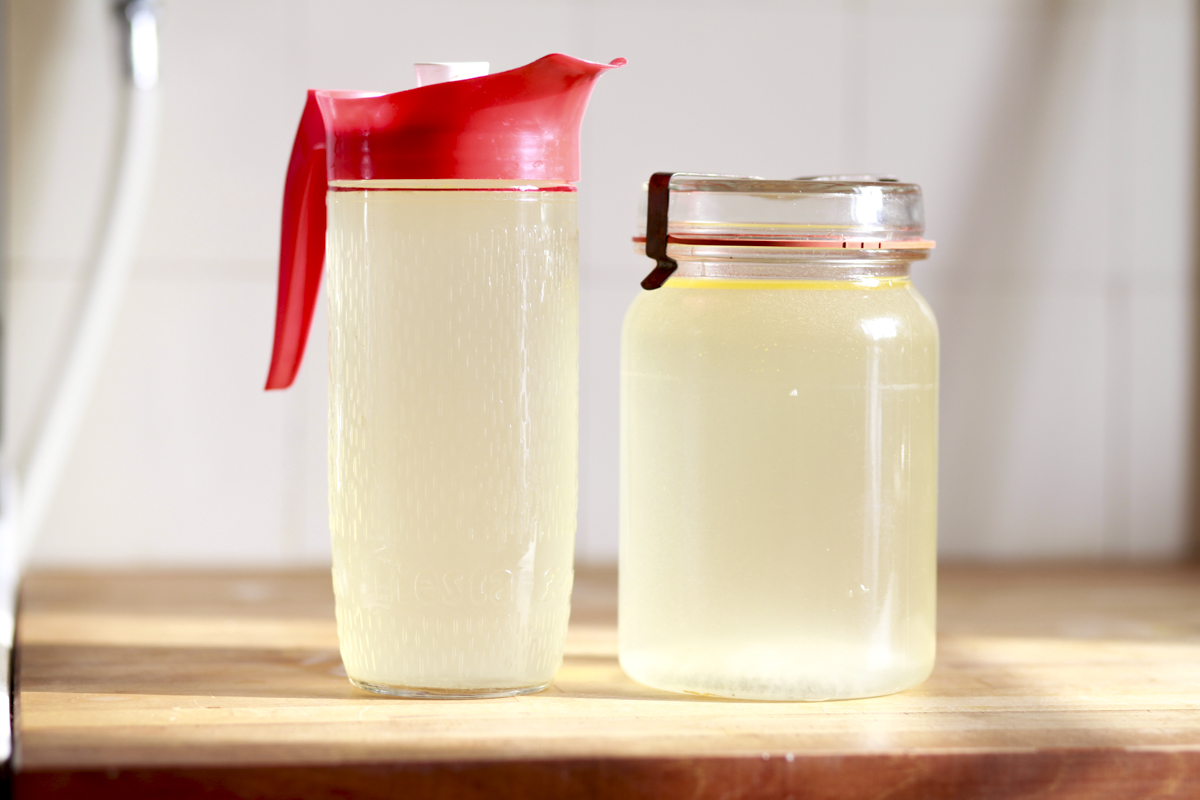
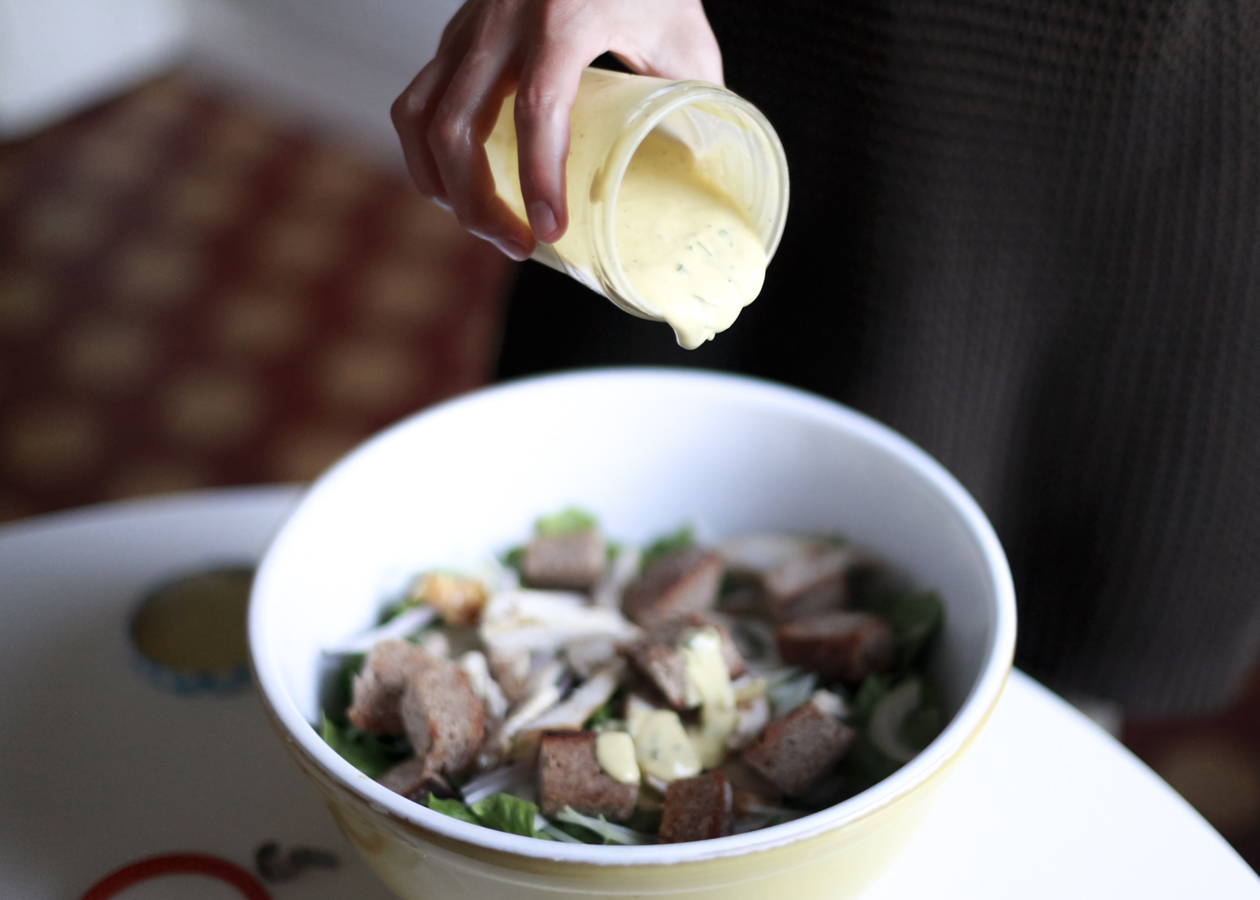
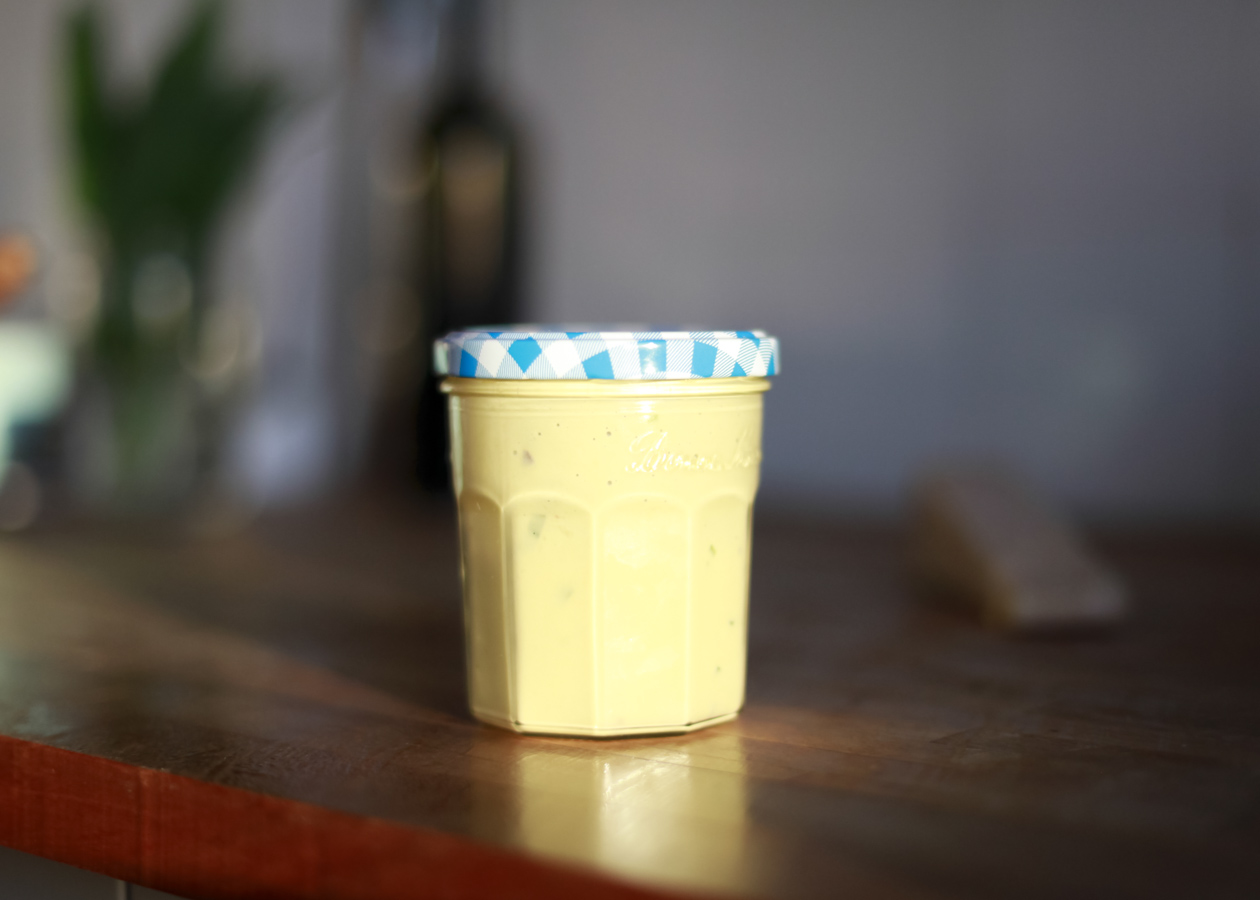
- Whisk together egg yolk, mustard and anchovies in a bowl. Slowly add olive-oil, starting with only a few drops at a time and increasing the amount as the mixture begins to emulsify (congeals). (This is the same technique as making mayo, the slower you add at the beginning, the more likely it is for the dressing to properly emulsify. Don't rush this step!) Whisk in vinegar, adding more tablespoons until the dressing is the consistency (the vinegar makes it more liquid and less creamy) you desire. Mix in garlic and add salt & pepper to taste. Pour into jar and set aside.
- For the croutons:
- Heat ghee in cast-iron pan on medium heat. Add bread-chunks in pan, adding salt and pepper. Let cook for 2-3 minutes, then turn chunks to opposite side in pan. Let cook for another 2-3 minutes. Place on plate and let cool while preparing the salad.
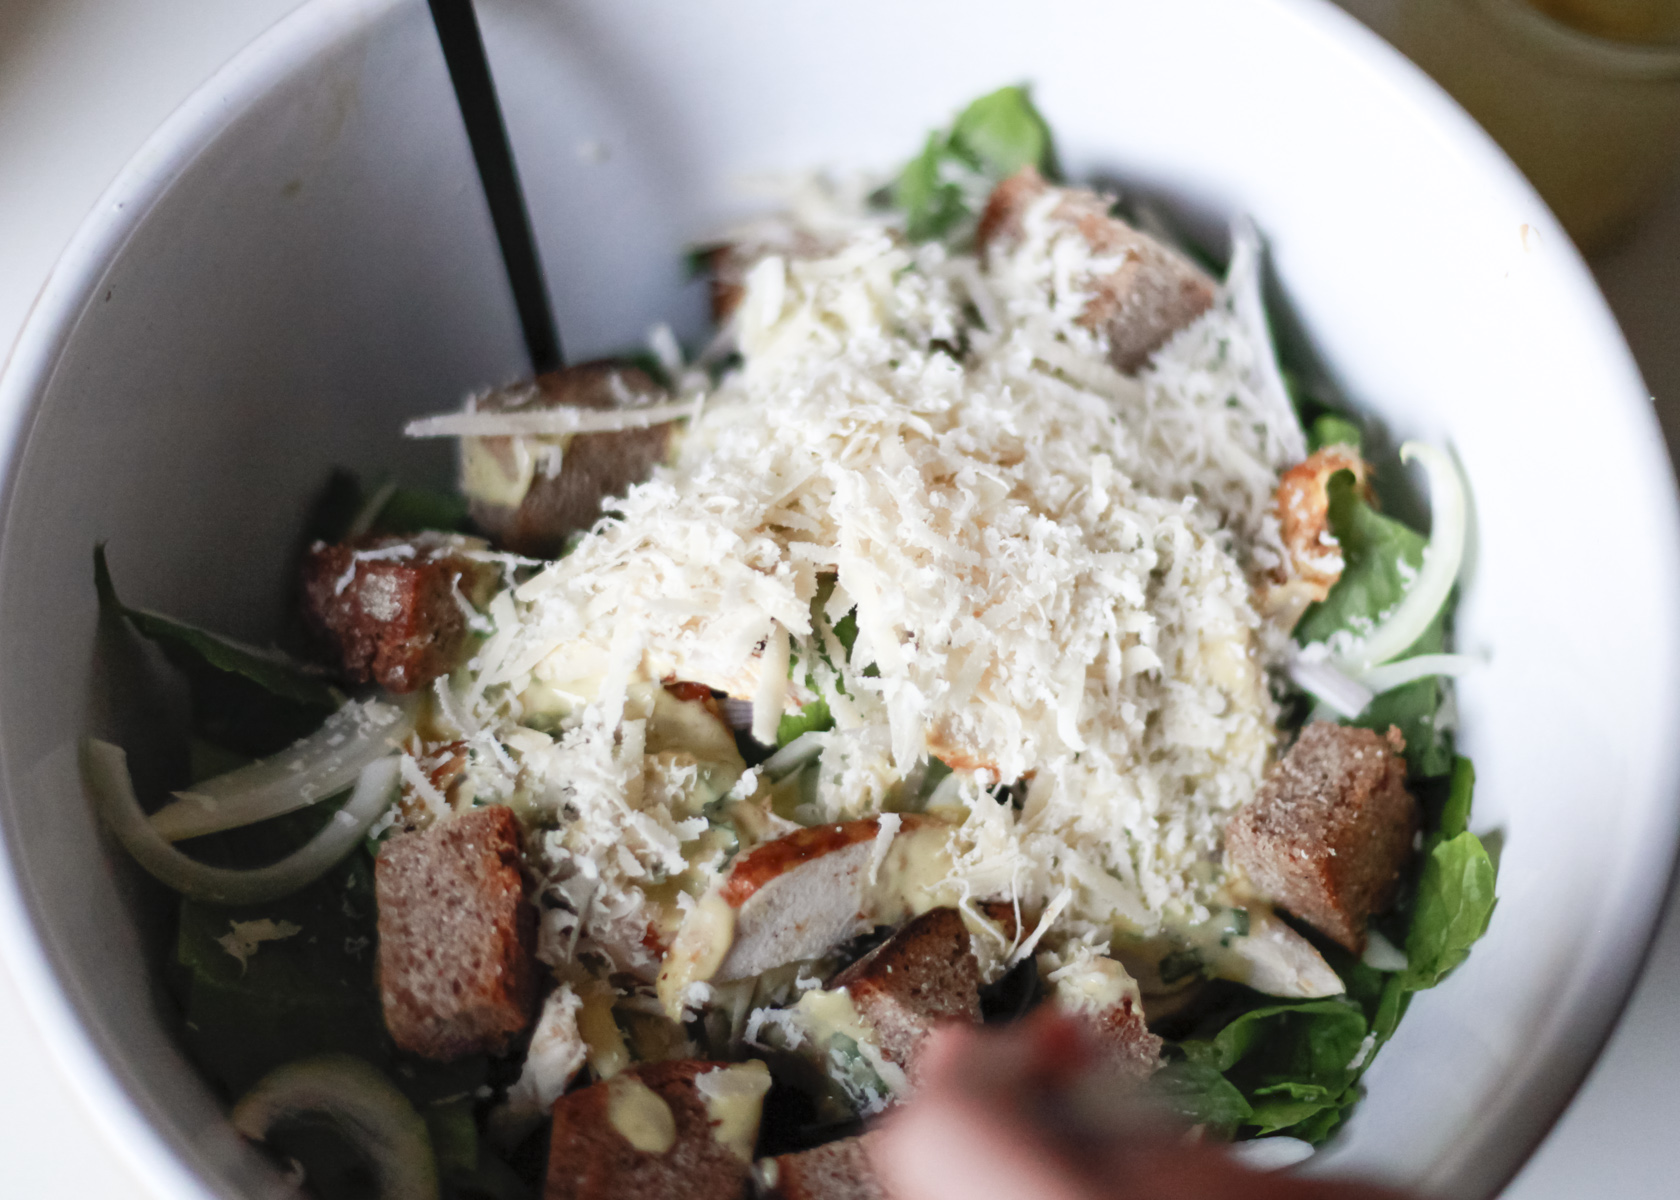
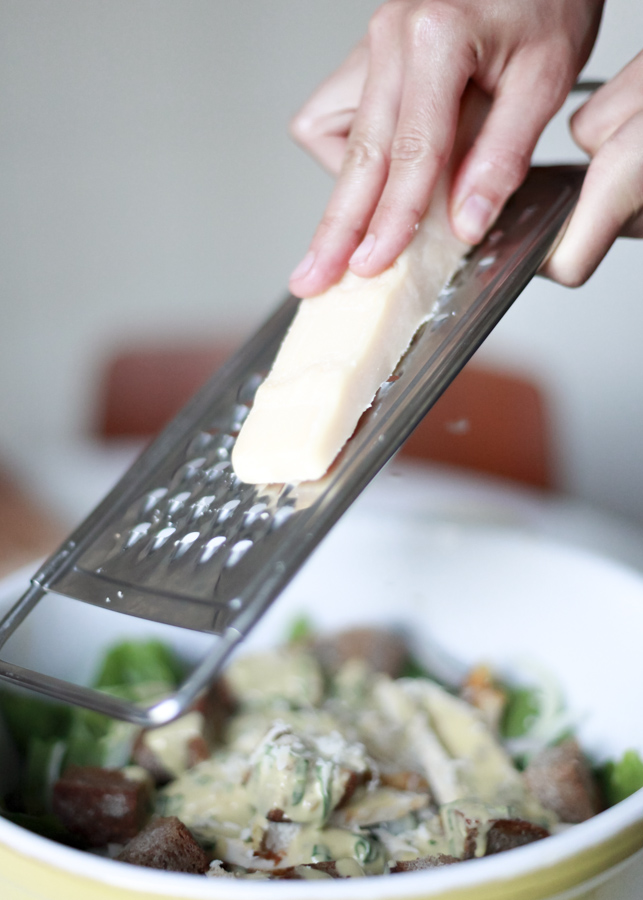
- Layer lettuce, onion, chicken and bread crumbs in a big salad bowl. Grate a mountain of Parmigiano on top. Pour dressing over everything and mix table-side. Serve and celebrate!