The Soaked Bean

Seeking Nourishment, Finding Traditions

  • About
  • Recipes
  • Library
  • Events

Collaboration Celebration #4: Emulee’s Hug in a Mug (Rose/Cardamon Infusion)

March 29, 2015 By Lauren

This week’s contribution comes from a dear friend who also happens to be a fantastik herbalist.  Emulee and I met while working on a farm in Northern Michigan and quickly bonded over a love of singing (90’s songs, specifically) while out in the field, Space Jam, and fruit bars.  She’s currently walking the red-road (back-packing through her ancestral Eastern-European lands) and she just started her own blog where she shares her herbal (& other) wisdom here.

There’s nothing like a hot cup of herbal infusion…NOTHING!

I know that statement doesn’t have the same ring to it as saying “there’s nothing like a cup of tea”, which is also true, but they really are two different things. The only true “tea” is brewed from the actual tea plant, Camellia sinensis, which most of us know as green, black, or white tea (it’s all the same plant!).

Infusions are other herbs steeped in hot water, better known as “herbal teas” to most people.  Even as a longtime herb nerd, I only recently got into the habit of watching my language when differentiating these two classic beverages. Actually,  it was Lauren who instigated this. I recently visited this dear friend and fellow blogger at her home in Switzerland and we had a lovely time together sauna-ing, eating, and drinking infusions, or tisanes as they call them in Swiss French.

I love that Francophones have a simple word for this, whereas in English most people say “herbal tea” which is inaccurate and misleading. I realize that it’s much easier to call them teas than infusions, but I will be referring to them as infusions from here on out.

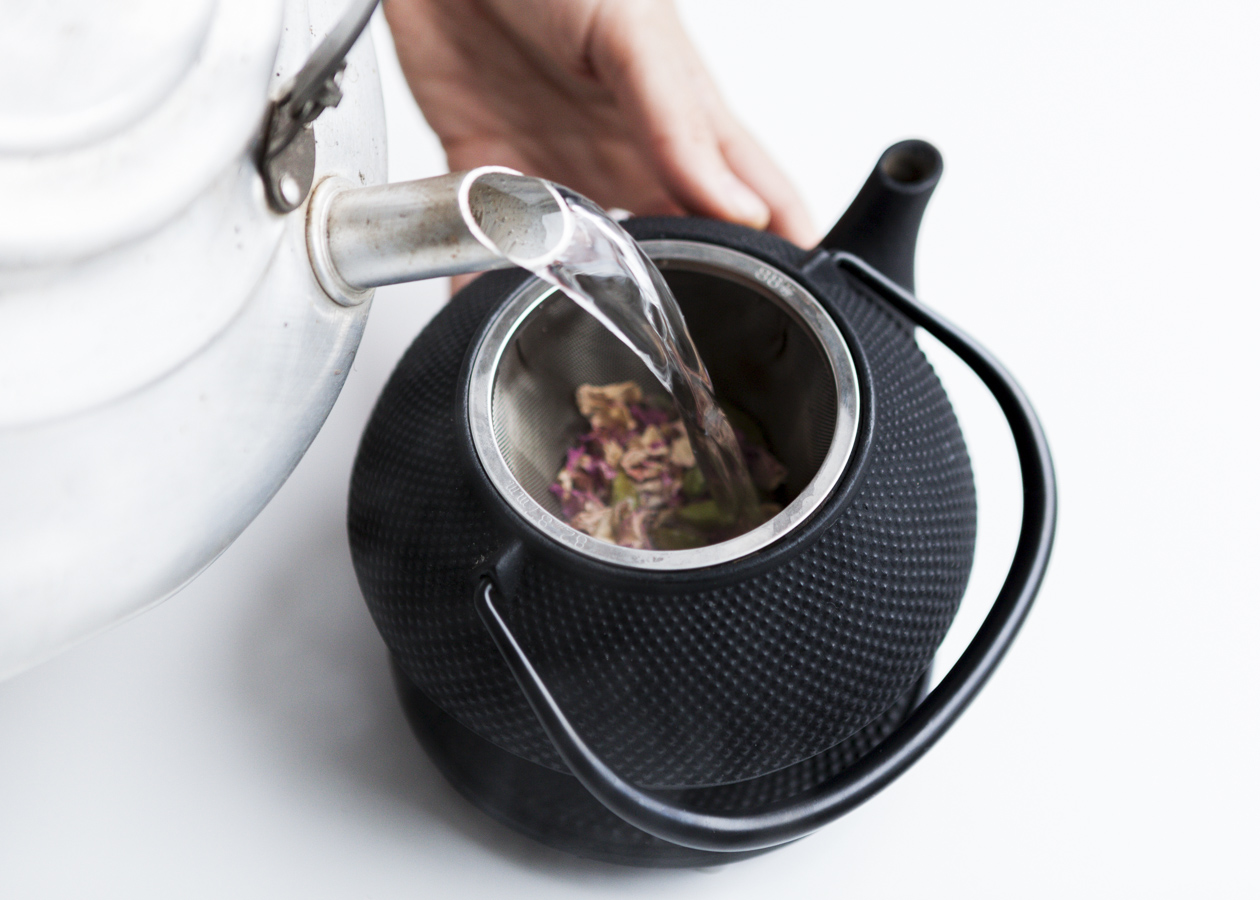
And…I am so excited to share one of my new favorite herbal infusions with you all! It is one that was introduced to me by a new friend in Germany just before I visited Lauren, and it is a simple blend I will probably be drinking for years to come: rose and cardomom.

rose/card

Out here on the road, I’ve found myself missing my home nearly every day. The family, friends, familiar herbs and trees, the hugs shared daily with so many loved ones. The first night I had this blend, I was having a particularly hard time being separated from my Northern Michigan tribe and adjusting to the cold, gloomy, snow-less European winter. As I sipped, I could hardly believe the warmth and comfort this lovely beverage offered. I couldn’t wait to share it with all my infusion-loving friends!

There are several reasons why rose and cardamom infusion is such a feel – good beverage. On the physical level, rose (Rosa spp.) has many actions, including antidepressant, antispasmodic,  aphrodisiac,  asringent, antibacterial,  antiviral,  anti-inflammatory,  cleansing,  expectorant,  and menstrual-regulating, just to name a few.

Cardomom is pungent, spicy and warming. It increases circulation and digestion, and like rose, is also classified as an aphrodisiac.

infusion

Now to get a little witchy – woo on you: in the tradition of Plant Spirit Medicine, rose flower essence heals the emotional heart. It brings comfort and openness. Cardomom essence increases warmth on all levels, stimulates creativity, and enhances concentration.

Now that it’s finally spring,  I am still enjoying the comfort and giddiness this tea brings every bit as much as I did in winter. I think it would even be good and refreshing as an iced infusion in the summer.

Whatever your timing and reasons for indulging in this lovely herbal friend, I wish you happy spring tidings of warmth, good digestion and creativity! Happy infusing!

Article by Emily Reisick.  Photography by Lucas Olivet.

Filed Under: Beverages, Collaboration Celebration, Plant, Recipes Tagged With: cardamom, herbs, infusion, rose

Collaboration Celebration #3: Kate & Leo’s Flat-bread

March 22, 2015 By Lauren

My friend Kate helped introduce me to the world of old-world food.  The daughter of two gourmands (in the food-loving sense, not in the gluttonous one), she met the quality foods in life–raw cheeses, first-press olive oil, paper-thin slices of cured meat–early and has been playing in the kitchen with them, since.

She’s spent the past years focusing on baking, specifically sourdough bread baked from locally grown, freshly milled grains.  I was “blessed” enough to try a loaf or two when she was the driving force behind a kind of single origin bakery in Lompoc, California.  Now Kate’s created her own venture–Leo’s Breads–in New Orleans, Louisiana. 

And while I’m lucky enough to live in a place where there is no lack of out-of-sight bread,  having lived in a couple bad-bread-zones these last years, I understand all too well the need to have a good-bread recipe in your back pocket. 

This flat-bread recipe is it: it’s a bread that mimics the complexity of a sourdough bread without the fuss of a sourdough starter, one that uses up left-over grains and takes just a few minutes to cook in a cast-iron pan right on the stove.

Admittedly, I found the dough a bit difficult to work with (I think I added a bit more yeast than the recipe called for and things got kind of sticky), but the results were way, way better (in taste and texture) than my previous attempts at sourdough flat-bread, for example.

Thank ye Kate (& Leo) for making me feel like a baker!

katebread

Alright, so here is a recipe for what I think is a delicious and very versatile dough.  I had been experimenting, trying to come up with a bread dough that would incorporate a hefty amount of cooked Louisiana corn grits (I love corn).  After throwing some leftover dough in the fridge I found that it was just as good (better?) cooked on a hot skillet as a flat-bread the next day.

I think that this dough is great for the home.. It is yeasted, but the small amount of yeast, two lengthy rises and ample amounts of water create a bread with lots of flavor and without the time and labor that sourdough starter maintenance sometimes entails (I do love and make mostly naturally leavened breads).  This dough is also very versatile.. The flour can be a blend of your choice (I used a blend of almost whole grain, sifted wheat and a lighter bread flour) and the cooked corn grits could be substituted for another grain or seed (oats, barley…). Just make sure to fully cook (in unsalted water) and cool your grains before adding to the dough.

Two days before you wish to eat your bread-

make your Biga:

In a container, measure 250 grams warm water (110 degrees F) and sprinkle on 1/4 teaspoon active dry yeast. Cover container and let yeast rehydrate for 10 minutes.

After 10 minutes, briefly mix up the water to make sure yeast have dissolved and add 250 grams flour. Mix the flour and water together well, until blended, somewhere between a batter and a dough. Cover. It’s best to let this mixture sit out on counter for 45-60 minutes before putting in fridge overnight (giving the yeast a head start).

cook your Grits (or other grains)

If making grits, I have found that a ratio of 4 cups water to 1 cup grits works well.

Bring water to boil, add grits and whisk vigorously. Lower to medium heat. Will have to attend and whisk periodically- sometimes they want to stick to bottom of the pot. Done in 25-40 minutes, when water has been absorbed and grits are no longer crunchy.  Let cool in fridge overnight.

One day before you wish to eat your bread-

Take your Biga out of fridge to let warm a little while starting to measure and mix.

Make your final dough:

Add 3/4 teaspoon active dry yeast to 150 grams warm water (110 degrees F) water. Let hydrate for 10 minutes.

To this add 620 grams luke warm water and your 500 grams of Biga. Squeeze the Biga into water to help break up and mix together.  When blended, add in 1 kg flour. Mix in flour until a dough has formed. Let rest half hour.

After half hour, sprinkle 27 grams of salt on top of dough and squeeze/fold in. After salt is blended add 240 grams of your cooked and cooled grains (grits? Oats?). Squeeze/fold in until well blended.

Let this dough rest on a warm counter, covered, for about 3 hours, folding or giving a light+ quick knead every hour. Dough should become fairly active after three hours, bubbling and developing strength and character over this few hour fermentation. After 3 hours place in fridge overnight.

Bake day-

Break off a few pieces of dough from container in fridge. Let pieces warm on floured cutting board while heating a cast iron skillet on stove. Get skillet quite hot, and no need to grease it.  Once skillet is ready, gently stretch each flatbread (thick or thin is up to you) and place onto ungreased skillet. Will bubble as it cooks. Once skillet side is golden brown, flip to cook other side.  These will cook quite quickly, depending on size and thickness, anywhere from 2-5 minutes.  I wonder if this would be a good pizza dough, I bet it would be… Instead top and bake in a hot oven? I wonder…(Lauren’s Note: We drizzled the bread with olive-oil, sprinkled with z’aatar and added olives and sun-dried tomatoes.  Not quite a pizza, but close and delicious!)

Text and recipe by Kate P. Heller of Leo’s Breads.  Contact her here for more information.

Filed Under: Collaboration Celebration, Grain, Plant, Recipes, Sides Tagged With: baking, flatbread

  • 1
  • 2
  • Next Page »

Copyright © 2025 · The Soaked Bean